You’ve all seen my entertainment center bookcases, they’re definitely one of my favorite places to play. Many have commented on the beadboard, and wanted to know if we added it or if it came that way, did I paint it or just what is the skinny. So I thought I would give you a before and after on how we did it. This is such an easy fix for some really bad fake wood backs they seem to put on everything.
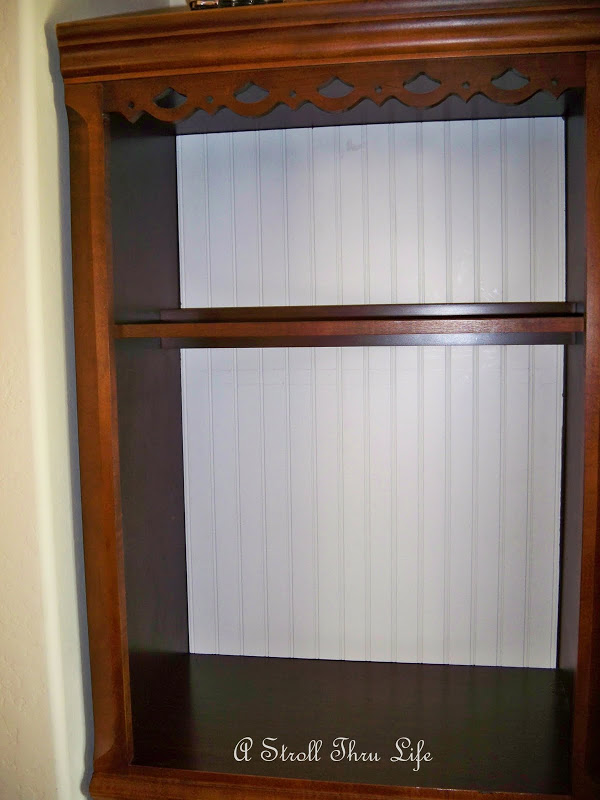
The dark backs of the bookcases were so depressing looking, it made the whole unit look cheap. I can’t believe that I lived with it this way for several years. I thought about paint and decided that isn’t what I wanted to do.

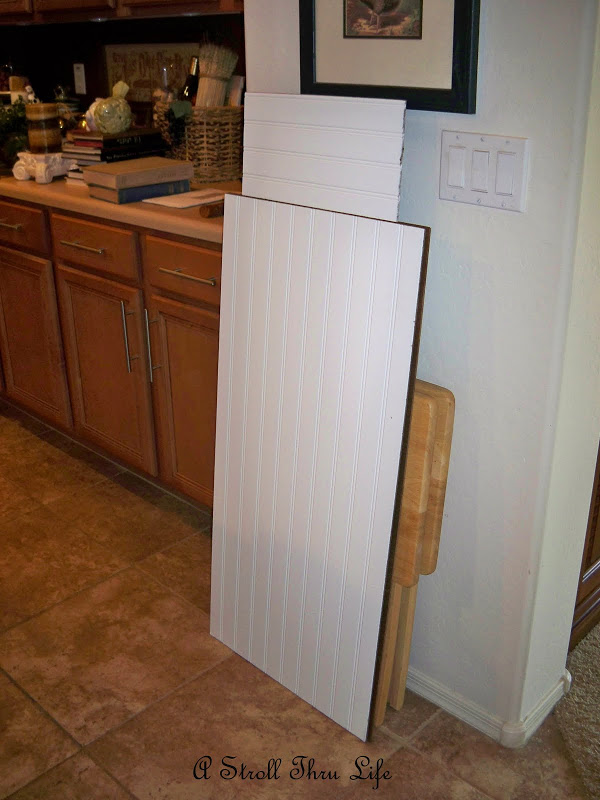
I decided that beadboard would be the perfect answer. I bought a sheet of it at Lowe’s and we cut it to fit perfectly. Such an amazing difference.

We measured and cut everything as precisely as possible.
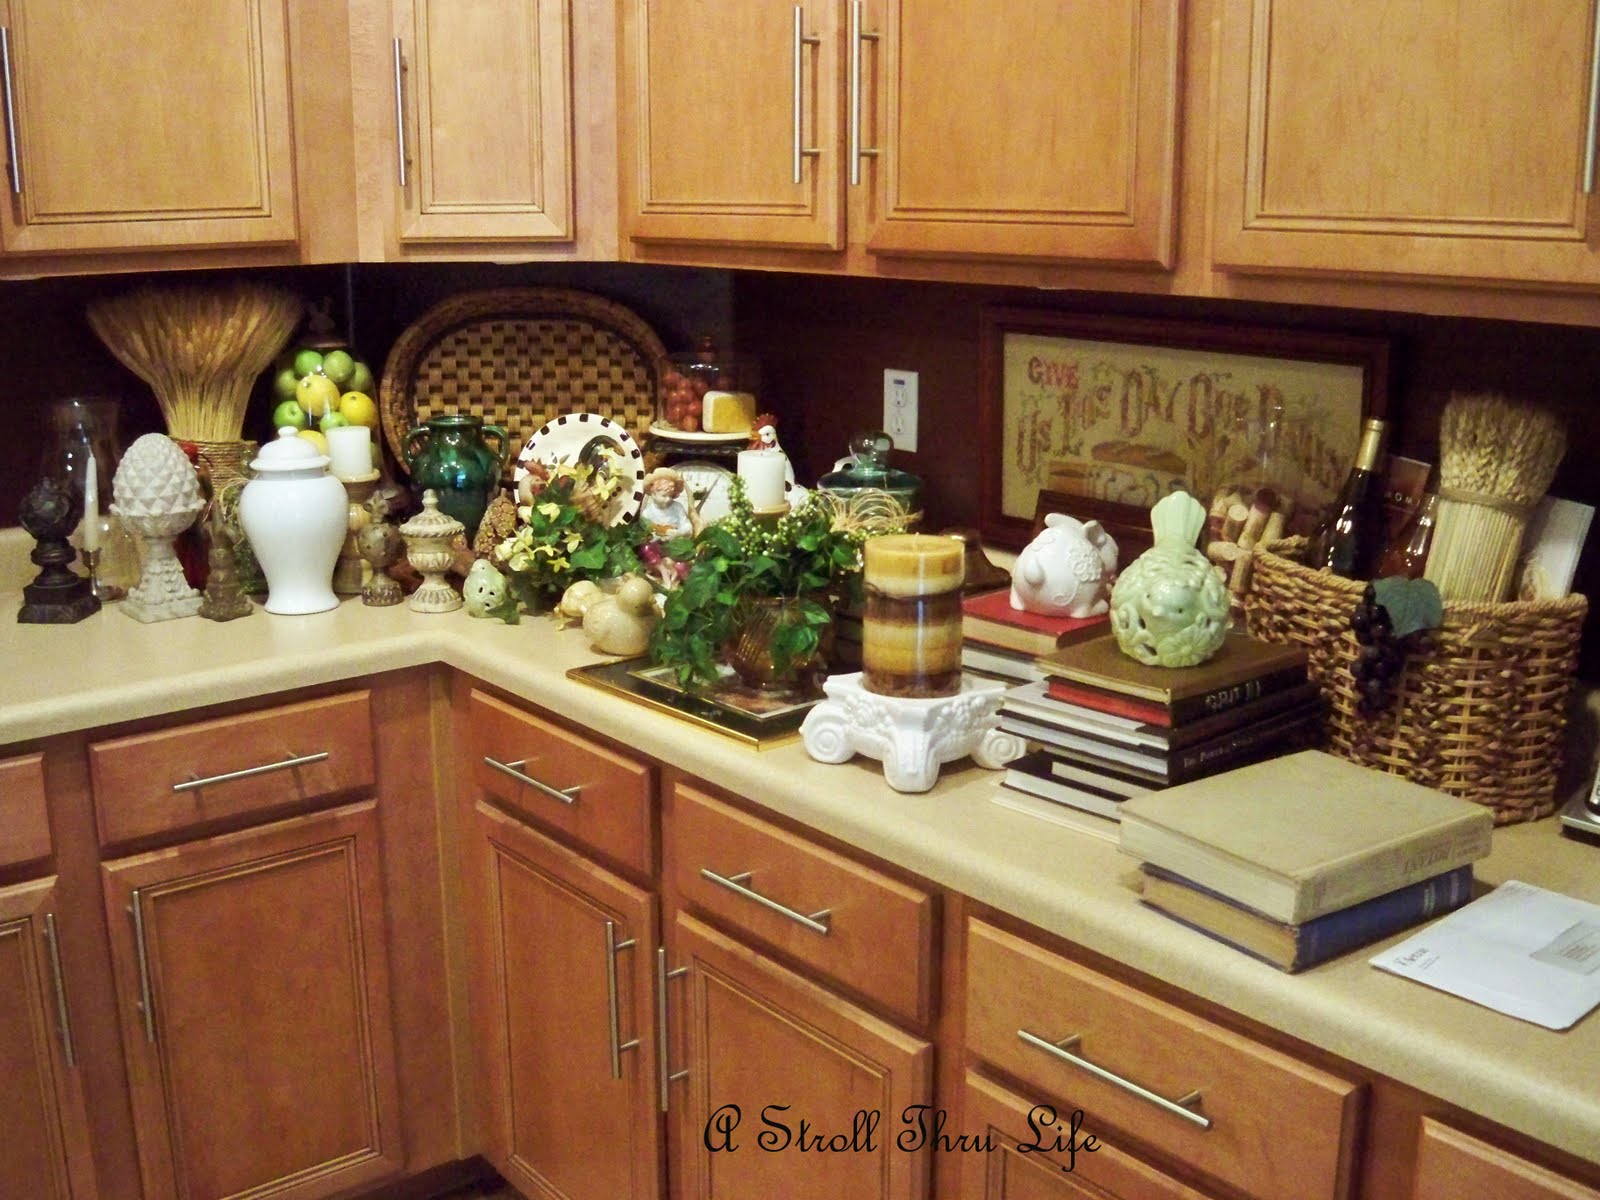
Can you believe I had all this stuff on those shelves. Unreal.
The top shelf is stationery since there is a light attached to the back of it. We cut the top piece to fit exactly in the space and just slid it into place behind the light on the shelf. No adhesive or anything was needed since we have such a nice tight fight.

The bottom was cut the same say and just pressed into place. I am glad we didn’t have to use any adhesive, then if I ever change my mind for any reason, I can just pull the panels out. The beadboard cuts with such a nice edge that you don’t need any molding or anything. I really like that. There were a couple of small places on the edge where I touched up with a tiny brush and some paint.
Such a huge difference in the way the unit looks, it is totally amazing, it looks like a completely different unit.

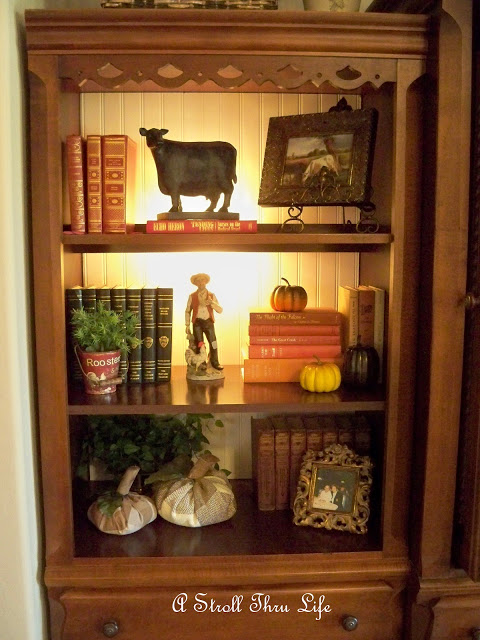
A really inexpensive fix. You could also use the beadboard wallpaper, however, the sheet of beadboard was less expensive and readily available at the store. Measuring exactly was the hard part, but once that was done it was really easy. Such a fabulous improvement. (This picture shows how the unit takes up most of this wall in the familyroom.)

This is a fabulous fix for bookcases or hutches. Great bang for the buck and super easy.
I am joining the following parties:
Kristen at Kristen’s Creations for Share Your Creations
Wendy at The Shabby Nest for Frugal Friday
Richella at Imparting Grace for Grace at Home
Honey at 2805 for Potpourri Friday
Cindy at My Romantic Home for Show and Tell Friday
Alison at Stuff and Nonsense for Friday’s Unfolded
Courtney at French Country Cottage for Feathered Nest Friday
Heather and Vanessa At The Picket Fence for Inspiration Friday
Diann at The Thrifty Groove for Thrifty Things Friday
Debra at Common Ground for Vintage Inspiration Friday
Sherry at The Charm of Home for Home Sweet Home Friday
Kate at Chic On A Shoestring Decorating for Flaunt It Friday
Jane at Finding Fabulous for Frugalicious Friday
Becca at Home Is Where My Story Begins for Home and Family Friday
Remodelaholic for Home Sweet Home on a Budget

Let’s Stay In Touch – Follow me with GFC or – –


