With all the fluffing that’s been going on, I have had a few different people ask me about making pillows and especially the jelly roll ones. I did a tutorial in Jan. 2012, so I thought maybe it was time to run it again. It really is so simple and they look fabulous anywhere. So here is the rerun – —
I love jelly-roll pillows, I think they are so classic and so very french also. If you look at many of the old world rooms you will find this pillow has been around for years. The forms come in several sizes, so choose what fits you furniture and then you can create many for next to nothing and have constant changes.


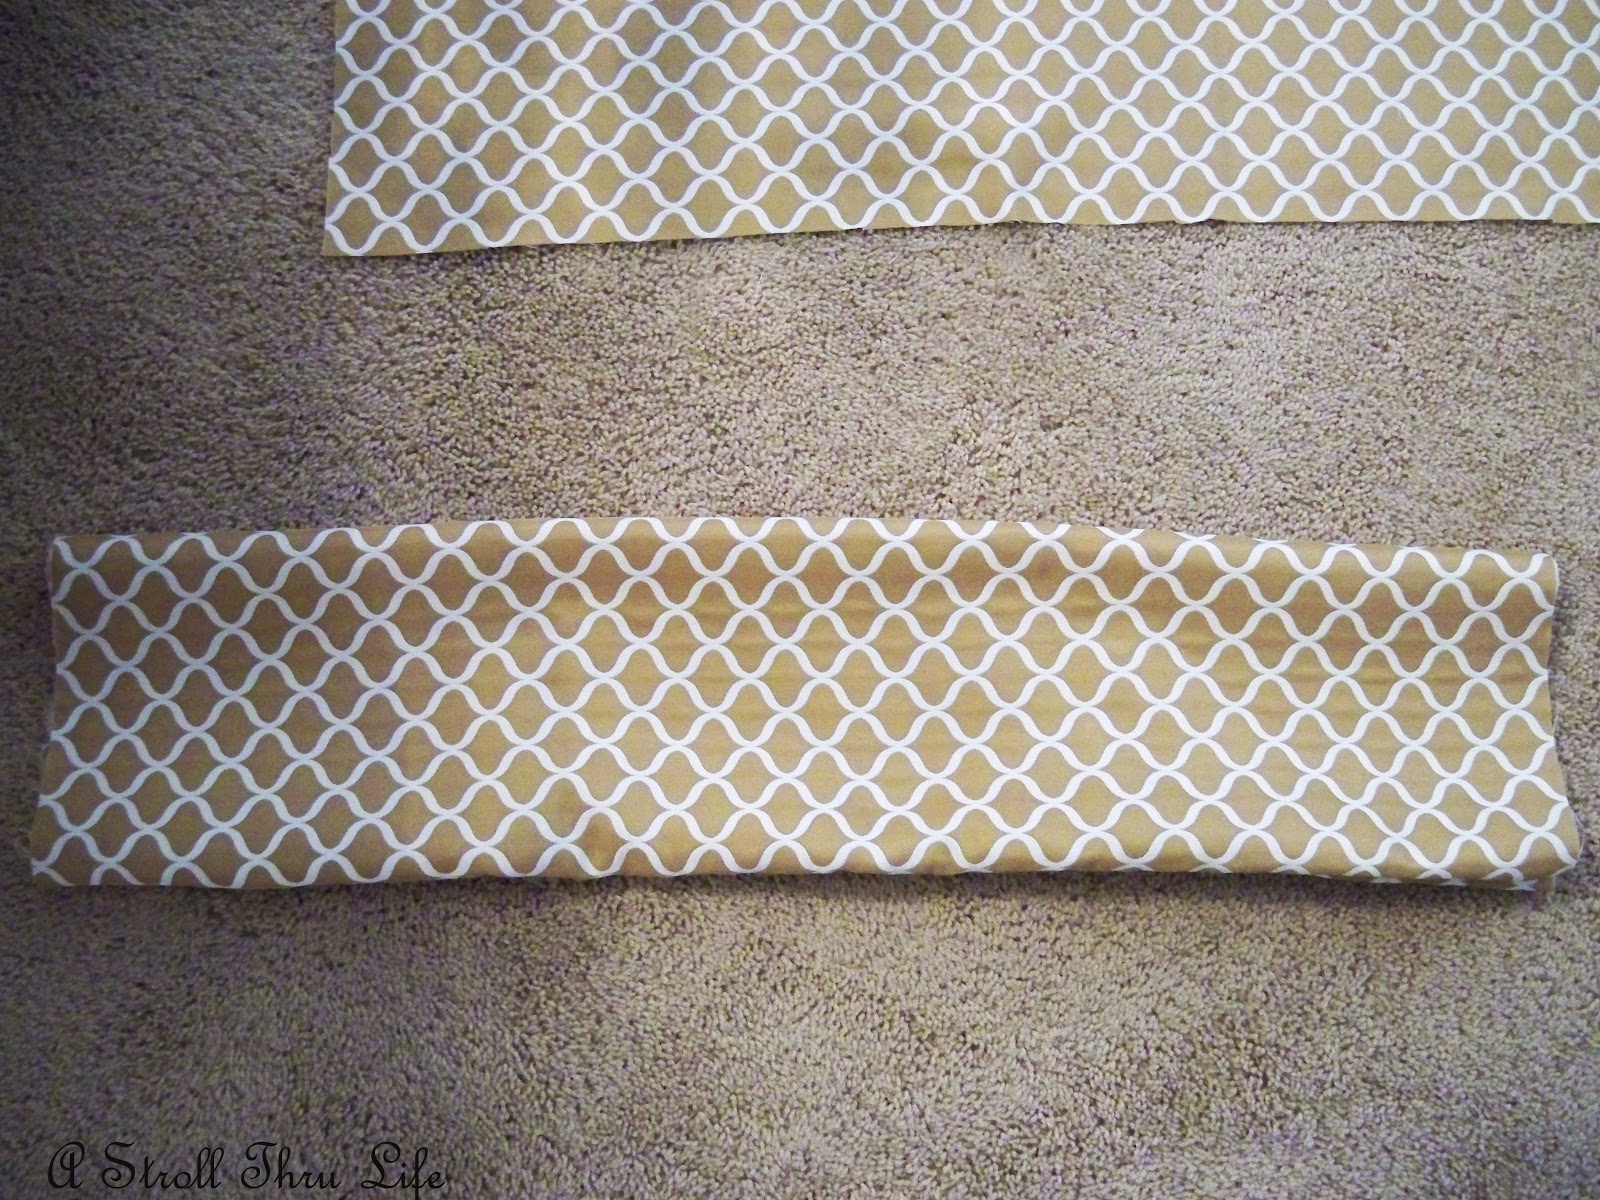
I want to use the smaller size for this chair, and I have a new fabric to go with my beige and white color scheme that I am currently using. This is the cover I previously had on this form. Cut your fabric twice the length of your form. ( I will show you why later. ) Then cut the fabric so it will go around the pillow with a little over lap, and will fit snugly when you finish it.

Ok, my fabric is cut. This is a reversible fabric, but since I am using it on a white chair, I am going to use the beige side as the outside of the pillow.

Turn the right sides together and stitch closed. If you don’t sew, then just use the fusable seam tape and close the side all the way down, or use Stitch Witchery glue. (Super easy, you don’t have to sew to make this pillow.) You are creating a tube.

Turn it inside out so you have the right side of the fabric showing.
Insert the pillow form making sure you have it in the middle with the same amount of excess on both ends.
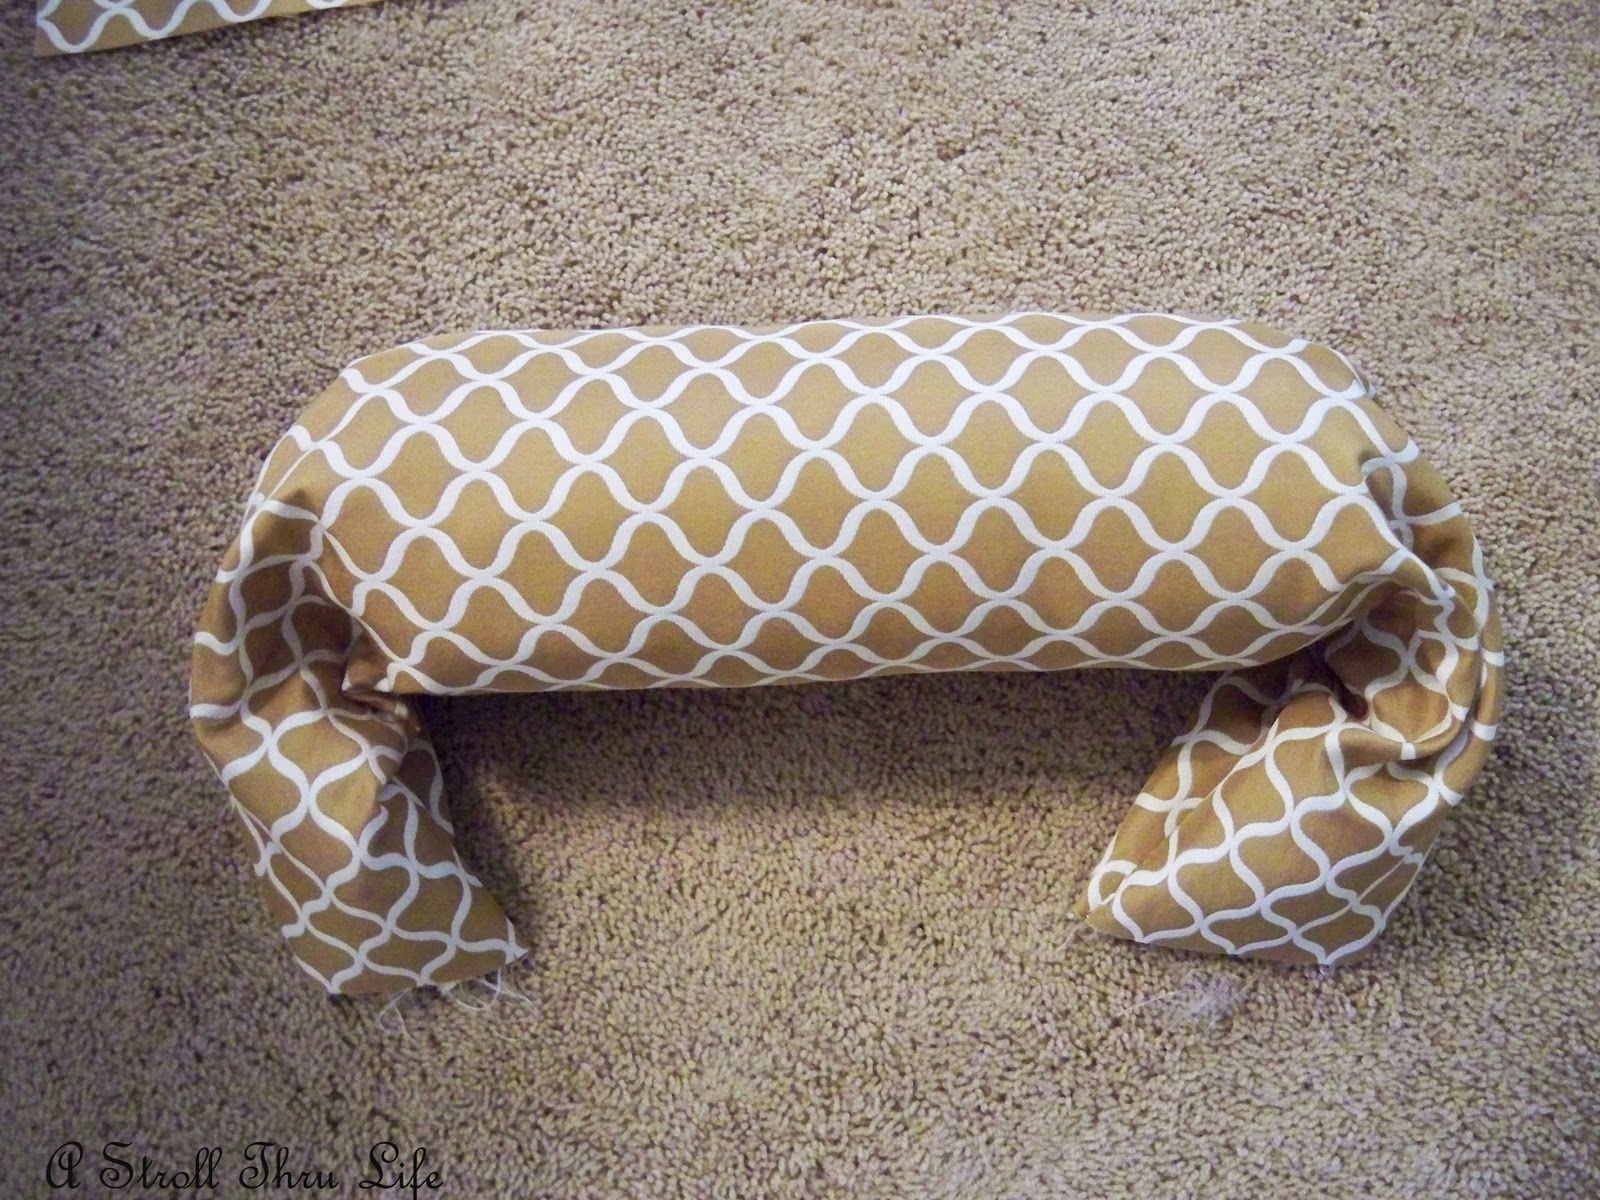
Fold half of the excess on the end inside the opening. Make sure it is evenly folded in.
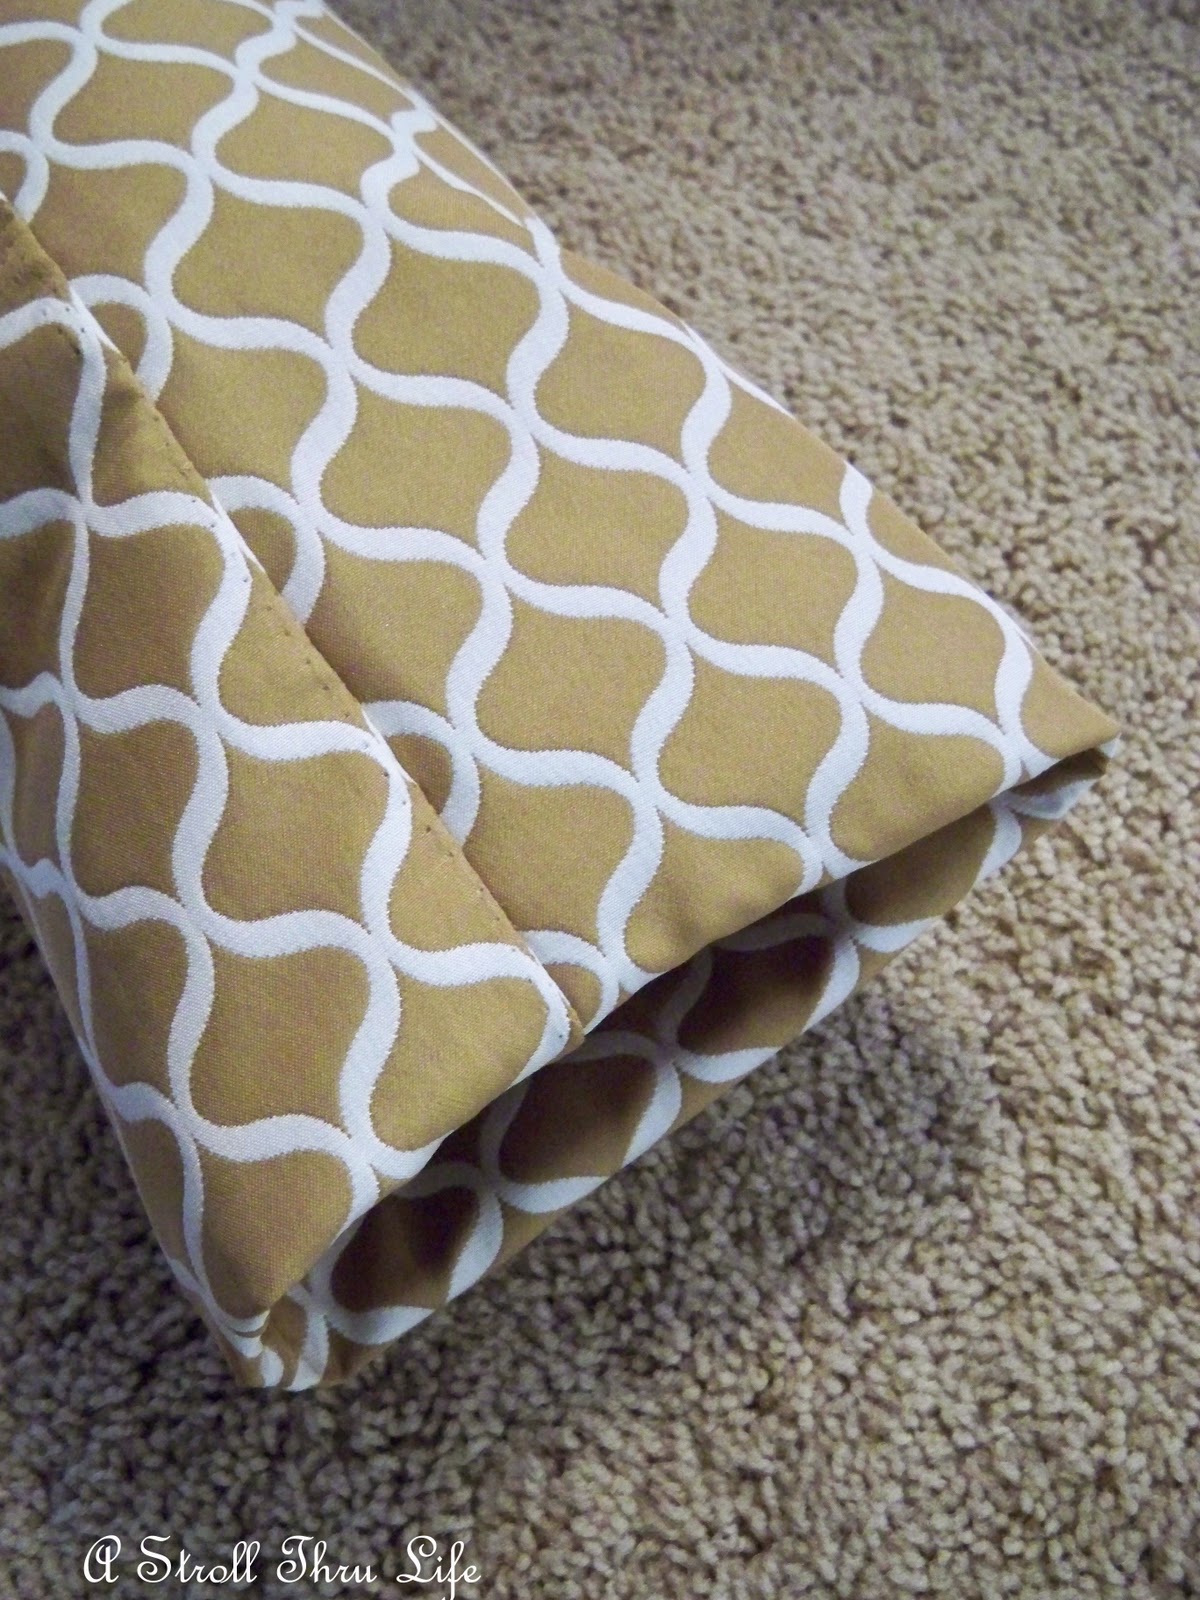
Now, using 2 heavy rubber bands, gather the fabric close to the pillow form and wrap the rubber bands tightly around the end of the form.

See how pretty your little pouf is!!!
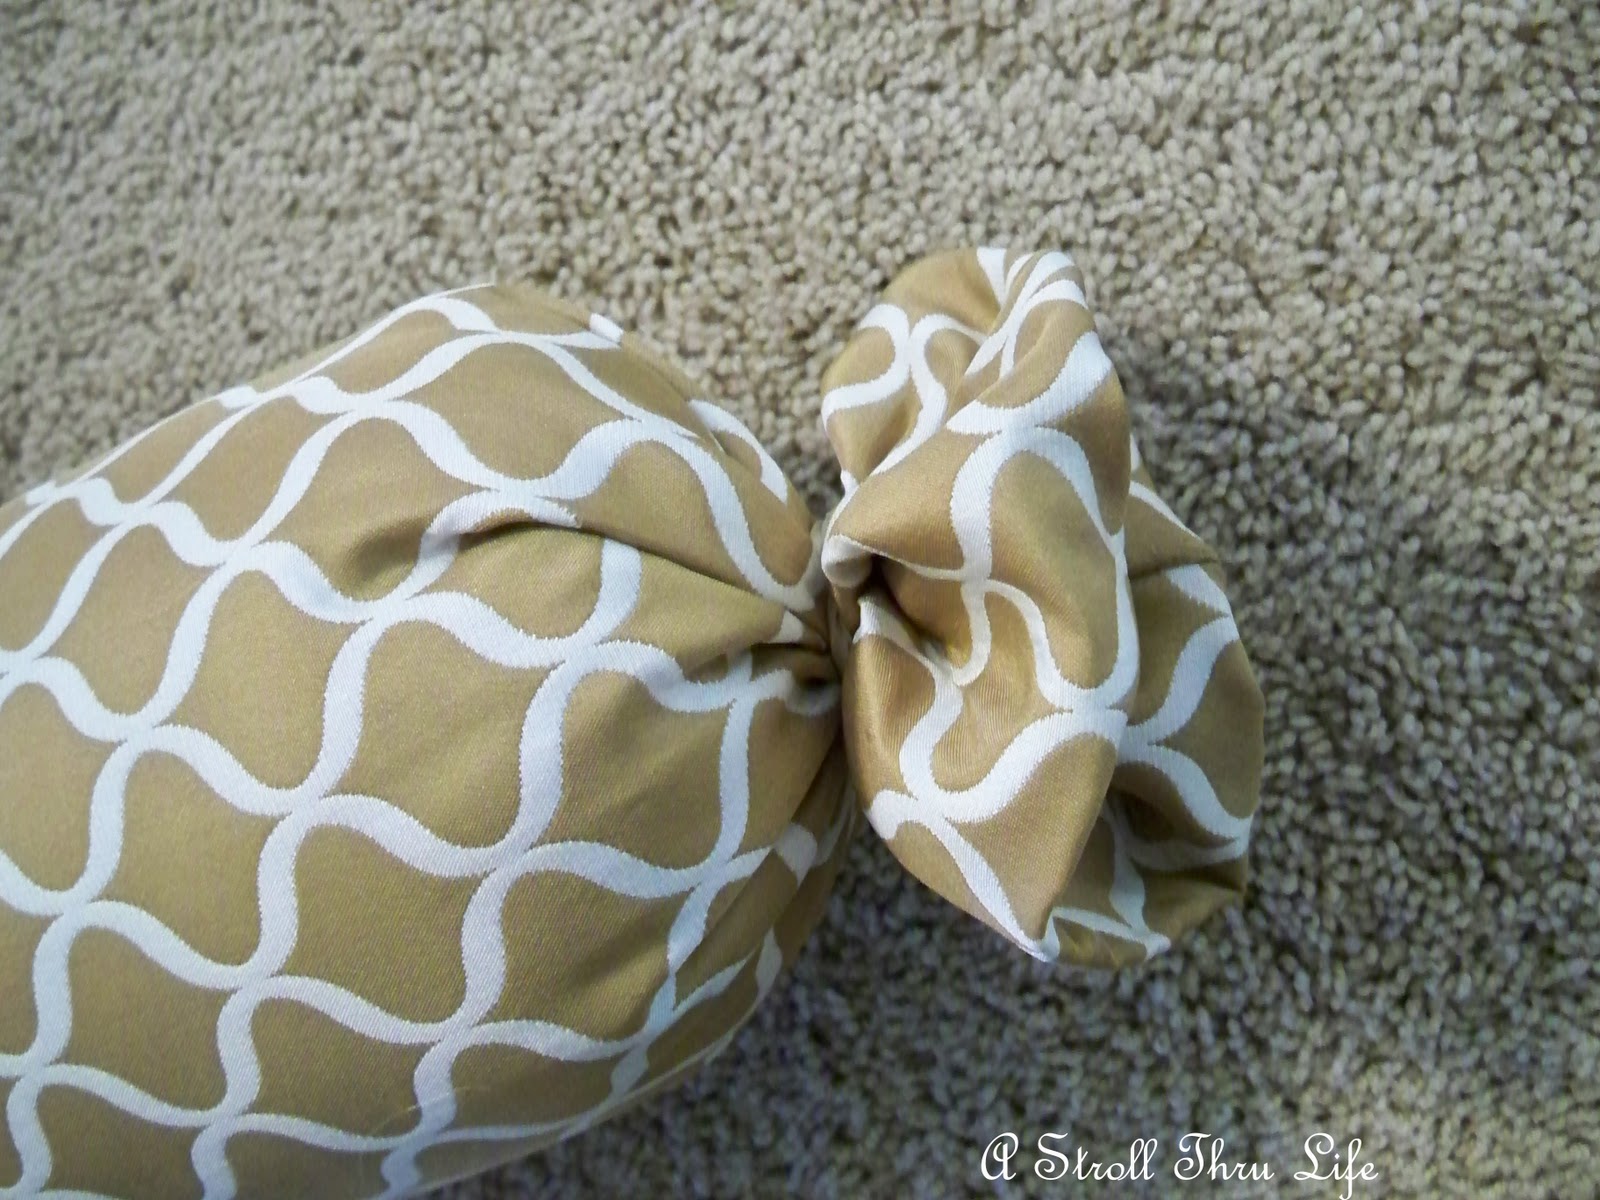
Do the other side the same way and then play with your poufs until you are happy with them.

Fits perfectly on the chair. I have a couple of tassels, so I want to add them to the ends.
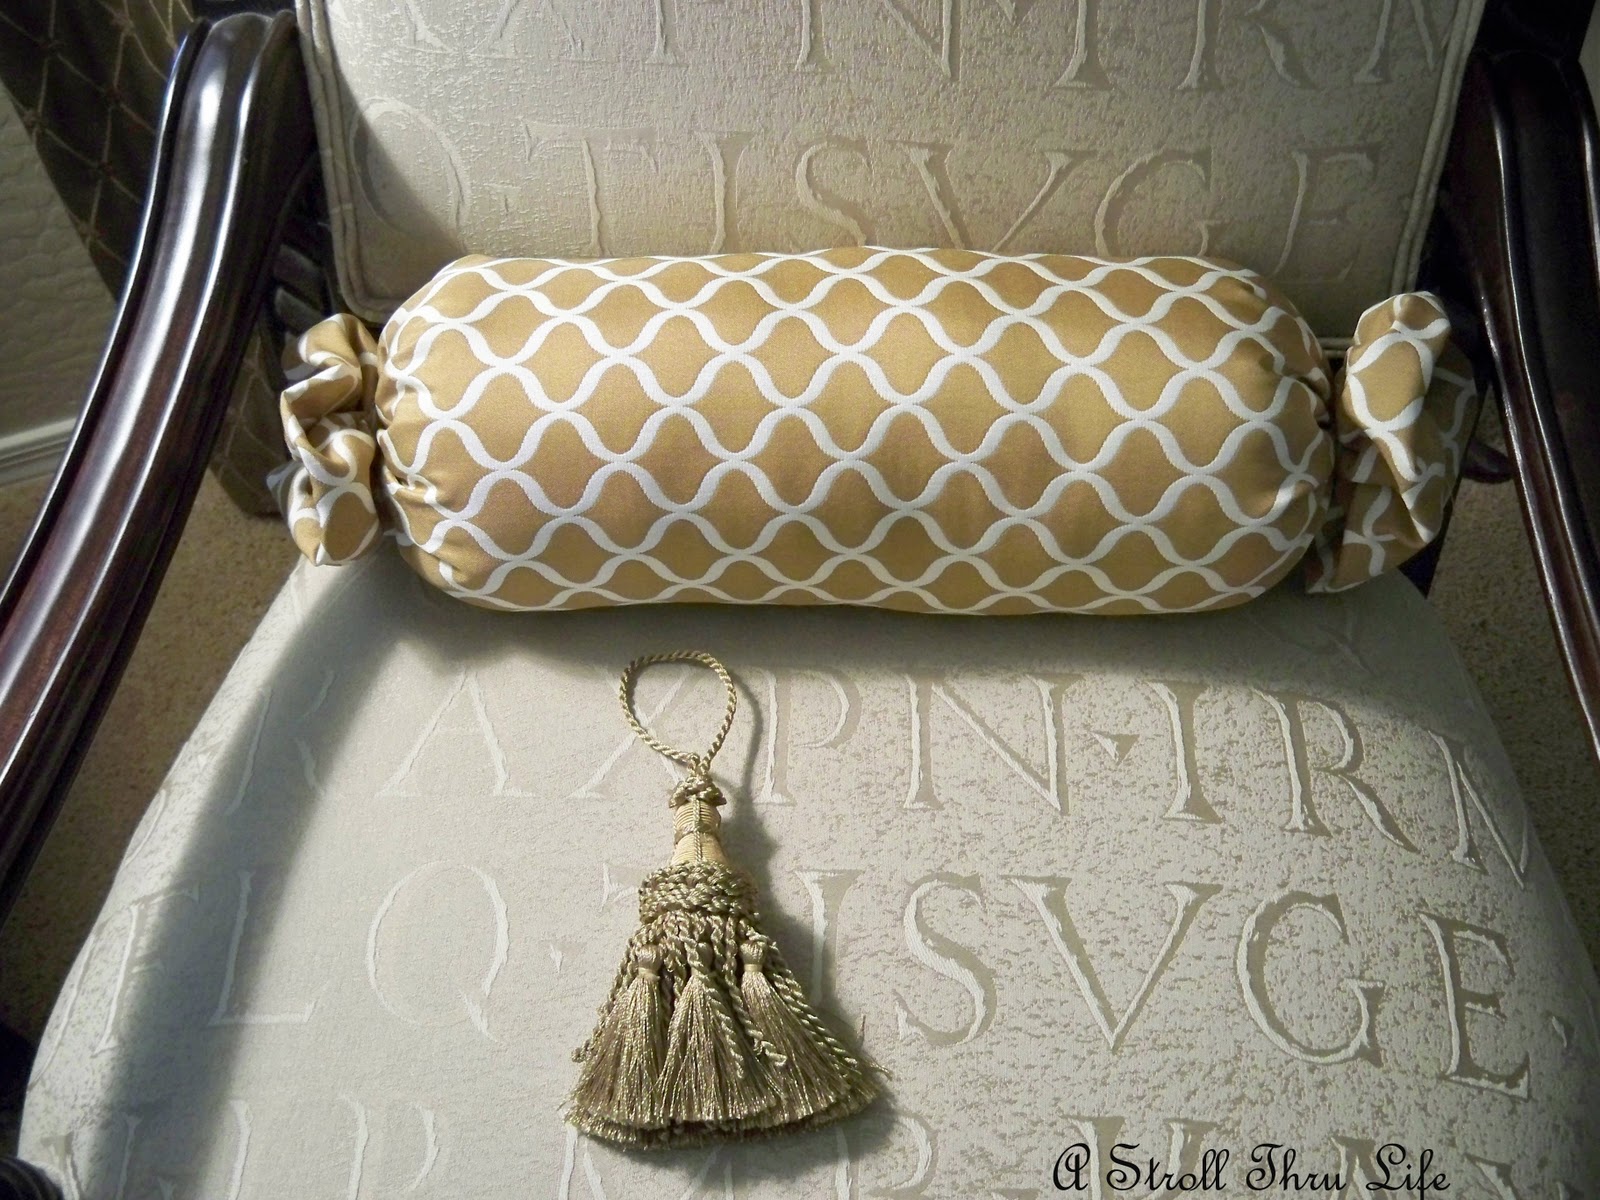
Just loop them around the ends where the rubber bands are and arrange them so they fan out on the chair.
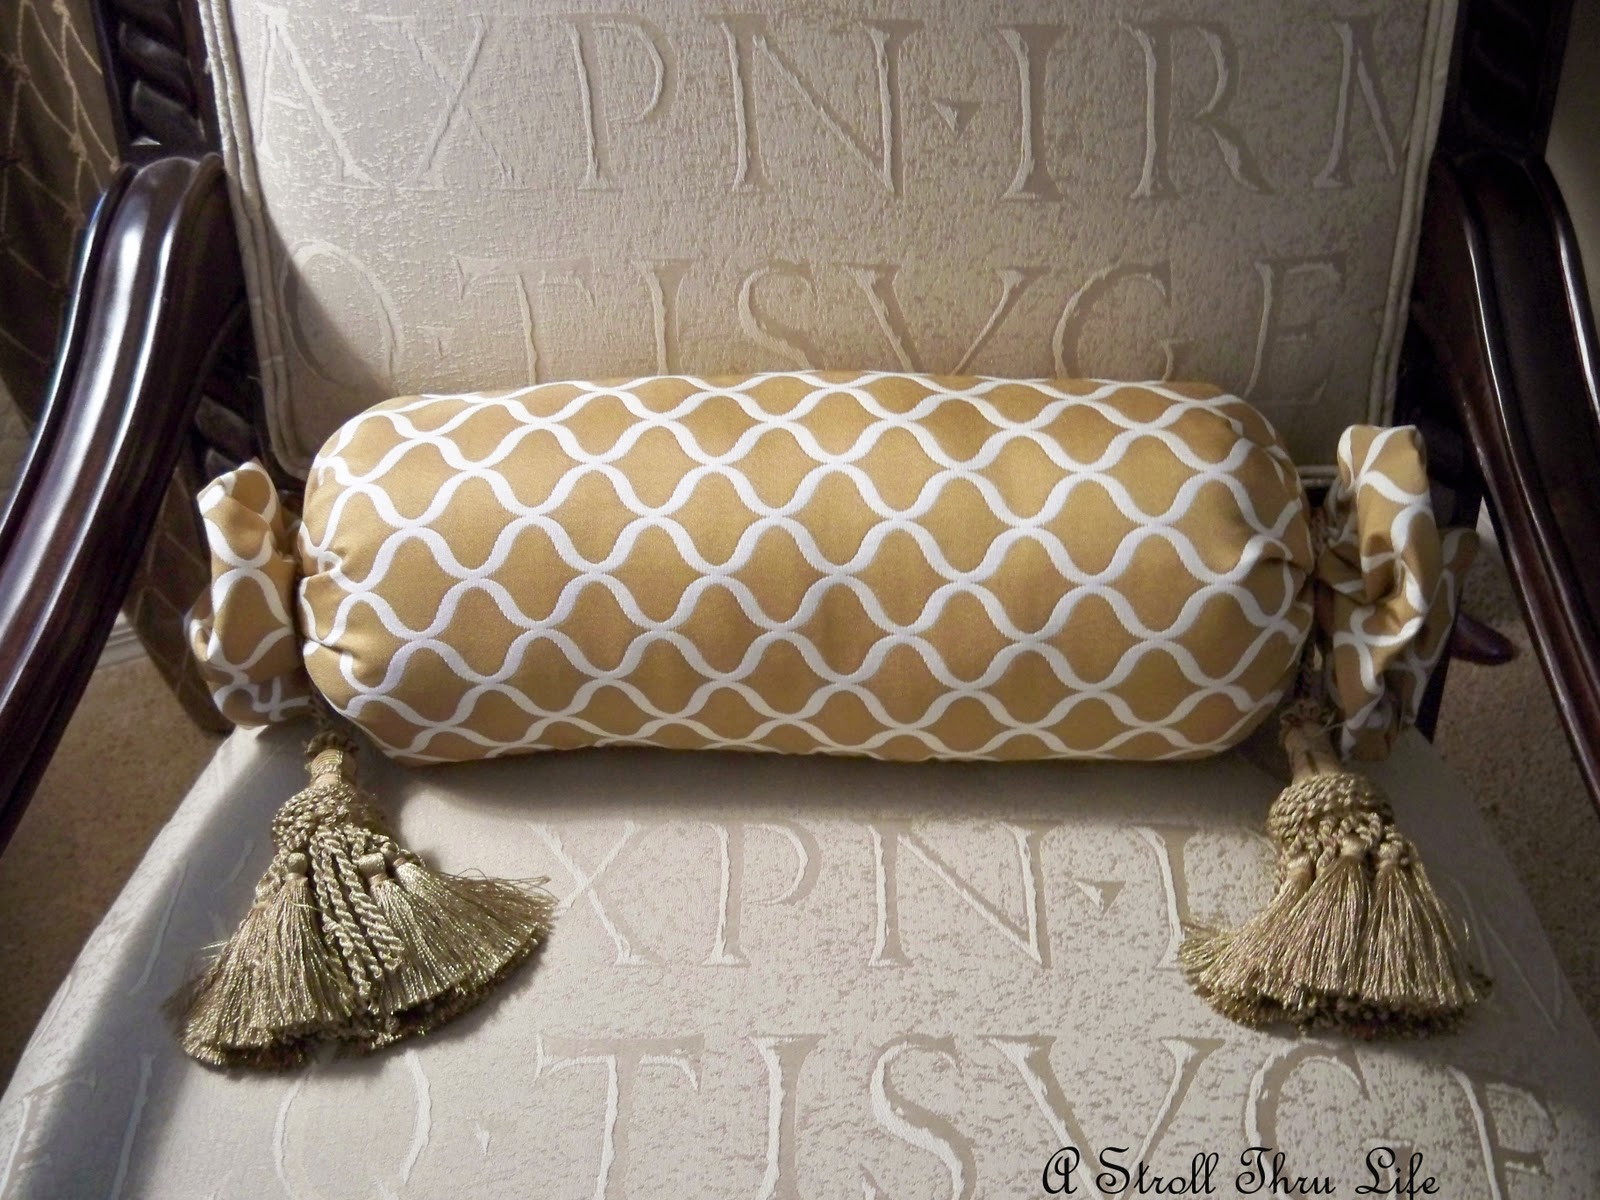
Perfect and doesn’t it look elegant?

Great addition to all the fabrics that I have in the room.

I am joining the following parties:
Aimee at It’s Overflowing for Overflowing with Creativity Sat.
Pieced Pastimes for Saturday Sparks Linky
Donna at Funky Junk Interiors for SNS.
Classy Clutter for Spotlight Saturday
Be Different Act Normal for Show and Tell Saturday
Tammy @ One More Time for Share It One More Time
Danielle @ Silver Pennies for Silver Pennies Sunday
Aimee @ Twigg Studios for Sunday Showoff Party
The Tablescaper for Seasonal Sunday
Three Mango Seeds It’s Party Time
Roeshel @ DIY Showoff for DIY Showoff Party
Creative Home Expressions for Creative Blog Hop
Katie @ Creatively Living for Monday Funday Party
Elaine @ Sunny Simple Life for Sunny Simple Mondays
Mod Vintage Life for Mod Mix Monday
Susan @ Between Naps On The Porch for Metamorphosis Monday
Cindy @ Dwellings-Heart of Your Home for Amaze Me Monday
Jenna @ Rain on a Tin Roof for Give Me The Goods Monday
Leslie @ House on the Way for Twirl & Take A Bow Tues.

Let’s stay in touch, click below or
follow with Google Friends Connect


