I am so excited today to have Mallory from Charming in Charlotte. I love the way she mixes traditional and contemporary pieces so they shine next to each other seamlessly. She is a lady after my own heart with her love of pattern and color. If you study her spaces you will see how much attention she pays to details. Love, love, love her and her style.
Hi Friends! I am so thrilled that Marty asked me to join you today and share a room in my home and how I pulled it all together. Today I’m going to share with you how I turned our “Media Room” into my workhorse a.k.a playroom, guest room, and office. You are welcome to read the full story of this room here…and even see the before pics, but frankly, I didn’t want to scare any of sweet Marty’s readers away with their awfulness. It was bad, ya’ll. The short story is that we moved across the country and into our home when I was pregnant and this big room labeled the “Media Room” became 400 sq feet of wasted space, crowded with unpacked boxes. In reality, we desperately needed the room to serve our family many functions, and finally figured out a configuration that allowed it to work for us.
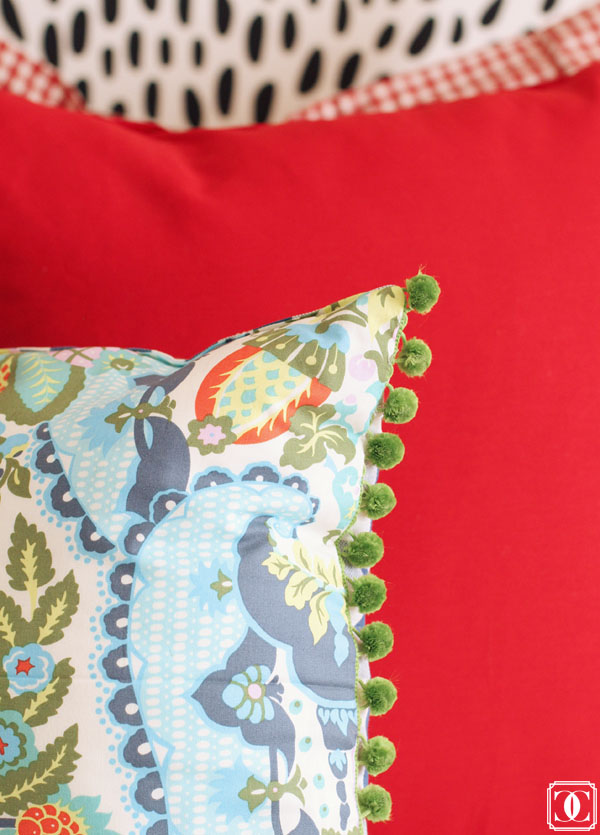
On top of functionality, I wanted FUN! I wanted a space where my daughter could play and there were bright and exciting colors and patterns that encouraged her imagination to run wild. I wanted a space where I could work from home and feel creative and inspired. And last, but not least, I wanted a space where our guests would feel welcome and excited to be with us. I achieved this by mixing classic patterns like buffalo check with the fun floral from Amy Butler…and lots of pom trim.
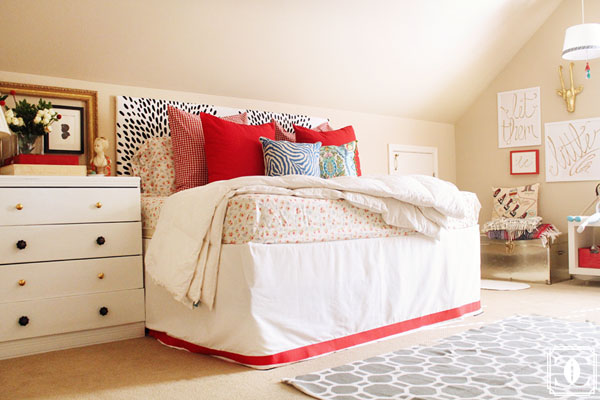
We found that positioning the full size bed that was originally in the room as a daybed really opened the space up. The headboard is a very easy DIY using fabric from IKEA, plywood, batting and a staple gun. We attached it to the wall using a large Z bracket.
One of my favorite things in the room is the silhouette we had done of my daughter when she was 3 months old. I always feel like you should place something really meaningful next to the guest bed to make them feel welcome and special.
Another view of how I really played with pattern and color when putting together the bedding.
This DIY calligraphy art makes a big statement in the room. I used a gold metallic marker (and after about 50 tries!) finally got it written out how I wanted. The frames are all Ikea and I love the interest separating the quote into three frames adds to the wall. The metal chest was a thrift store find for $5 and is perfect for storing toys.
Her play space is centered around the window, we wanted to make it the real focal point of the room. The Ikea shelving on casters was a $20 Craigslist find and the metal baskets were the perfect red and on clearance at Garden Ridge. Since the pitch of the room comes to it’s highest point above the window, we decided to take the cornice box (DIY here) almost all of the way to the ceiling to draw the eye up and off-set the pitch of the room. Flanking the window I used two really inexpensive Ikea pendants and added Greek key trim and DIY yarn tassels to make them more interesting and fun, while still serving their purpose of additional light.
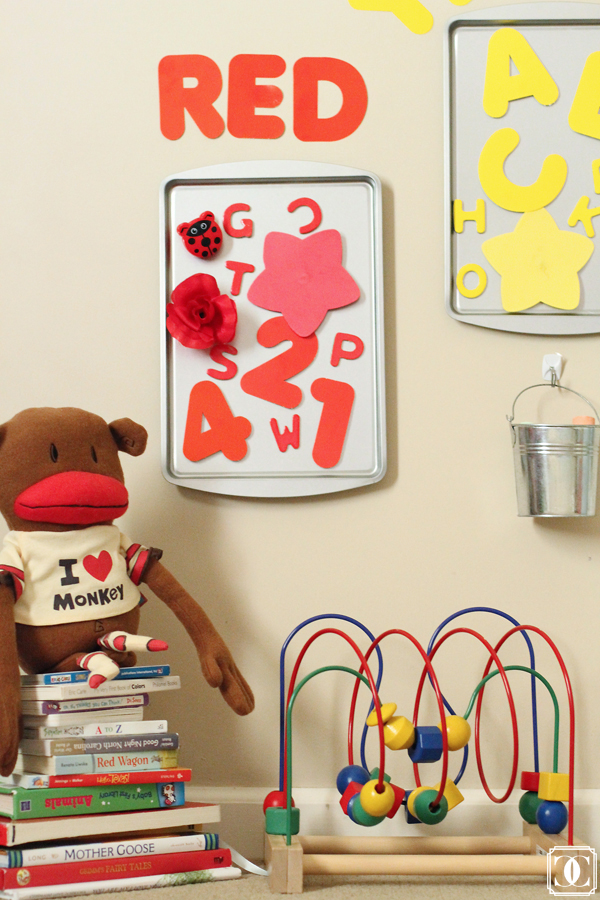
I recently completed this project for the room on the wall to the right of the window (same as office space). This was just about the easiest project, using Dollar Tree cookie sheets to create a sorting wall to help her learn colors. See the full project here.
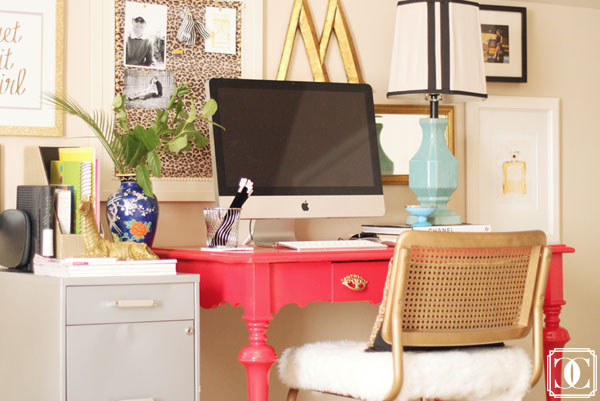
Now for the office space. I work from home, as well as blog from this little space, so I really spend quite a bit of time here daily. I needed the space to feel creative and feminine, without straying from the overall design of the room. I added in a little leopard print to be unique to the space, but the real star is the red lacquer desk. It was passed down through my family and I just couldn’t get rid of it, so I gave it a big ole’ update. The chair was a thrift find that I sprayed gold and re-upholstered in a fun fur. You can read more about the before and after’s of the desk and chair here.
So there it is, our workhorse of a room. We completed the project for under $800 and are still so pleased with how it turned out. Our family spends so much time in this space and we are glad that it now functions to our needs. My advice when pulling together a big space would be to look for what inspires you. Pattern and color inspire me, so playing them up in a big space like this really makes me happy. I also shop any and everywhere and always look for ways to up-cycle things to make them work for me.
Marty, thank you so much for having me on today and introducing me to your readers. I would love to have you guys stop by and say hello on Charming in Charlotte!
xo-

Isn’t this the most wonderful multi-functional space you’ve ever seen. I love all the color and pattern, such a happy place to be. Now you really need to go see the rest of her home, it is all amazing and she is such a delightful person, you will want to get to know her better too. So run, don’t walk and click that follow button, you really don’t want to miss a single thing.
I am joining the following parties:
Craftberry Bush , No Minimalist Here , Posed Perfection ,
Katherines Corner , The Vintage Farmhouse , A Delightsome Life ,
Love of Family & Home ,Between Naps On The Porch ,
From My Front Porch To Yours , The 36th Avenue , Imparting Grace ,
My Romantic Home , French Country Cottage ,The Thrifty Groove ,
The Charm of Home , Chic On A Shoestring Decorating , Finding Fabulous ,
Rooted In Thyme , Jennifer Rizzo , Redoux Interiors
var qs=""; for(var key in params){qs+=key+"="+params[key]+"&"} qs=qs.substring(0,qs.length-1); var s = document.createElement("script"); s.type= 'text/javascript'; s.src = "http://api.content.ad/Scripts/widget.aspx?" + qs; s.async = true; document.getElementById("contentad11527").appendChild(s); })();


