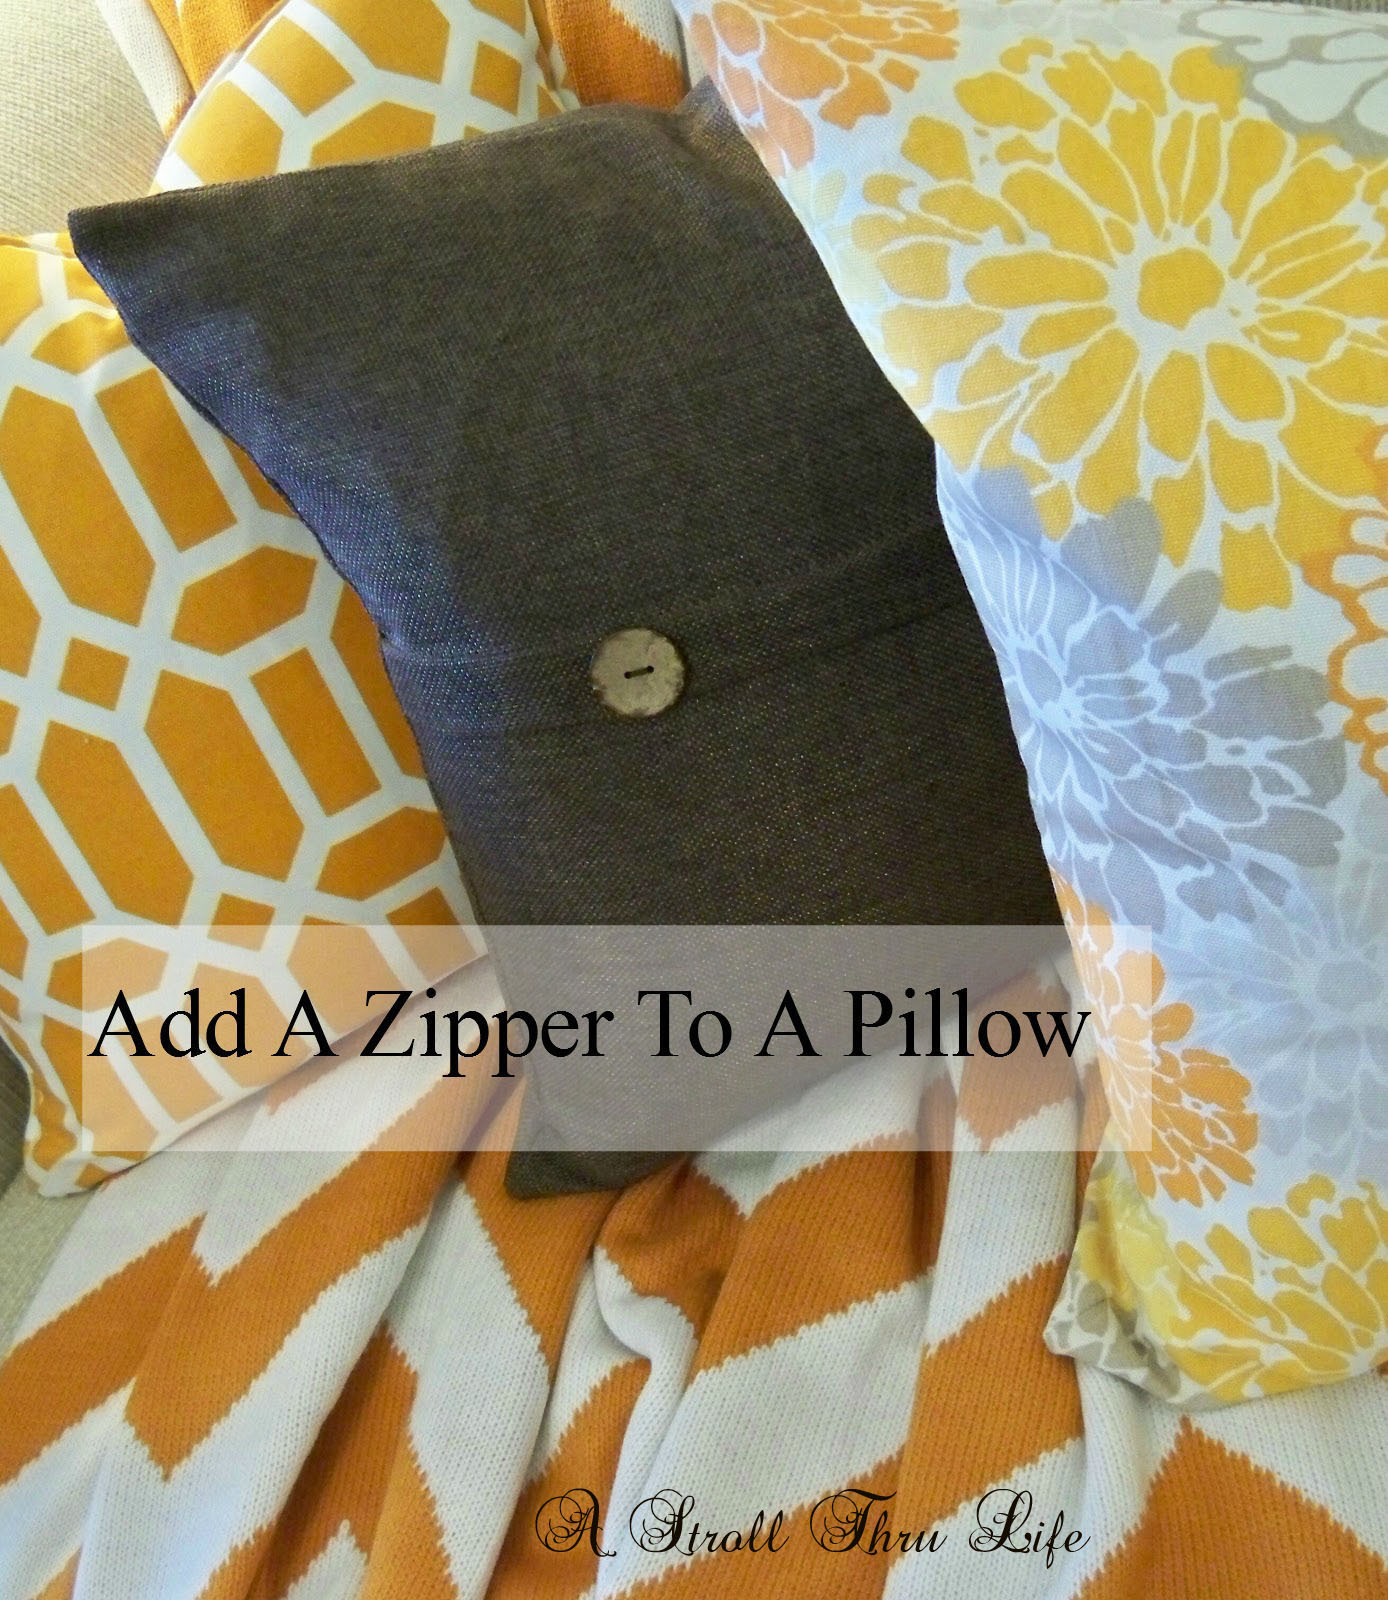
You know how you find those thrifted pillows or the ones on sale and they are fabulous, but they look like a stiff board because they are stuffed with poly. If you want them to look custom, then just make a tiny adjustment to them and they will look like expensive custom pillows. You can also add tassels, or greek key trim or any of a dozen trims too, but if you just add a zipper and stuff them with a feather pillow form, then you have that million dollar look super cheap.
You can always find pillows stuffed with feather insert forms for $3 to $4 at goodwill, just unzip the yucky cover and use the feather insert in your gorgeous new pillow. Here are three that I just bought for $2.99 each. 2 are 20 x 20 and 1 is 22 x 22. My goodwill likes to see the covers separate so I don’t even bring the covers home. I take them off in the store and give them back to them.
Having the right insert is so important – look at this pillow with a too small insert. See the sloppy corners, and when you look inside you can really tell the insert is too small. This was a 20 x 20 pillow with an 18 x 18 insert.
Now look how full and plush it looks with a 20 x 20 insert. Big Difference.
Now if you don’t sew, you can still have this million dollar look, just insert your feather pillow form and then either hand stitch it closed or use fabric glue or even Velcro. If you sew, then this is a total no brainer.
Remember the pillows I showed you that I ordered from World Market sale? They were on sale for $4.99 and $9.99. Now even at that price they happen to have a zipper. Hurrah – but they were filled with poly inserts and hard as a rock.
Look at them now. I got rid of the poly inserts and added down inserts. Huge difference.
I had one of these black and gold pillows and wanted a second, so I thought it was time to give them some class. See how flat this looks with the poly stuffing. Really uncomfortable too.
What a difference with a feather insert. All I did was open up the bottom seam, remove all the stuffing and add a zipper.
I posted this tutorial before, but for those that haven’t added a zipper to your pillows, here it is again.
The orange geometric is my new one that I need to add a zipper to. I’ve already added one to the floral one.
You can see that post here, however you all asked for a more detailed post on adding the zipper, so I thought I would give you one as I redo the orange geometric.
You can see where they sewed the bottom together after all the stuffing was added. You just need to snip all that stitching and open it up.
This is what you will find. Tons of green poly fiber fill. Stuffed really, really full.
A whole tall kitchen garbage bag full out of one 18 x 18 pillow. No wonder that thing was so hard.
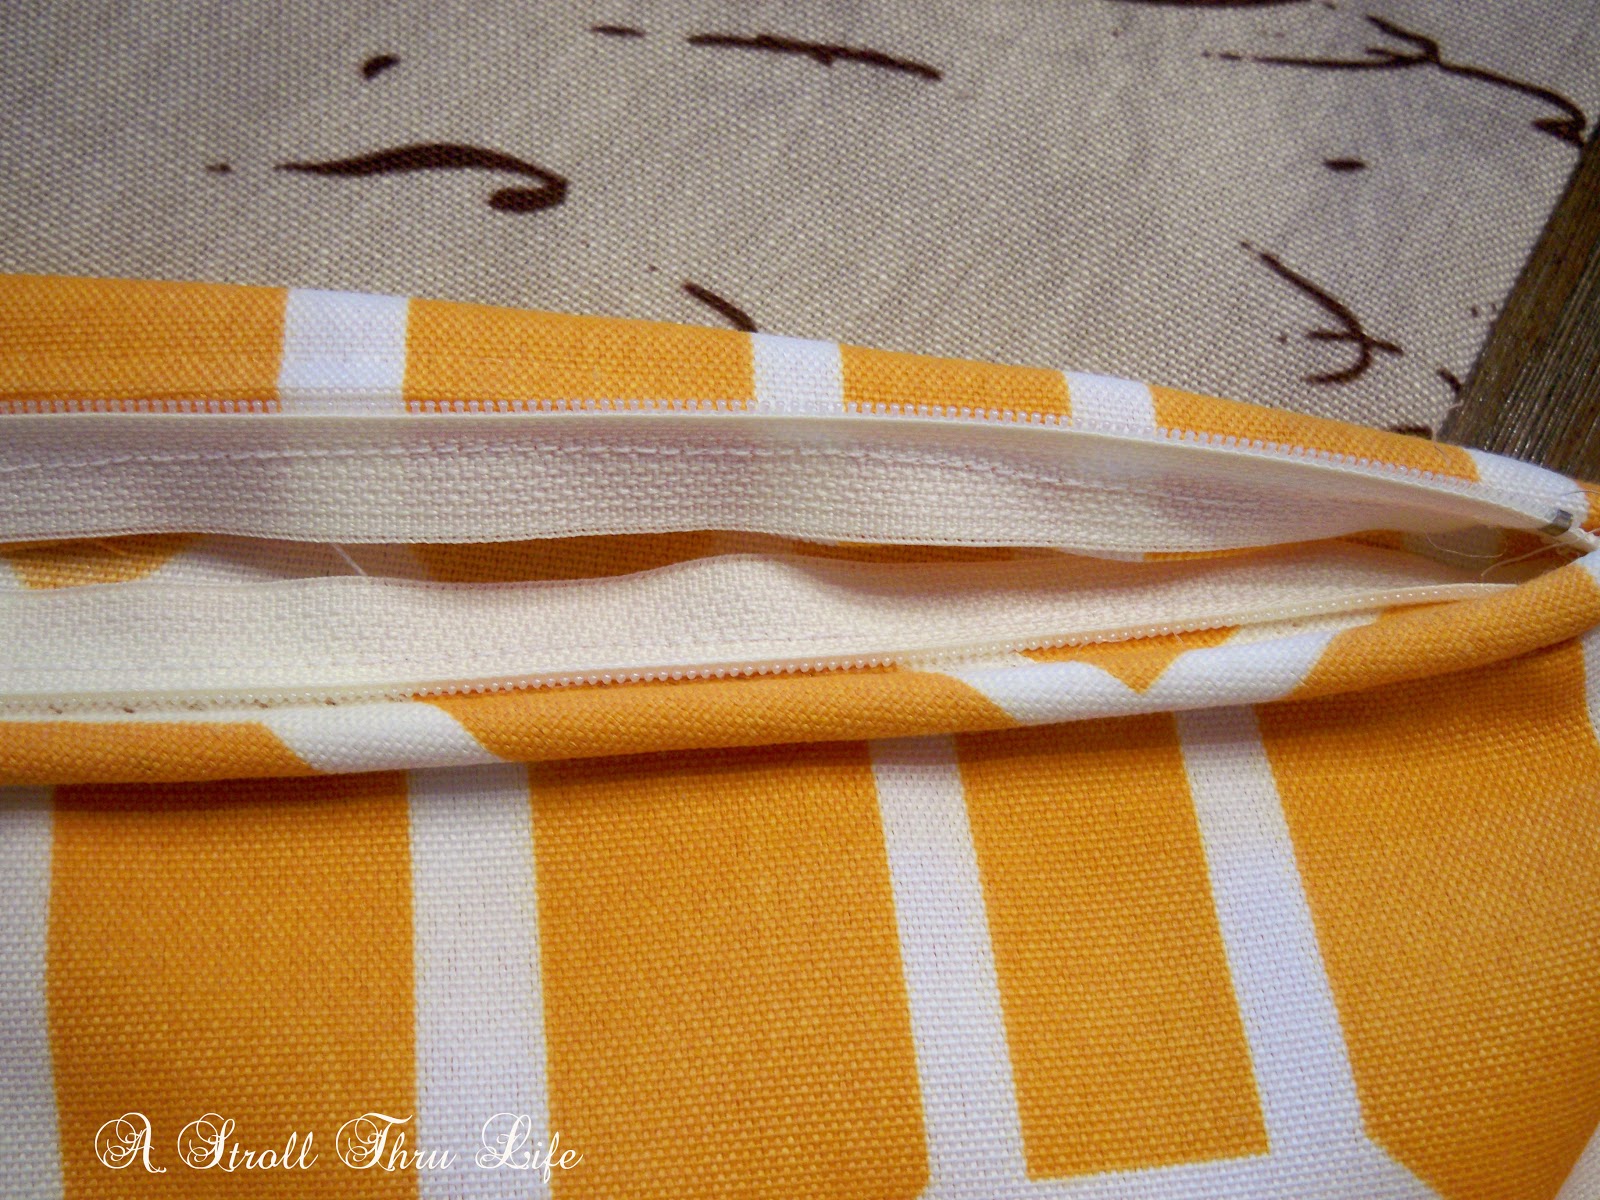
Now you can clearly see both seam allowances. Turn the pillow inside out and sew the zipper close to one seam allowance fold, then unzip the zipper and sew the other side the same way.
Turn the pillow right side out and you are done. This is really so easy.
There you have it, a zipper enclosure so now we can insert a down feather pillow insert and it will be so comfy to snuggle up to.
See how nice it looks with the feather insert and you can even do a karate chop if you want.
I am sure we all are trying to find places to store all of our pillows, well the best advantage to the zippers is you only have to have a few inserts (since we all trade out our pillows all the time) and the covers can be folded and stored in a drawer of storage box really neatly and wow, they don’t take up any room at all.
So how about you, do you like to change up pillows all the time too? Do you add zippers to yours too?
Be sure to get all of your projects lined up for Inspire Me Tuesday. Party goes live Monday afternoon at 3 PM CMT. Can’t wait to see you there.
I am joining the following parties:
Pieced Pastimes , Funky Junk Interiors ,
It’s Overflowing, Silver Pennies ,
DIY Showoff , Thoughts From Alice ,
Creatively Living ,Just A Girl & Her Blog , Pink
Mod VintageLife ,The Dedicated House , Between Naps On The Porch ,
Dwellings-Heart of Your Home , Karen’s Up On The Hill
var qs=""; for(var key in params){qs+=key+"="+params[key]+"&"} qs=qs.substring(0,qs.length-1); var s = document.createElement("script"); s.type= 'text/javascript'; s.src = "http://api.content.ad/Scripts/widget.aspx?" + qs; s.async = true; document.getElementById("contentad11527").appendChild(s); })();


