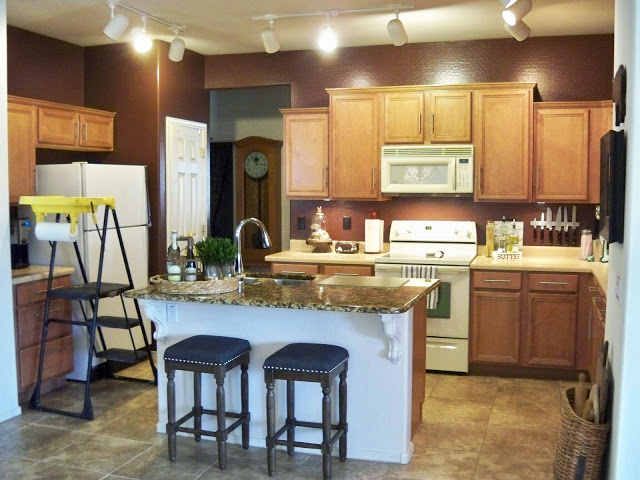
You know how it is when you change colors drastically, the room looks totally different. I thought I would go ahead and paint the kitchen before the rest of the makeover, I just needed to get rid of the brown so I could visualize where I am going with the space.
With the walls being a dark chocolate brown, I knew we had to use a primer, and boy was I right. Even the primer may take two coats. I stood back as I moved the ladder and was amazed at the difference.
What a difference paint makes and the lighter color is so fresh. I am going to love it.
This is with one coat of primer on everything except under the counters on the back and side wall. I want to let the space where the fridge is dry more, then hopefully one coat of the Reliable White will cover it so I can then put the fridge back and not have to pull it out again. All the walls in the familyroom and breakfast area are painted Reliable White, so I am just going to continue it through the kitchen too. I think this will give a more seamless look to these areas since they are all open to each other.
One more coat on the backsplash area when this coat dries and this room will be done. Well, not the island or the door.
Remember this is what it looked like before as I started clearing everything off and washing down walls.
.
And this is my inspiration picture. This is what I am aiming for. ( Wood Floors, Black counters on the back cabinets and new staineless appliances.
Thank you guys for all the encouraging words. I am so glad you see my vision and can relate.
Be sure to check out this post about the Importance of Priming.
If you like Thrifty & Chic on a Budget, I would love to have you follow me.
Have every post delivered to your inbox with Bloglovin
Check out Pinterest & See behind the scenes on Instagram


