I get so many comments about my new walk-in closet. Seems like you guys all love a pretty closet as much as I do. The one in our new house didn’t get a makeover, it just got a few accessories to give me a primping station. The one in our last house is the one that got a total makeover. It is one that you could copy a ton of ideas from to take a small walk-in closet and maxamize it’s space plus give it some character and glitz. I thought I would re-fun the reveal post since it was several years ago and and a lot of you might not have seen it. Hope you get inspired to jazz up your closet.
I am delighted to show you the reveal of my ORC – Master Closet Makeover. This has been so much fun. Six weeks to totally redo one room – wow, that is a lot of pressure. I chose our Master Bedroom Closet since it was definitely builder basic bad. This was not a gut job, and doesn’t involve any fancy closet systems, just a little paint, fabric and a couple of makeovers. My goal was to organize and add a little “Pretty”.
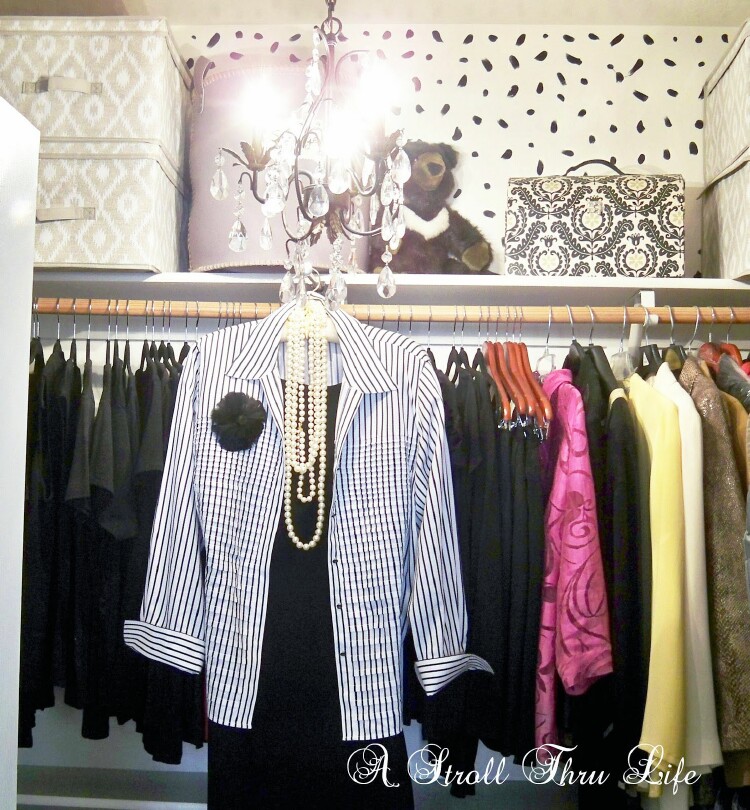
Welcome to my closet – – –

It’s come a long way from this.

Here’s what I am working with. Not a large space, so I had to make every inch count.

First up was to do some serious purging. Since I am not in the Corporate world anymore, I didn’t need a closet full of suits and professional attire. Most days now you will find me in jeans and tee’s, and I love plaid shirts too. There is a fabulous organization called Dress For Success that helps women transition into the work environment and they really need any of our donations. So I took a large box of suits, blazers and slacks to them. This organization is world wide and helps so many women. Next time you purge your closet, maybe think of them.
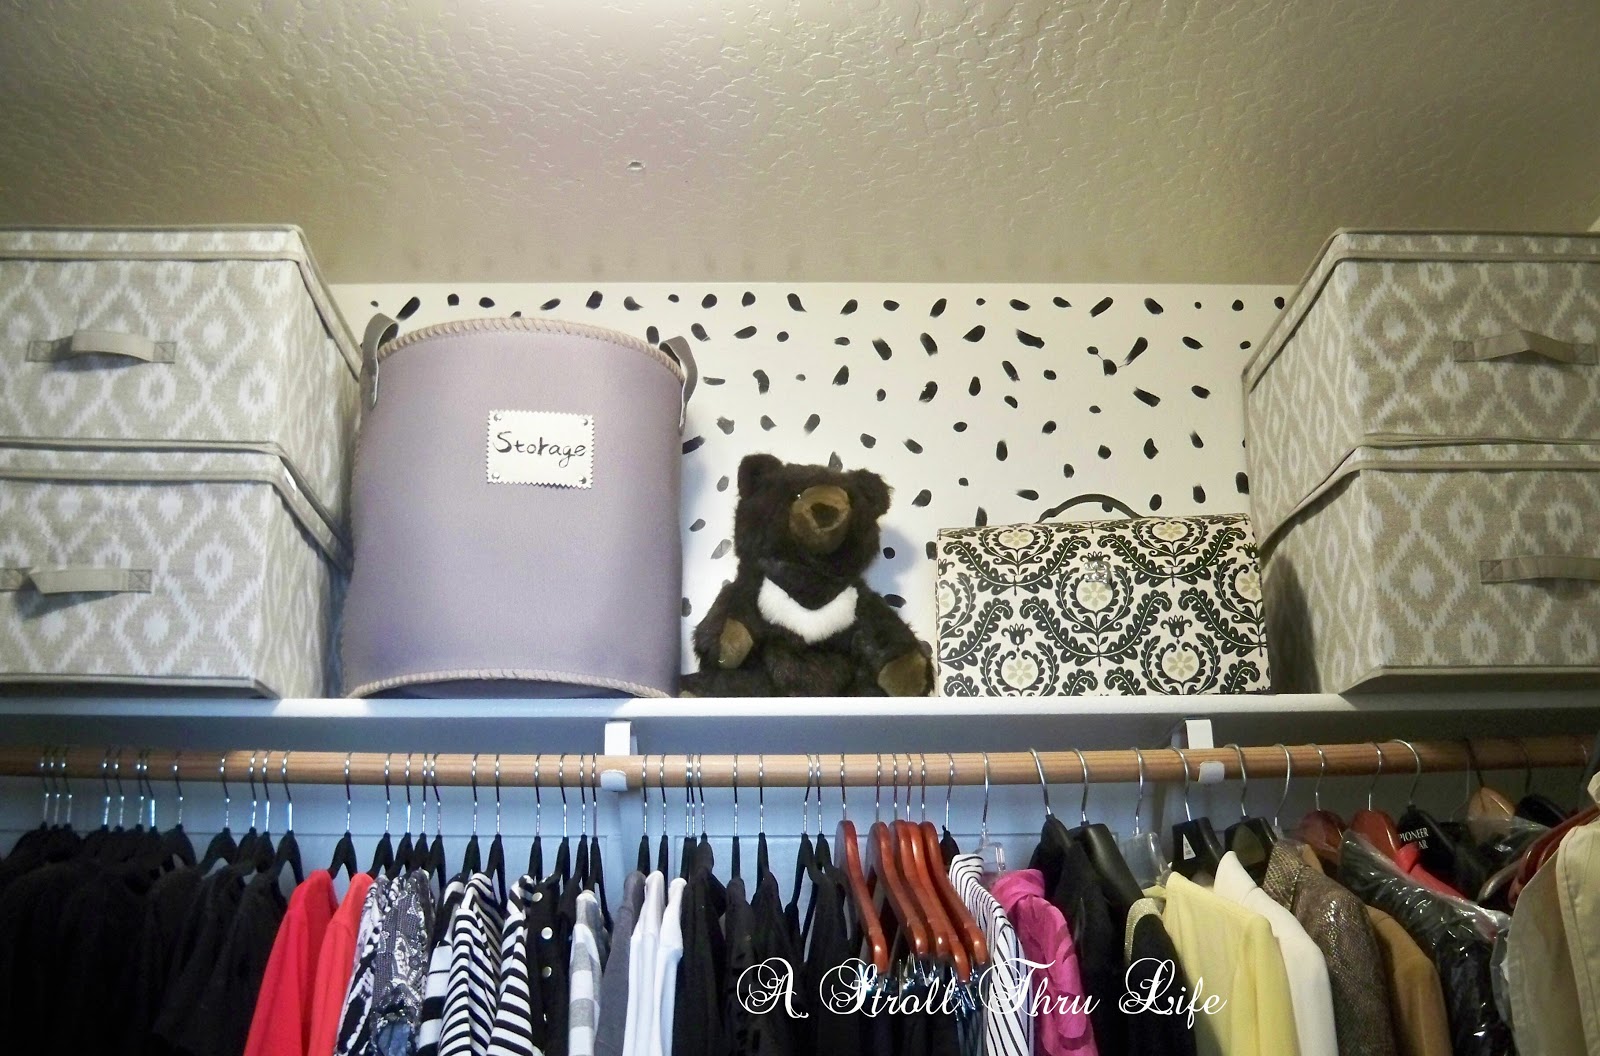
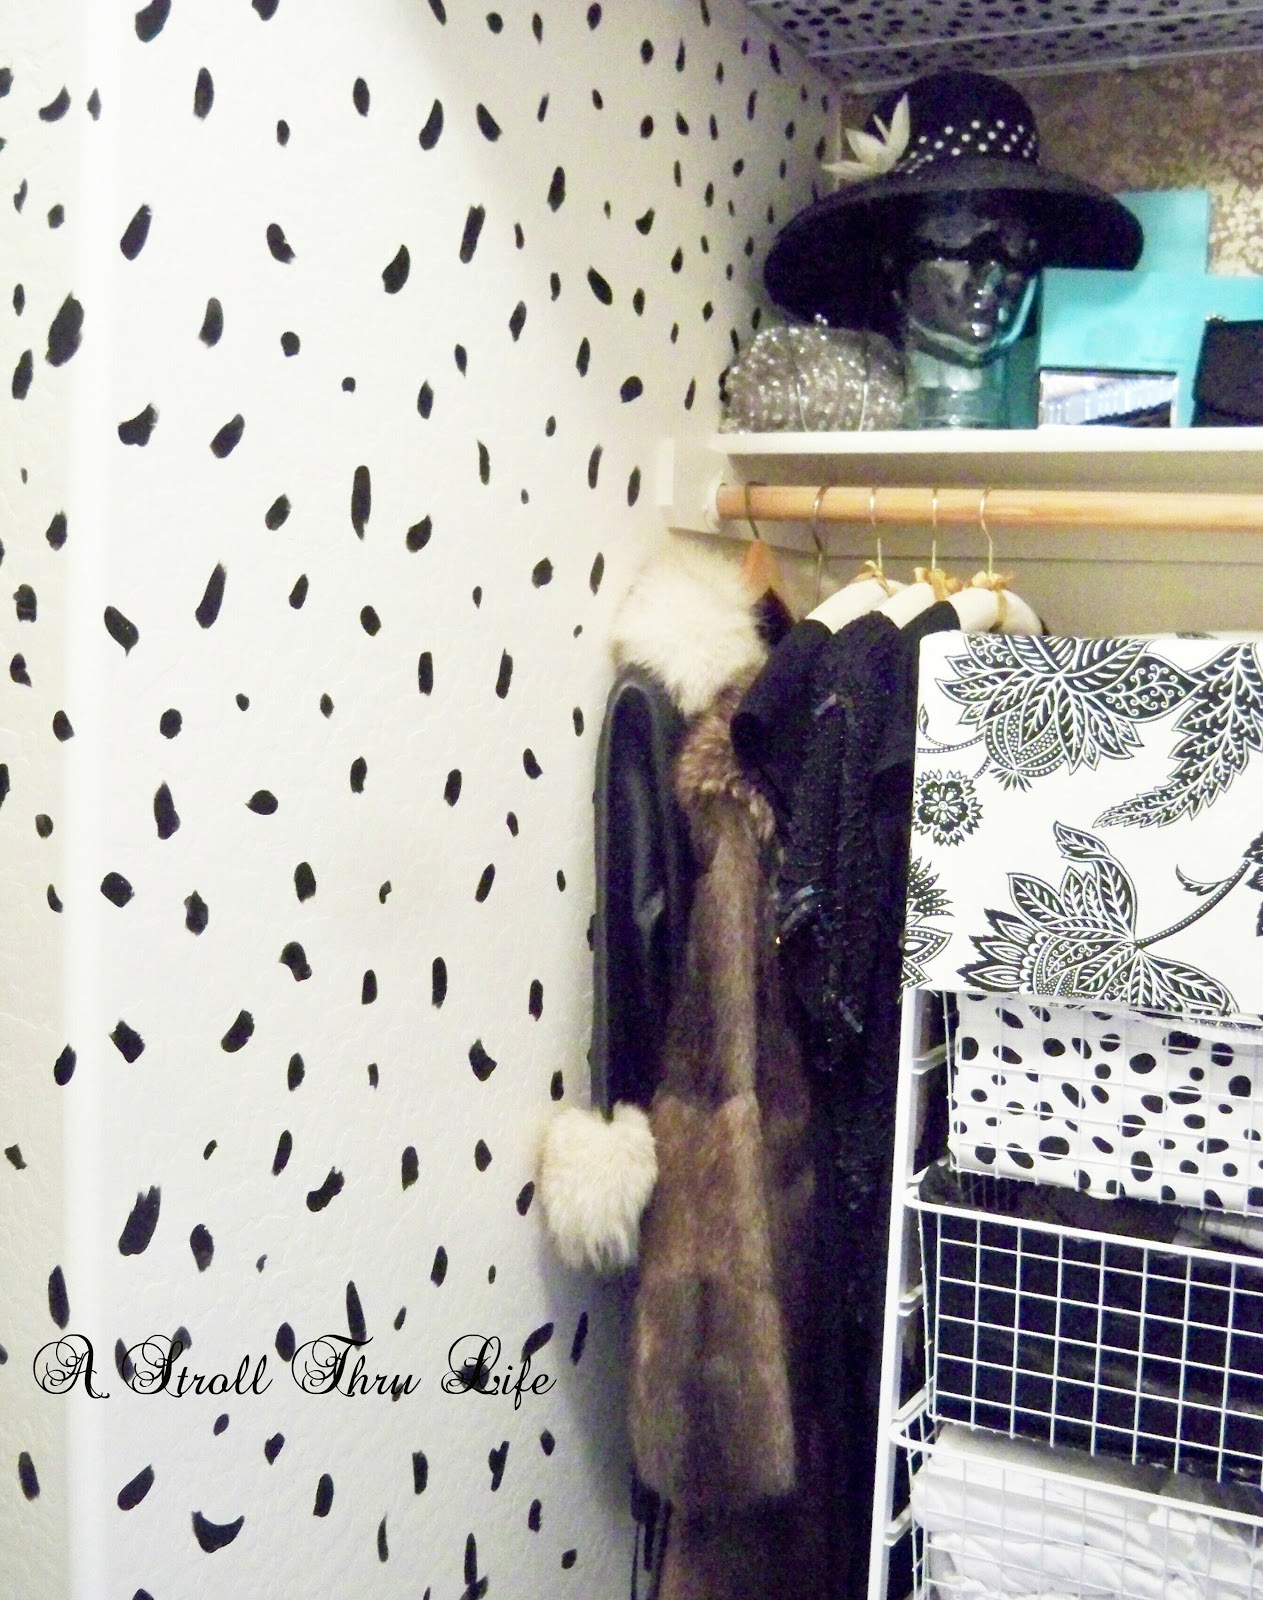
With everything out I decided to give the walls a little fun treatment with some “Dots and Dashes“. (Check out my simple tutorial for how to do this wall treatment.) Storage boxes and bins were next to help add a little “Pretty” and organize seasonal clothing. When the clothes went back in they were switched out to beautiful slimline velvet and wood hangers.
With our clothes purged and organized, – – – –
it was time to conquer the left side nook of the closet.
More storage was definitely the name of the game.
We have this insanely small linen closet so I needed a place for quilts and comforters. Since we have 91/2 ft. ceilings, I borrowed 2 ft and added a shelf. I folded everything neatly and put them in pillowcases. Now I had the perfect storage space, I just needed to hide them somehow.

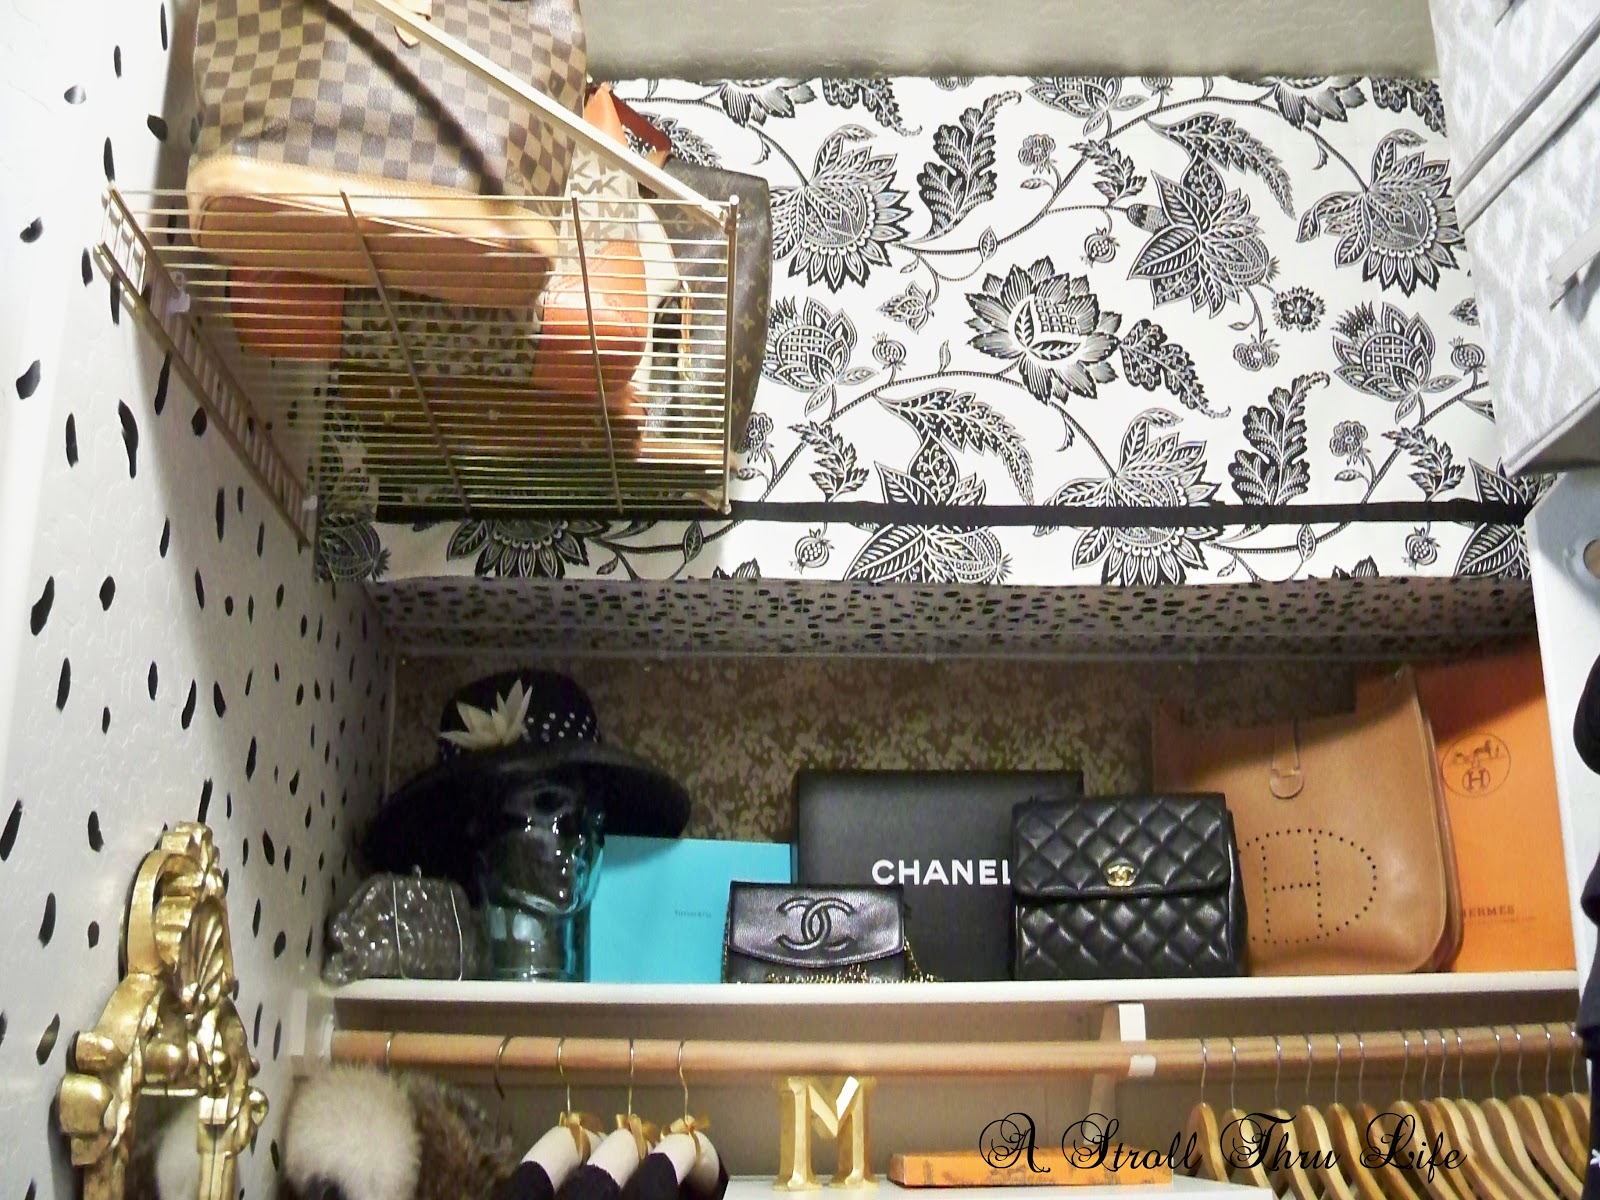
I lined the bottom of the wire shelf with some dot and dash fabric that was the inspiration for my wall treatment and then used another fabric I had to make a shade. Hides the quilts and adds more “Pretty” too.
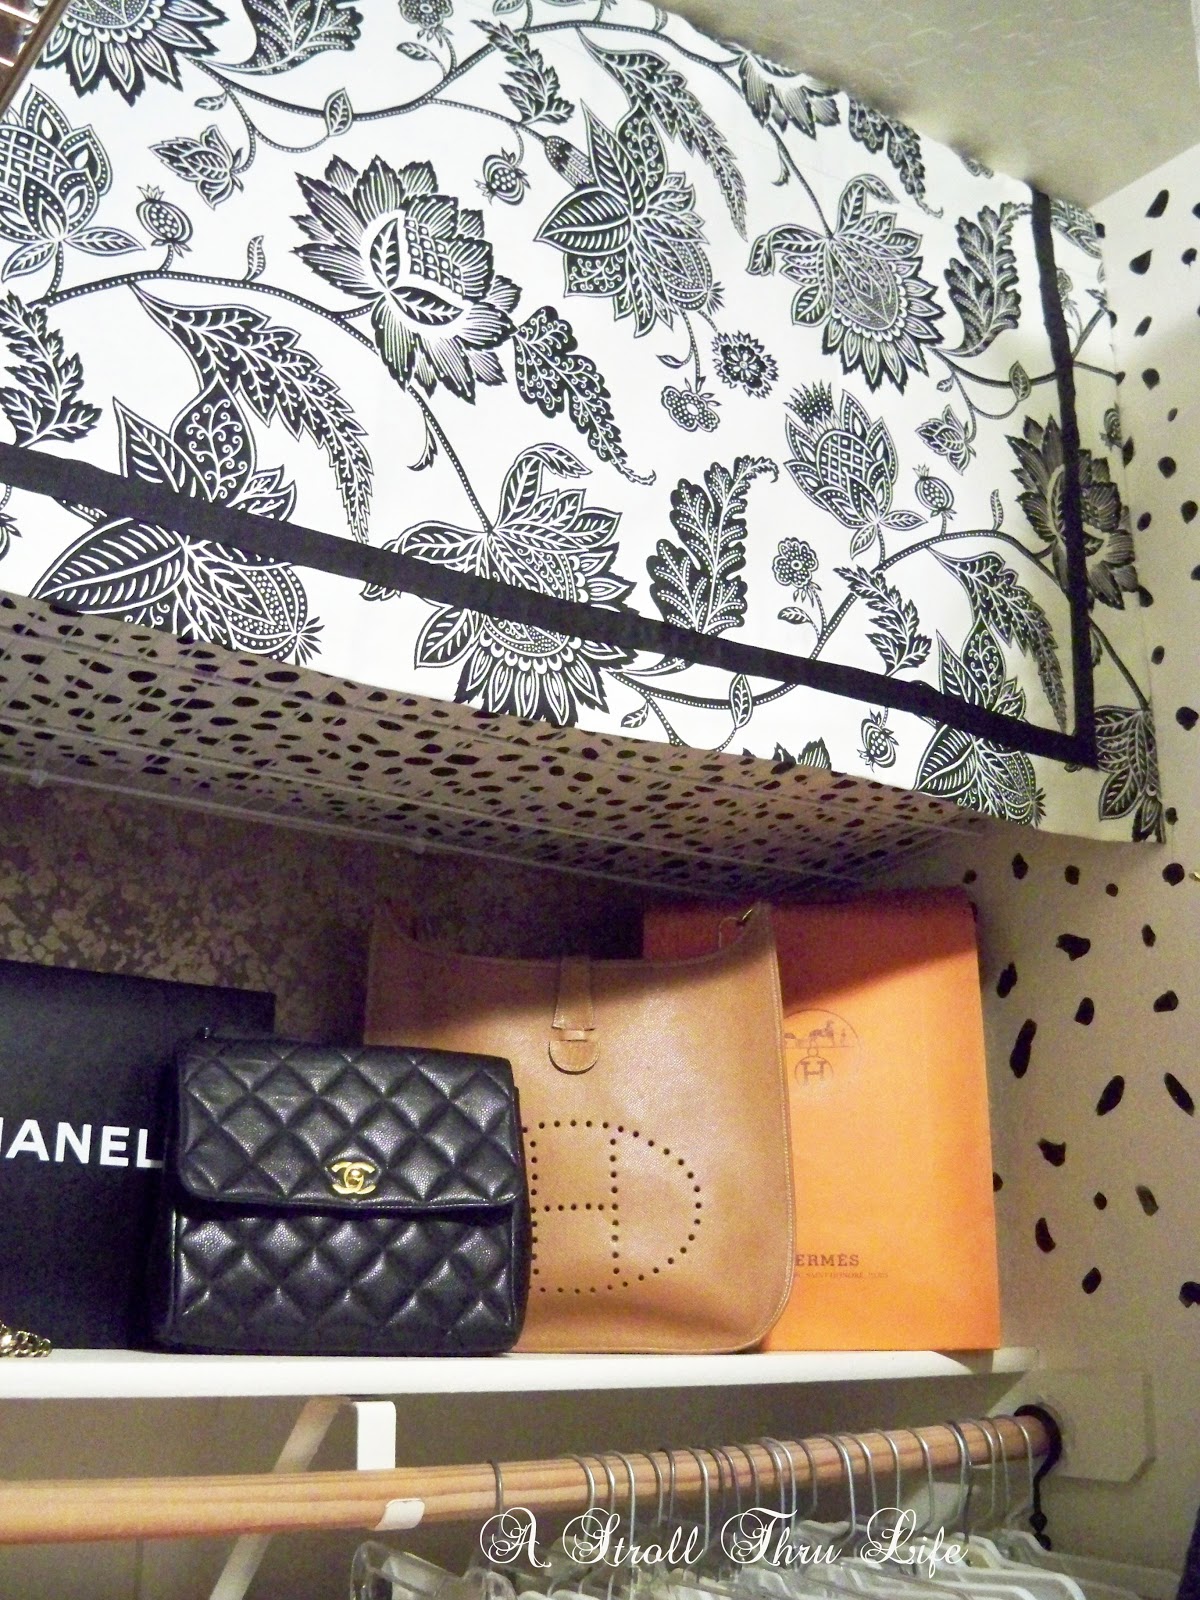
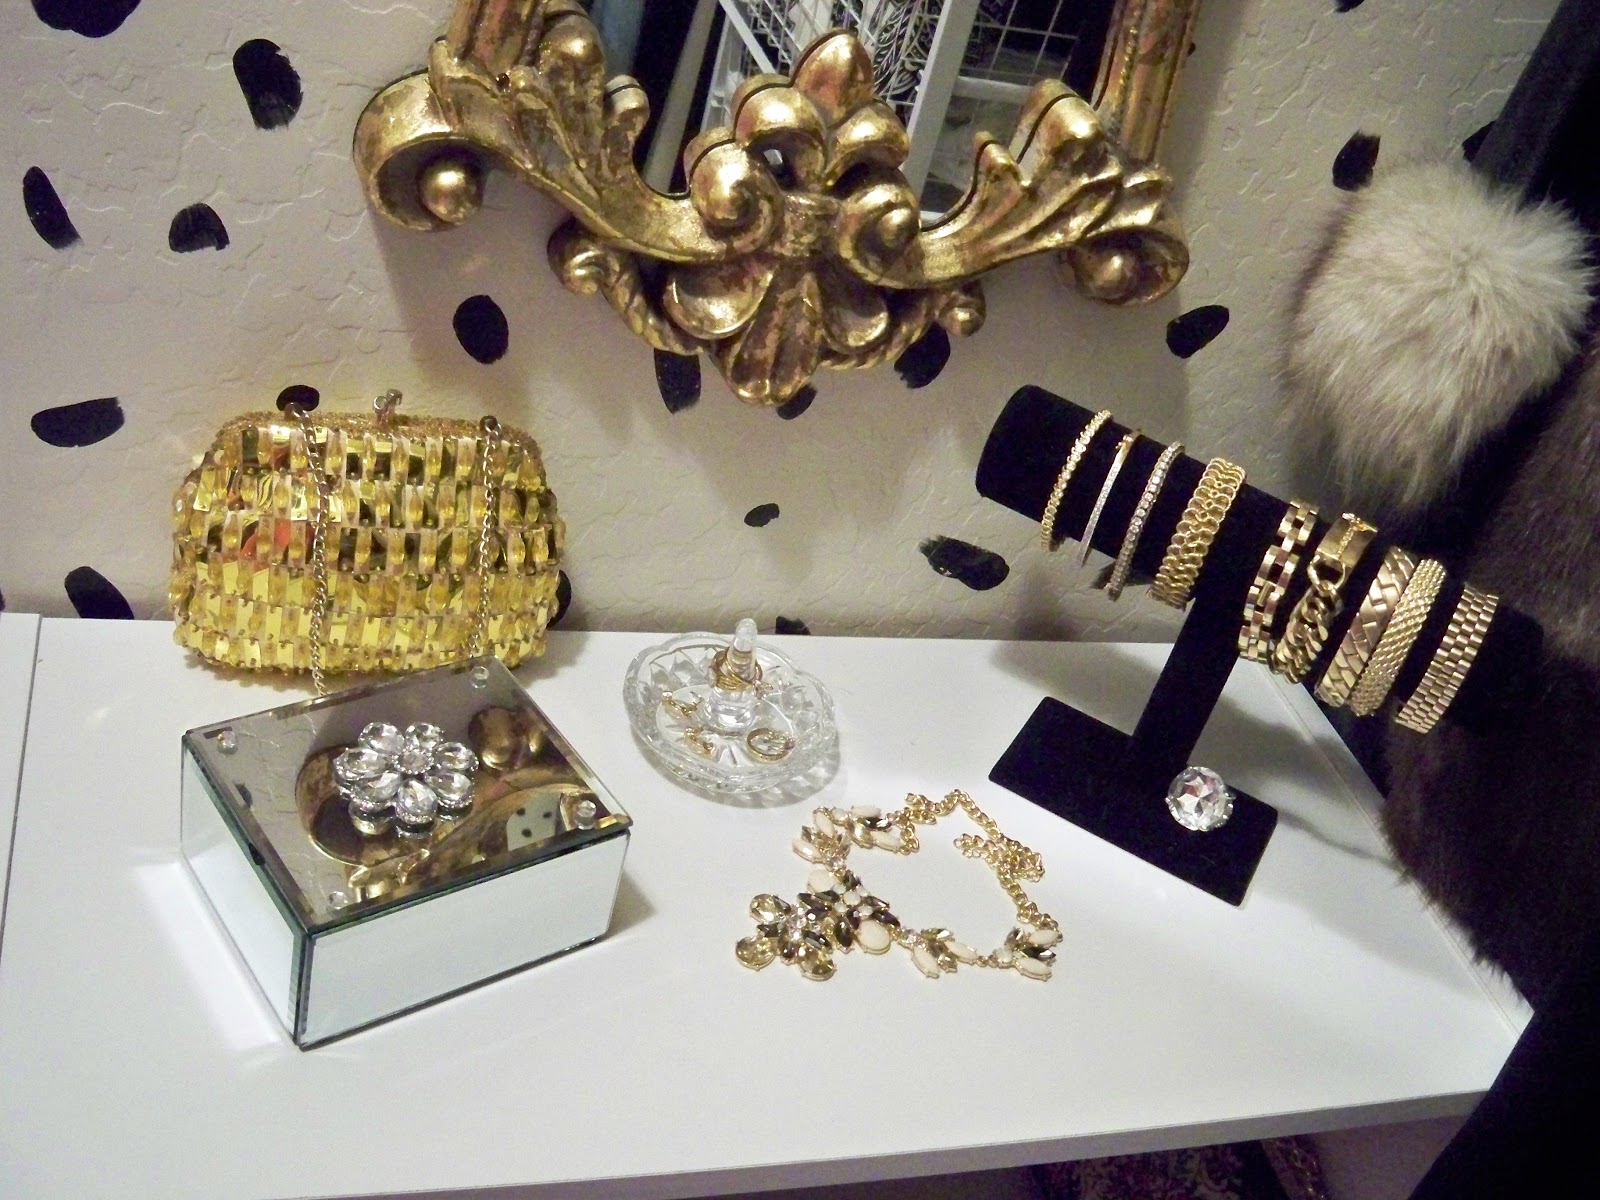
The bottom shelf became my glamour spot to showcase some of my favorite accessories.

I gave the back of the wall a little glitz with some gold gild vinyl. Sparkle is always good, right?

I wanted a place where I could easily reach my backpack and more handbags, so I spray painted a piece of wire shelving gold and hung it up high on this corner. (I tried to make every inch count.)

We have a wire basket unit for socks, underwear and lingerie, so I placed it in the center of the back wall under the single rod. Just enough room to hang my dressy things on one side –
and my slacks on the other side. Now what to do with those ugly wire drawers. I was testing out different fabric to line the drawers with, then hubby came up with the perfect solution.

How fabulous does this look!!!

He bought some white laminate Masonite and cut out fronts for each of the drawers. I found some really fun knobs at HL to finish it off. This definitely adds to my “Pretty” that I am going for.

Now I had just enough room for a primping spot on this corner.


every girl likes to see something “Pretty” –
and have a place for her favorite shoes. (There’s a matching bookcase on hubby’s side for his shoes too. Check out the floor plan pic. )

I don’t wear heels all that often anymore, so these three are all I need to have out, of course I need to be able to grab my favorite flats and tennis shoes, so they all got a spot.

Around the corner the back of the door holds a shoe caddy with some everyday sandals and a great full length mirror fits perfectly on the wall space behind the door. (Remember, I am using every inch.)

That just left two finishing touches – A Telescoping Valet Rod. I had this, just never got it installed.

and a Chandy. Nothing says “Pretty” like a crystal chandy. Black and gold with lots of sparkle.

I hope you enjoyed touring my closet, I had a ball putting it all together.

You can follow each week here, here, here and here. I set a budget of $300. The chandy took me over, but it was so worth it.
fabric – already had 0.00
paint – already had 0.00
Hangers – Ross 73.91
2 shoe cabinets (bookcases) – Walmart 58.00
6 storage boxes – Walmart 50.70
3 round storage bins – Ross 37.97
hanging shoe organizer – Walmart 9.25
full length wall mirror – Ross 19.95
drawer knobs – Hobby Lobby 14.00
valet rod – already had 0.00
masonite – Home Depot 9.41
Chandy – Lamps Plus Closeout 71.00
TOTAL $344.19


You can still link up to Inspire Me Tuesday, so let us know what you’ve been up to and link up everything.
If you like Thrifty & Chic on a Budget, I would love to have you follow me.
Check out Pinterest & See behind the scenes on Instagram
