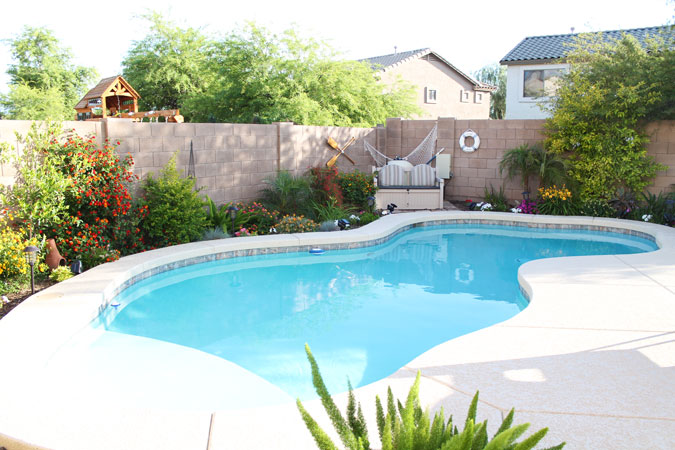
I loved that you all ask for my hubby to give you some gardening tips. He loves to talk about any kind of garden. We have two different styles. I like tons of flowers and his favorites are cactus and succulents. So we usually have his and hers gardens at our house. In this home I have the side with the pool and some pretty flowers – We’ve had some really big gardens in previous homes and some smaller ones. I’ll let him tell you a little about all of them.
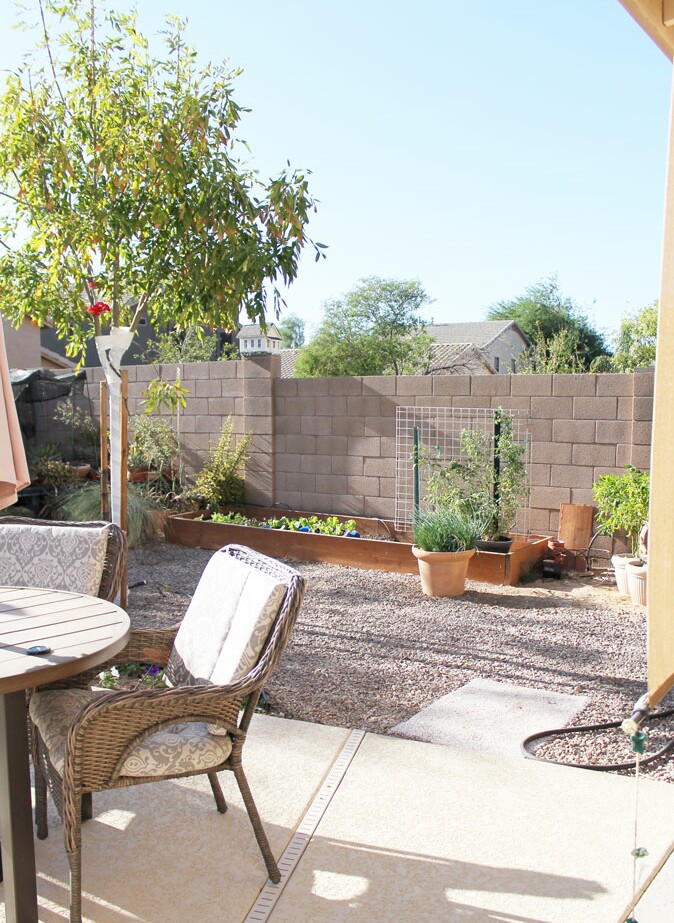
He has the right hand side with his favorite cactus and succulents and our veggie garden.
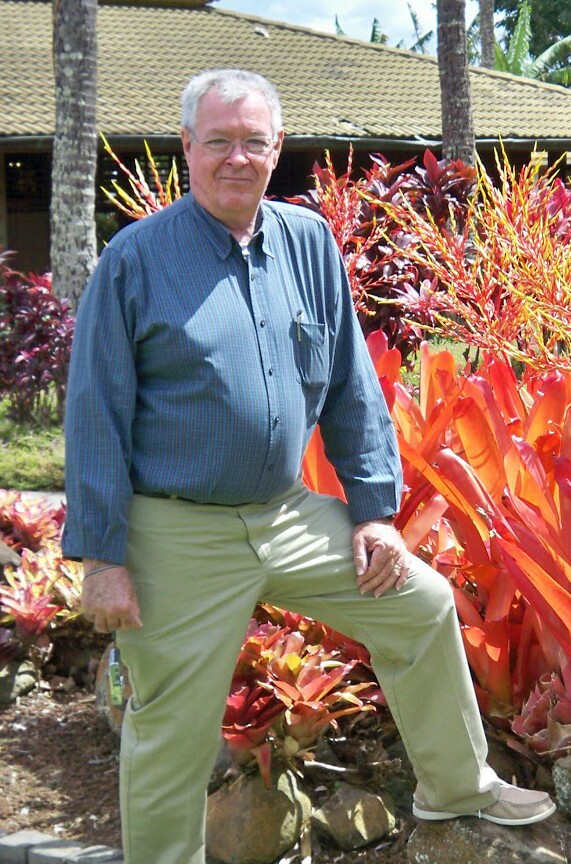
I’d like to introduce you to my hubby. This is Jim, the love of my life and my own special gardener. To give you a little background on him, he’s a Master Gardener. His credits include TV, Radio, and tons of Seminars. He’s done private consulting also for hundreds of clients. Now he just does most of his gardening for me.
This was our first garden here at this home and he did some bag gardening. I did a whole post on that here.
Here’s Hubby’s Tips –
BAG GARDEN
A bag garden is the easiest way to grow vegetable or flowers. If you don’t have the time or location for a permanent ‘in ground’ garden, this is the way to go.
Most veggies, herbs and flowers would like six to eight hours of direct sunlight to do well. Select a location with that exposure. Next run (or drive) down to your local nursery and purchase your bag(s) of potting soil. Do not use planting mix. That product is for mixing into your yard soil. More on that later.
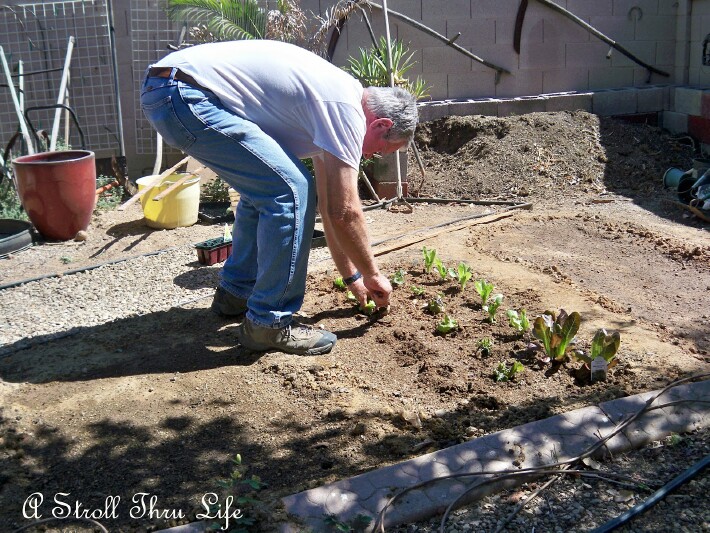
Poke several large holes, six to eight, on the front or back side of the bag that will lay on the soil for drainage. Then remove most of the top of the potting soil bag as shown in the photo. I used one bag for each six pack of leaf lettuce. The potting soil had enough nutrients to feed for three months.
Keep the bags moist not soggy and when plants are big enough to start harvesting, you will have leaf lettuce all winter and spring. Feed as necessary if you have a long growing season.
Hubby’s Tips –
SMALL RAISED GARDEN
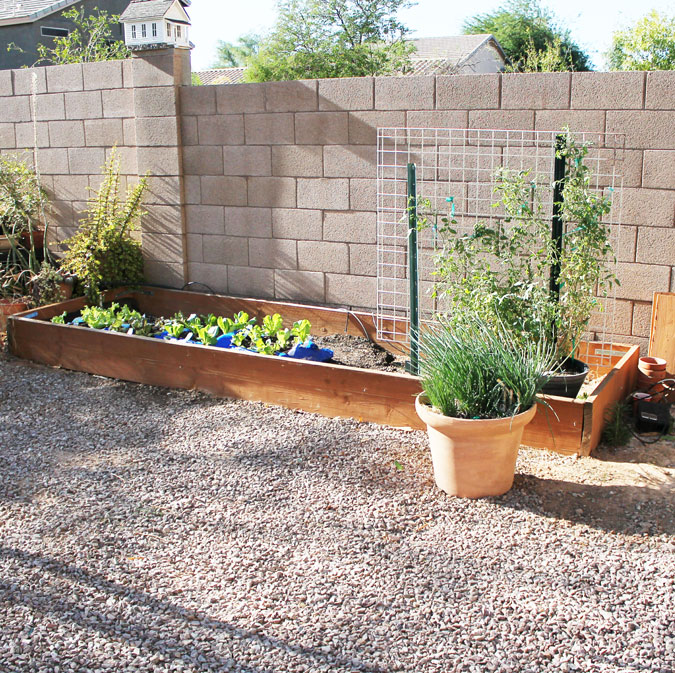
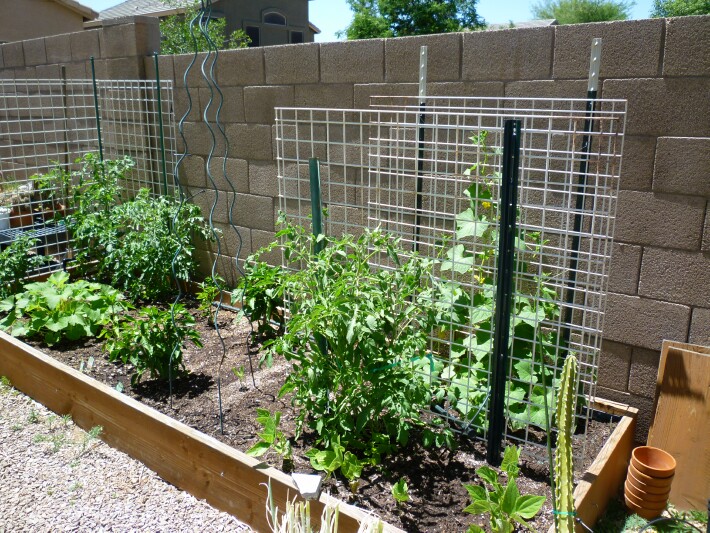
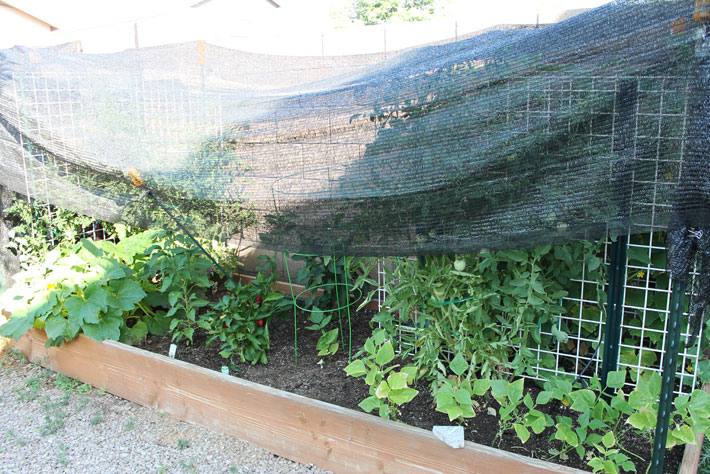
This raised garden is 12’ X 4’ and made from 2” X 12” X 12’ treated lumber and just sits on the ground. The advantage to using this type of construction is you can make the wood boxes any size you want. A smaller box for children to garden in is always fun and educational too. When the lettuce season was over, I just dumped out the bags of potting soil into the bed. A quick look over and it was decided that just a few more bags would fill it up for the warm weather crop and that is just what we did. The small raised bed now has four different types of tomato plants, four types of pepper plants, zucchini, cucumbers, and green beans.
The hot desert summer sun is really hard on tomato and pepper plants. I covered the garden with shade cloth to help them ripen without getting sunburned.
IN THE GROUND GARDENS
Hubby’s Tips –
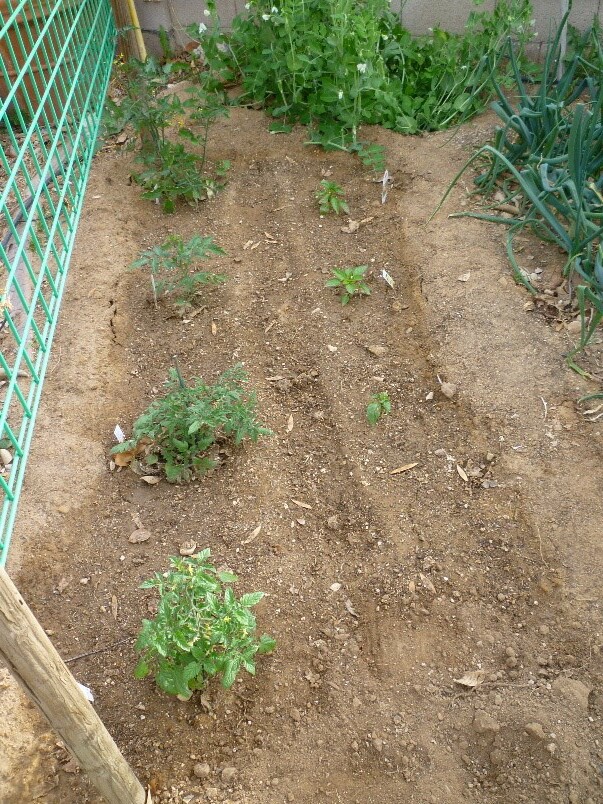
You can plant right in your yard if you have some half way decent dirt. If not turn it over and add some good planting mix and stir it in well. Your garden center will be able to tell you what to use to amend your soil. Then you can just create rows and plant anything. Some things may need to be staked so you can see how we added a small garden trellis. We’ve had great success with In the Ground Gardens, that’s how the farmers do it. Just make sure you have some decent soil.
BIG RAISED GARDENS
Big Scale Raised Gardens – This was the garden in a previous home that I really loved. We fed half the neighborhood out of this garden.
Hubby’s Tips – If you have the time and room a large raised garden is really nice. We had some great top soil brought in for this garden and then each season we added nutrients to keep the soil well amended. This one kept Marty and me, and a couple of neighbors in tasty goodies most of the year. Works just like the small raised garden only on a larger more permanent scale.
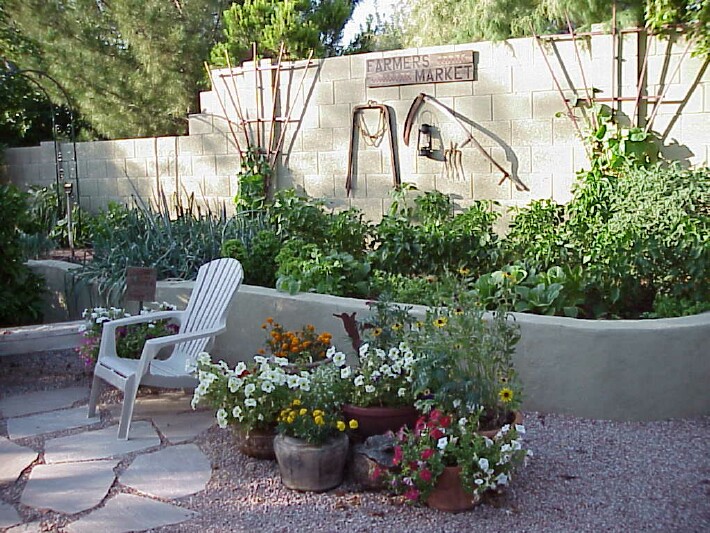
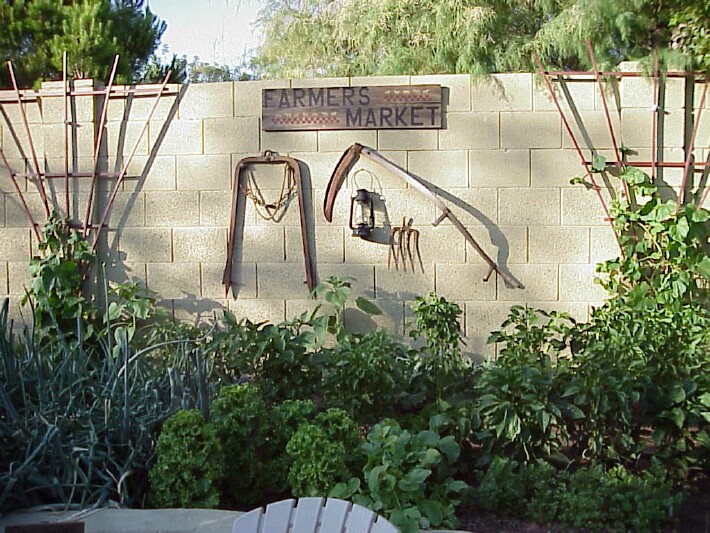
Of course, while he was growing things, I had to decorate. I found some old farm items, so I hung them on the wall.
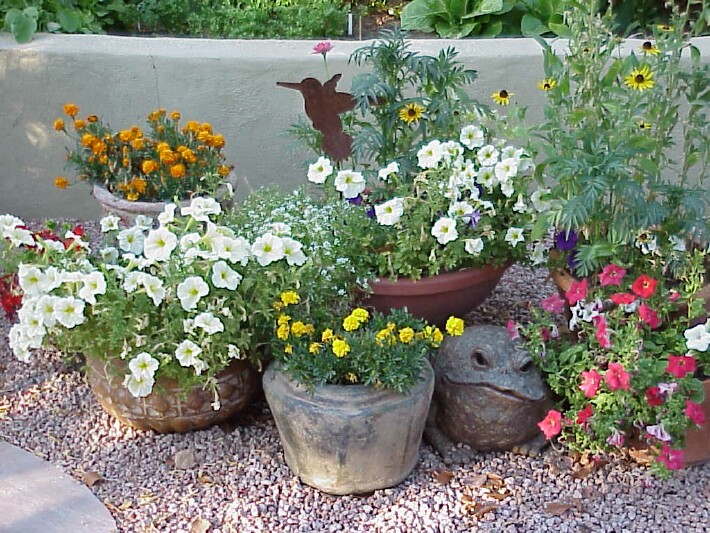
I just had to add a hidden bit of whimzy to the container area. I put some fun flowers in the containers, but you could put things like tomato plants, peppers, squash, anything that doesn’t need a ton of room.
Hope this helps, having a garden is fun and such a great way to have some really fresh veggies. Nothing tastes as good as fresh home grown. Jim.

Oh Marty (and Jim) what a fun treat to meet Jim after all these years.
He is an excellent gardener – and I think your entire yard is gorgeous.
Have a blessed day – enjoy that pool today!
Hugs.
Thanks Michele, wish you were here to enjoy it with us. Marty
I loved meeting your husband , I love gardening too. I can really appreciate all the hard wire and love in your gardens . Thank you for sharing .
Thanks so much, it was so fun to have him share his talent.
This sounds like home! My husband does the veggie gardens and I do the flowers. He has always had his garden in the ground but we are considering building raised beds instead. Thank your husband for his gardening tips!!!!!
Un gusto conocer a tu esposo Jim…Te sigo hace bastante tiempo desde Costa Rica y me encantan los jardines y ahora mismo sembre una planta de chile dulce en maceta que espero prospere.
También me gusta mucho los enlaces que pones de decoración.. Tienen una linda casa. Bendiciones
Can Jim tell me why my Celosia blooms have no color. They have reseeded and grown but the blooms have no color I have added osmocote to no avail. My mums look sad too. I am here in Phoenix too.
Celosia can survive in poor growing conditions. The key word here is ‘survive’. The growing conditions for really happy and colorful Celosia are: (1) soil containing organic material, (2) a soil pH of 6.0 to 7.0, slightly acidic to neutral, (3)moist soil, not soggy, in the root area, (4)fertilizer to promote flowering and (5) 6 to 8 hours of sunlight. If you can provide your plants with that, your garden should be a riot of color.
Here in the Phoenix area our native southwest desert soil can be hard compacted dry soil with less than 2% organic material, and a pH that can be 8.0, very alkaline, or higher.
The Celosia you buy at the nursery are grown in a highly organic potting mix, fed, and watered regularly and generally in greenhouse conditions.
So, when your Celosia seeds fall to the ground and sprout in spring, they really don’t have all the good growing conditions required to produce the strong healthy plants with the vibrant colors we want to see. Try using one of the water-soluble fertilizers such as Miracle Grow or Peters. Use the one for flowering plants. It has a higher phosphorus content.
I have included a link to Texas A&M plant information data base for their publication on growing Celosia.
https://aggiehorticulture.tamu.edu/newsletters/hortupdate/hortupdate_archives/2006/apr06/Celosia.html
You can download it and save as a reference for your garden information file.
I hope you find this information useful.
Jim
Wow. Thanks for the info. The NY botanical garden thought they had no color due to loss of the original hybridization. Finding the whole issue interesting. I can see why the grower prevents the seeds to produce a colorful flower in subsequent years. If they just reseed no need to buy a new plant. My plants are in a pot with purchased soil of some sort. I will try buying seeds and see what happens in subsequent years.
Thank you Jim for those gardening tips! Love how beautiful and bountiful your garden has become.
Love this!! Terrific photo of your handsome husband! As soon as the weather cools down this fall, I’m going to plant veggies. You have inspired me! Thank you for these tips. Keep ’em coming!
Thanks Jim for the ideas. What have you found to be some of the best fertilizers? I have switched to Espoma when I can find it. And insect control? I’m going to suggest the bag method to my daughter for a test run now. Do you compost? I had a difficult time with that in San Diego….keeping it moist was a challenge and I finally stopped trying.
If you are going all organic, I have used ‘Grow More’ organic fertilizers and was satisfied with the results.
Of course, I was also using my own homemade compost too. I was making 1-cubic yard a year for my garden. Just remember that the smaller the pieces of material you put in your compost pile, the faster it will break down. When we lived in California, I would trim up any plants that needed it and put the clippings on the lawn, get the blower out and clean up, blowing leaves etc. onto the lawn, then mow the lawn. The mowing chopped everything up small and it got put into the compost pile. Then I would turn the pile to get air into it and water it down. Keep the interior moist like a wrung-out sponge. Not soggy. Turned it all into ‘brown gold’ and the plants loved it.
Not knowing what kind of insects you want to control is difficult to address here. So many different kinds of bugs.
Jim
I enjoyed this so much Marty. Thanks Jim! Hugs and blessings, Cindy
Thanks for posting your gardening tips. It is nice to meet the guy you’re “ strolling thru life” with!
You are so lucky to have a master gardener in the family!
Happy day friend!
karianne
Thank you for introducing your husband, his gardens, and all of his wonderful tips!
Thanks for inviting Jim this week. Maybe it will become a regular gig ! I think it was your vacation in Hawaii that you had a photo of Jim by some red plants. Anybody remember what they were ? Here in FL the ground is really hard, so I grow bromeliads in pots. They looked like bromeliads and beautiful.
Sharp eye. Yes, it is a bromeliad.
It was a pleasure to meet you, Jim! Thank you for sharing your gardening tips. I am interested in the grid-like supports in your garden. It looks like they are supporting tomatoes and squashes. The cone-shaped supports from the big box stores are pretty much useless. Always looking for a better method.
These are part of some store fixtures I found from a store closing. They really do make the best grids.