Wow, big changes this week – It’s Beginning To Look Like A Pool.
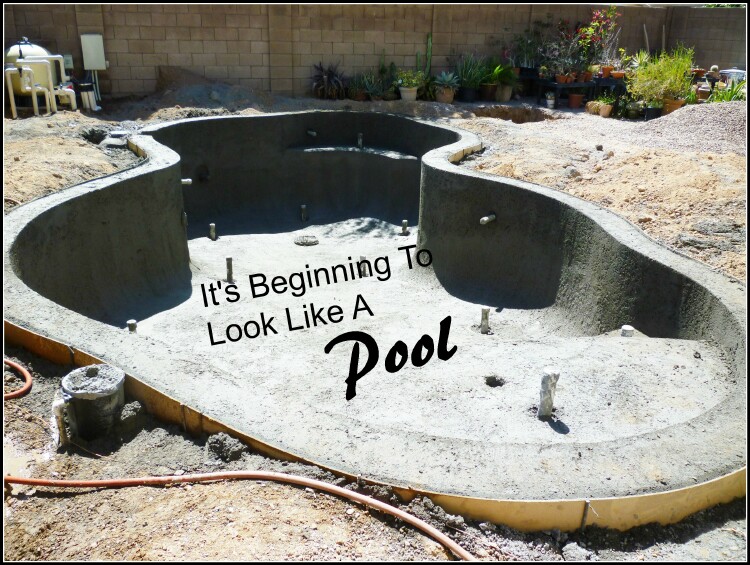
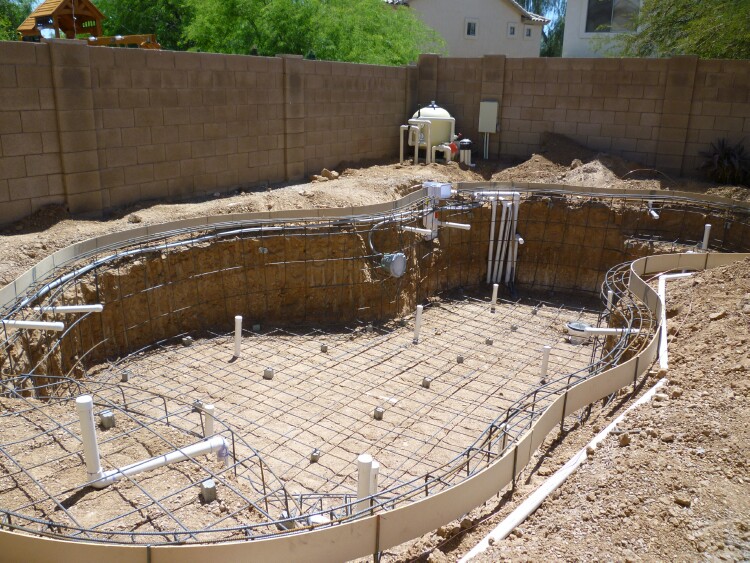
If you have been following along this is where we left off – plumbing, electrical and rebar all done. If you missed that you can catch up here. It was fascinating to see how all the “guts” of the pool were installed.
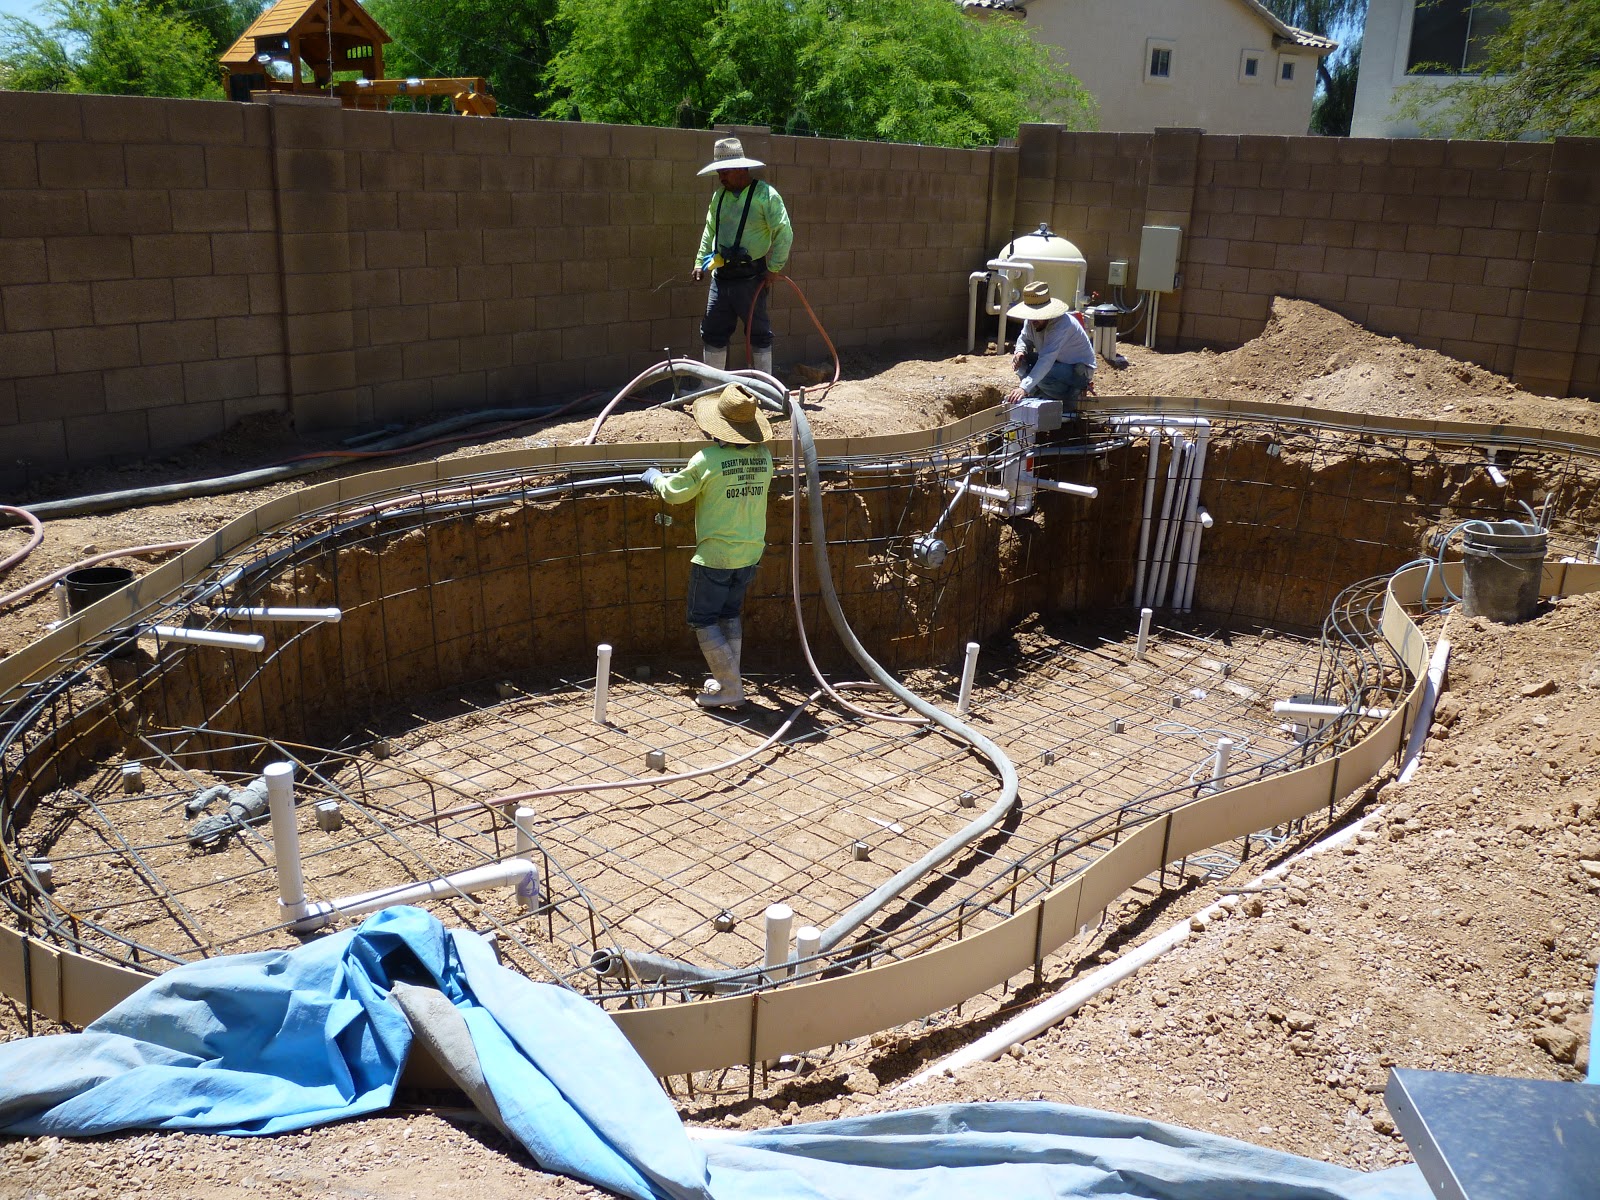
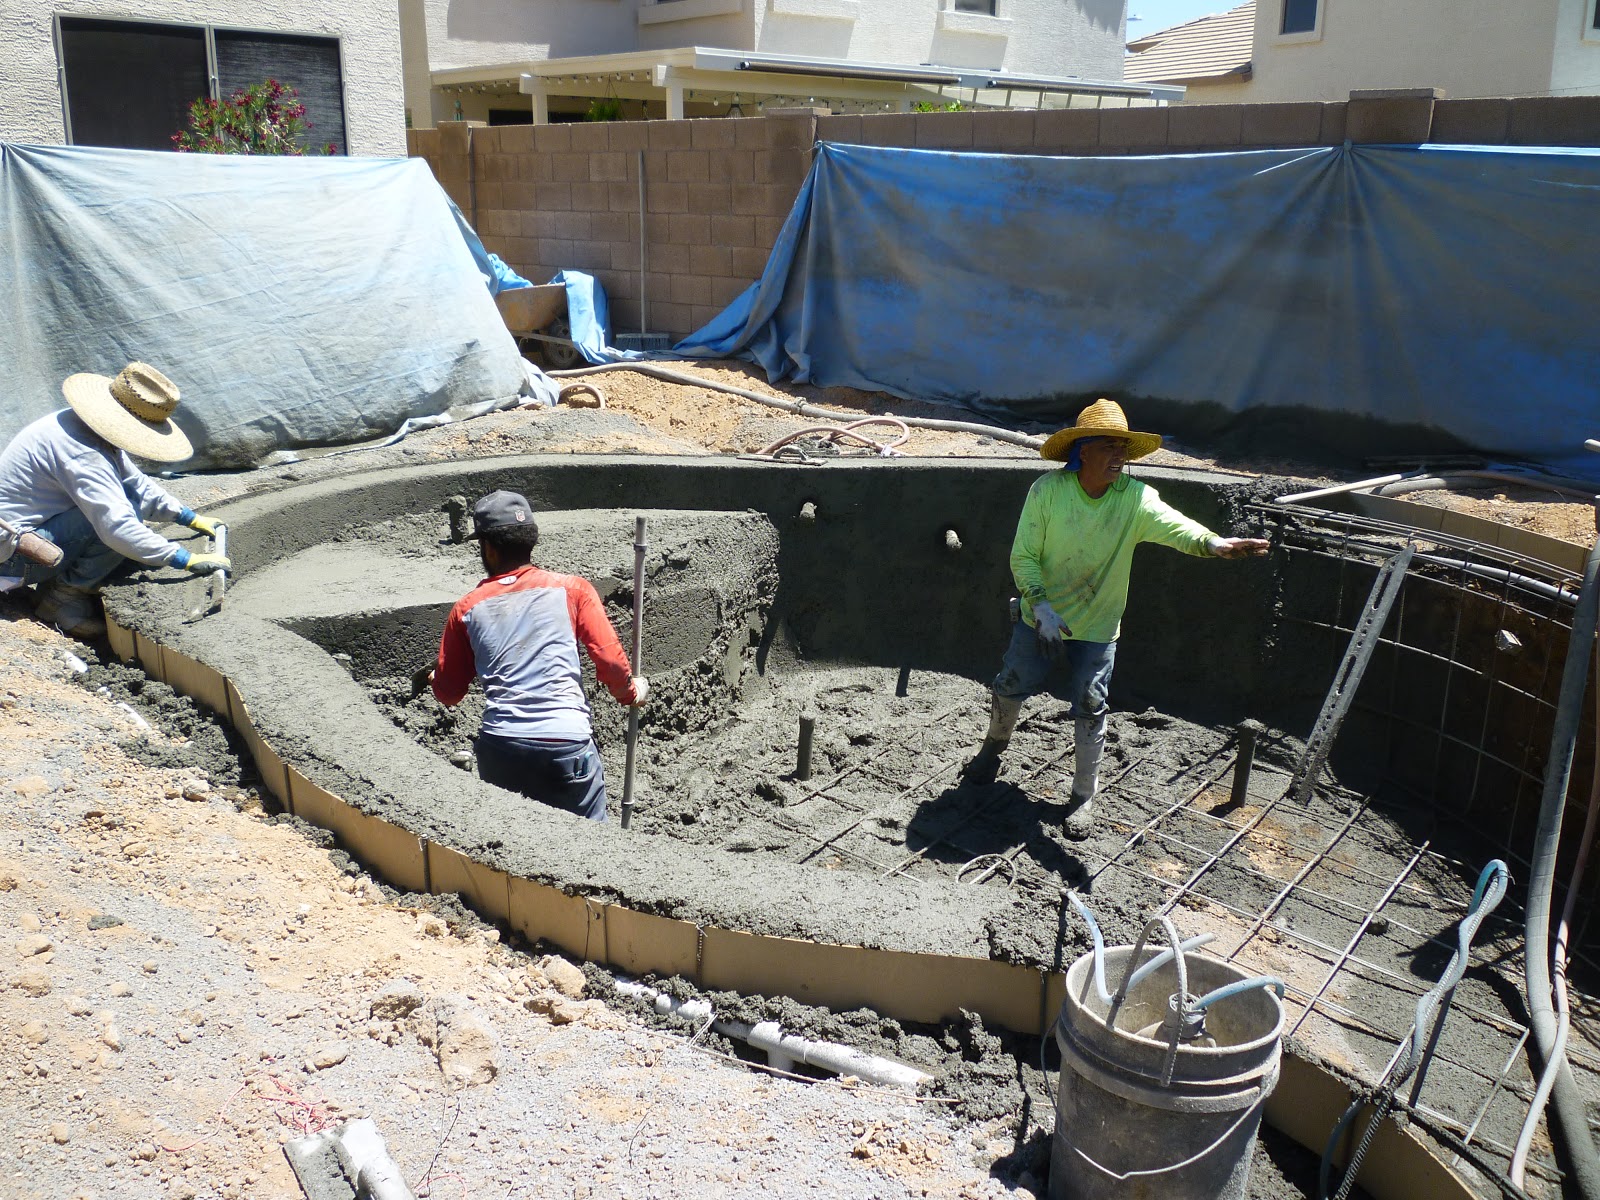
On Thursday 5/4 two trucks and a crew pulled up and things changed fast. We have shotcrete. That is the cement type base of the pool. Kind of like the foundation of your house. A truck with a big hopper and a big cement truck pulled up in front of the house and a huge hose was attached to it.

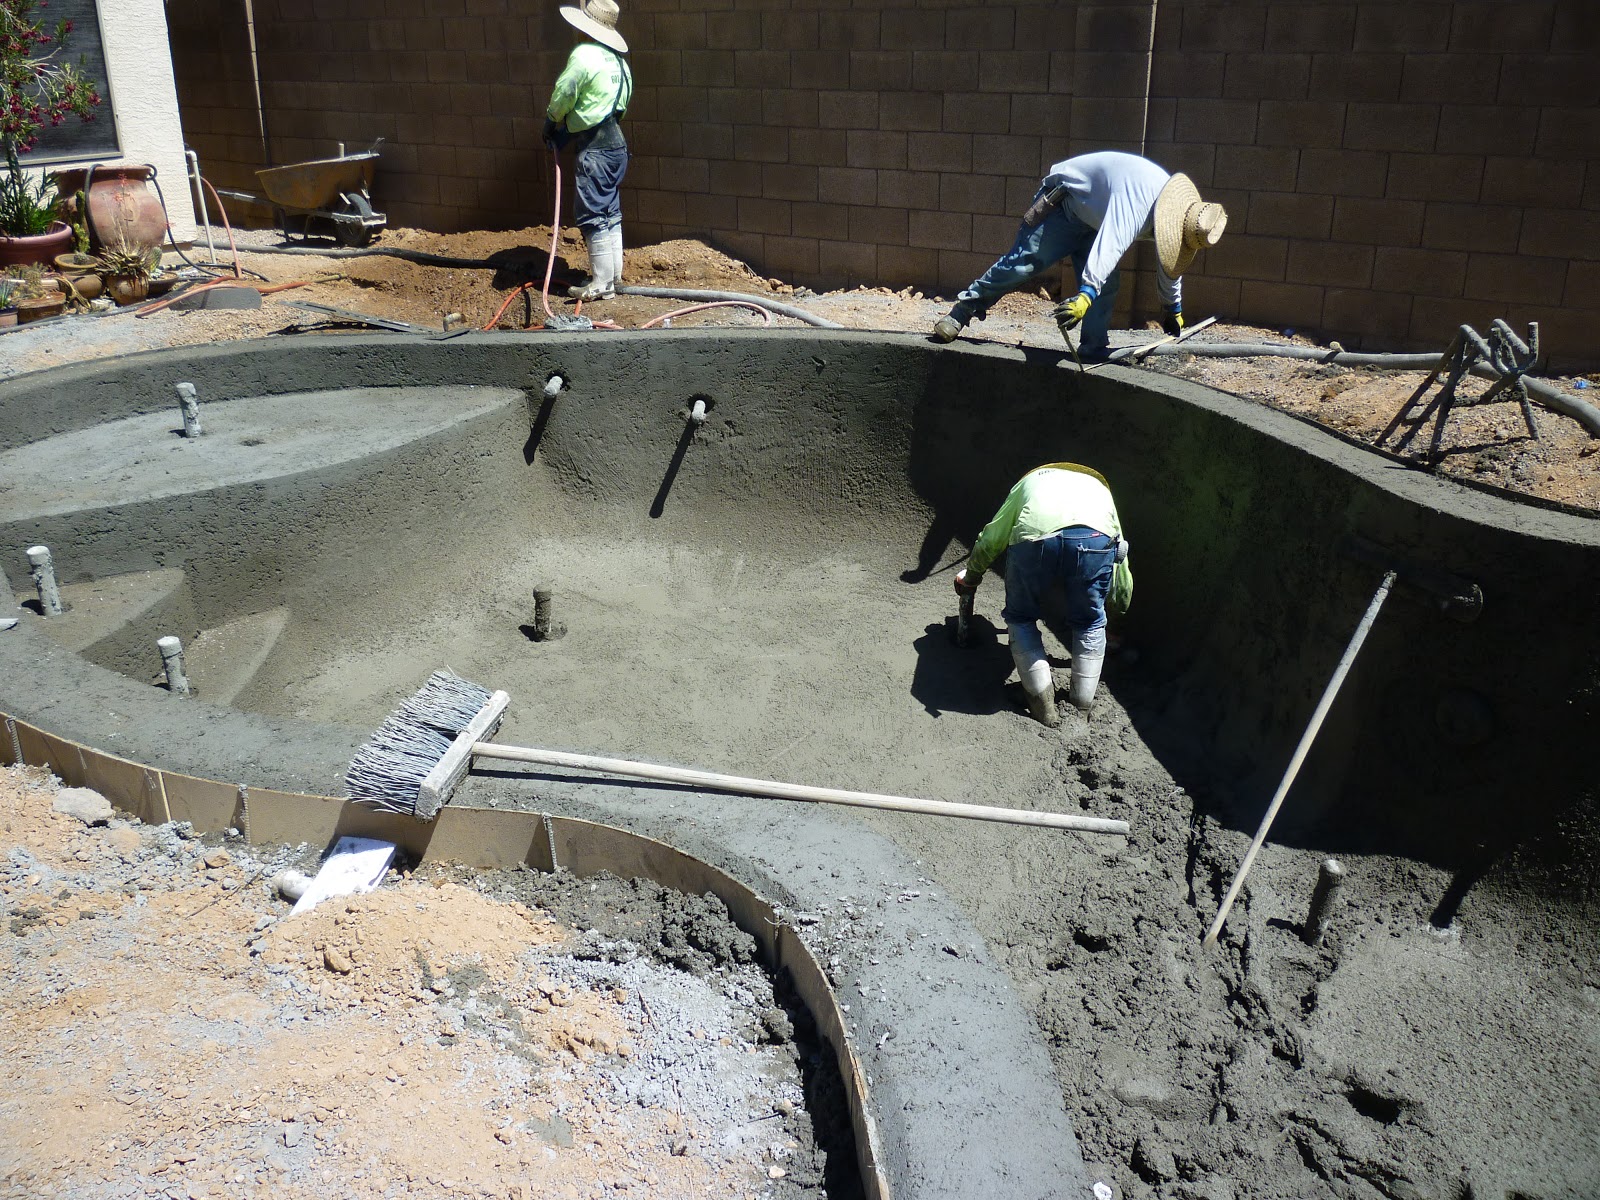
This was a 5 man crew and they all started working at a really fast pace. The hose was pulled to the back yard and a frame was constructed to hold it, another person was putting up a big huge tarp around the entire pool to keep the “shotcrete” from going all over the place.
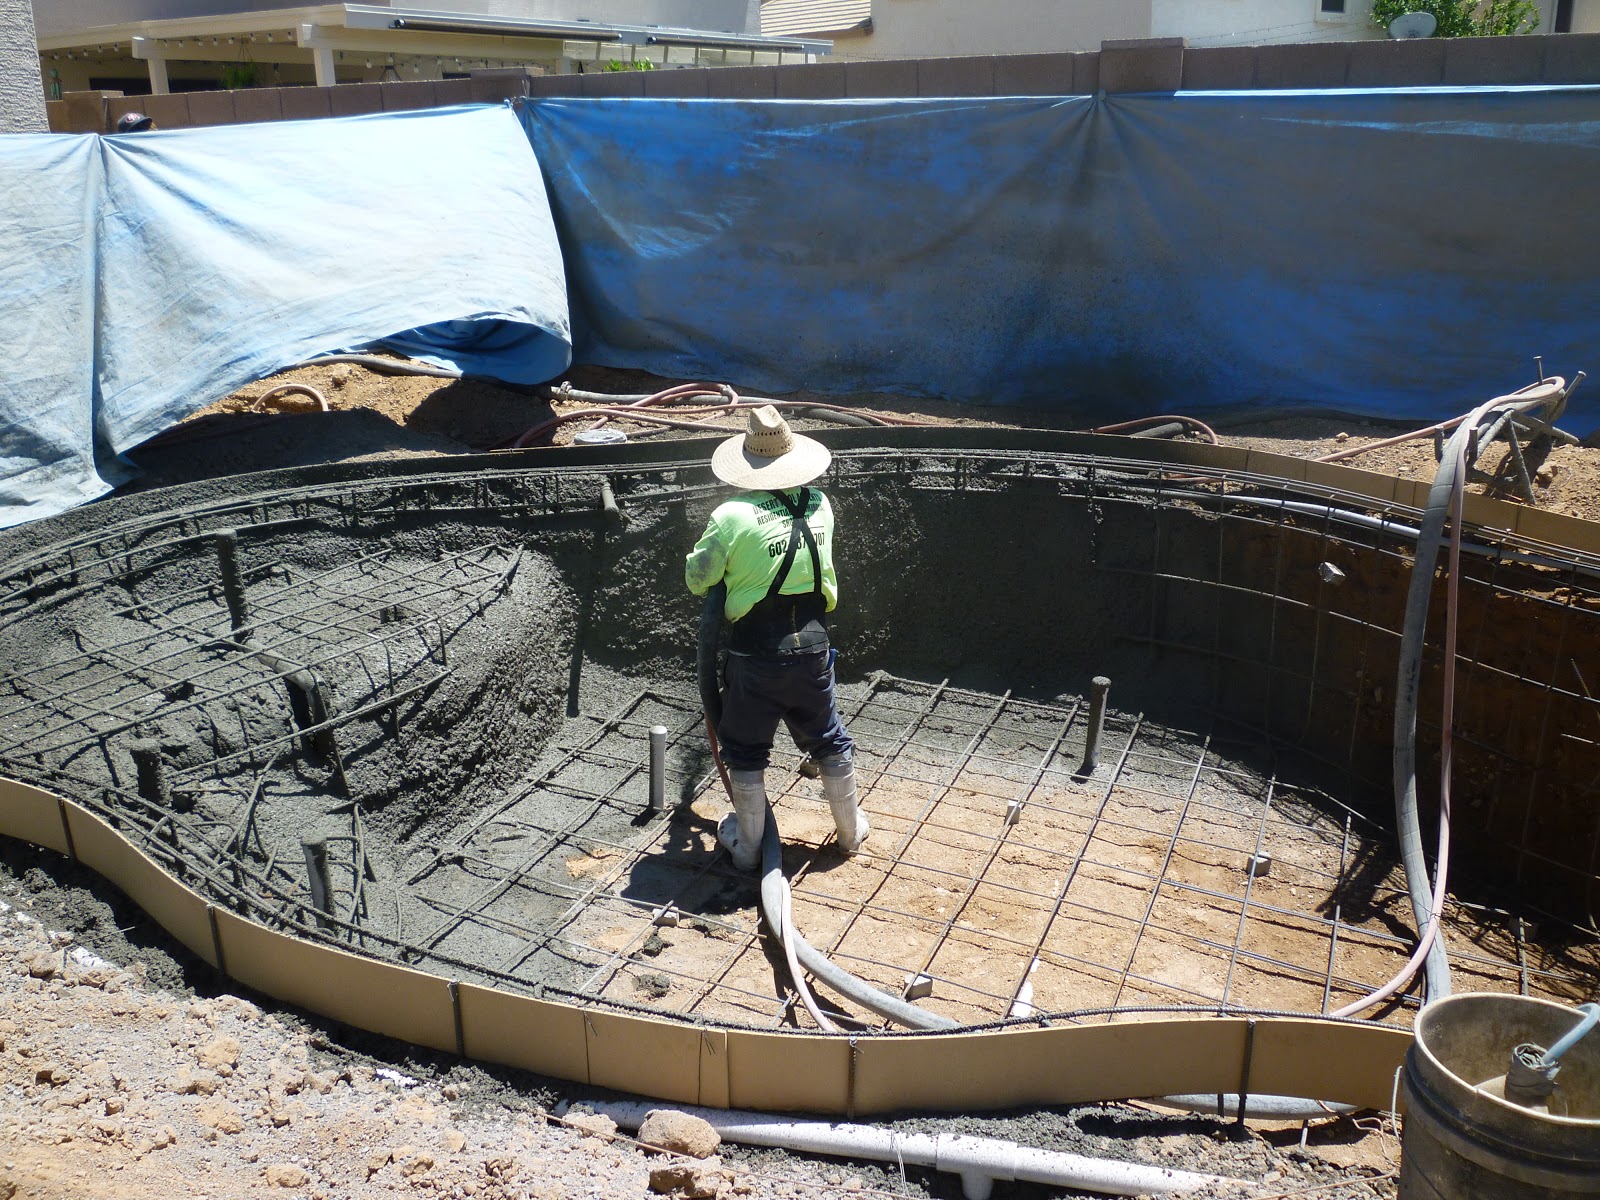
This was the guy that held the hose as the shotcrete was installed. He really had to know what he was doing or this could be a huge mess.
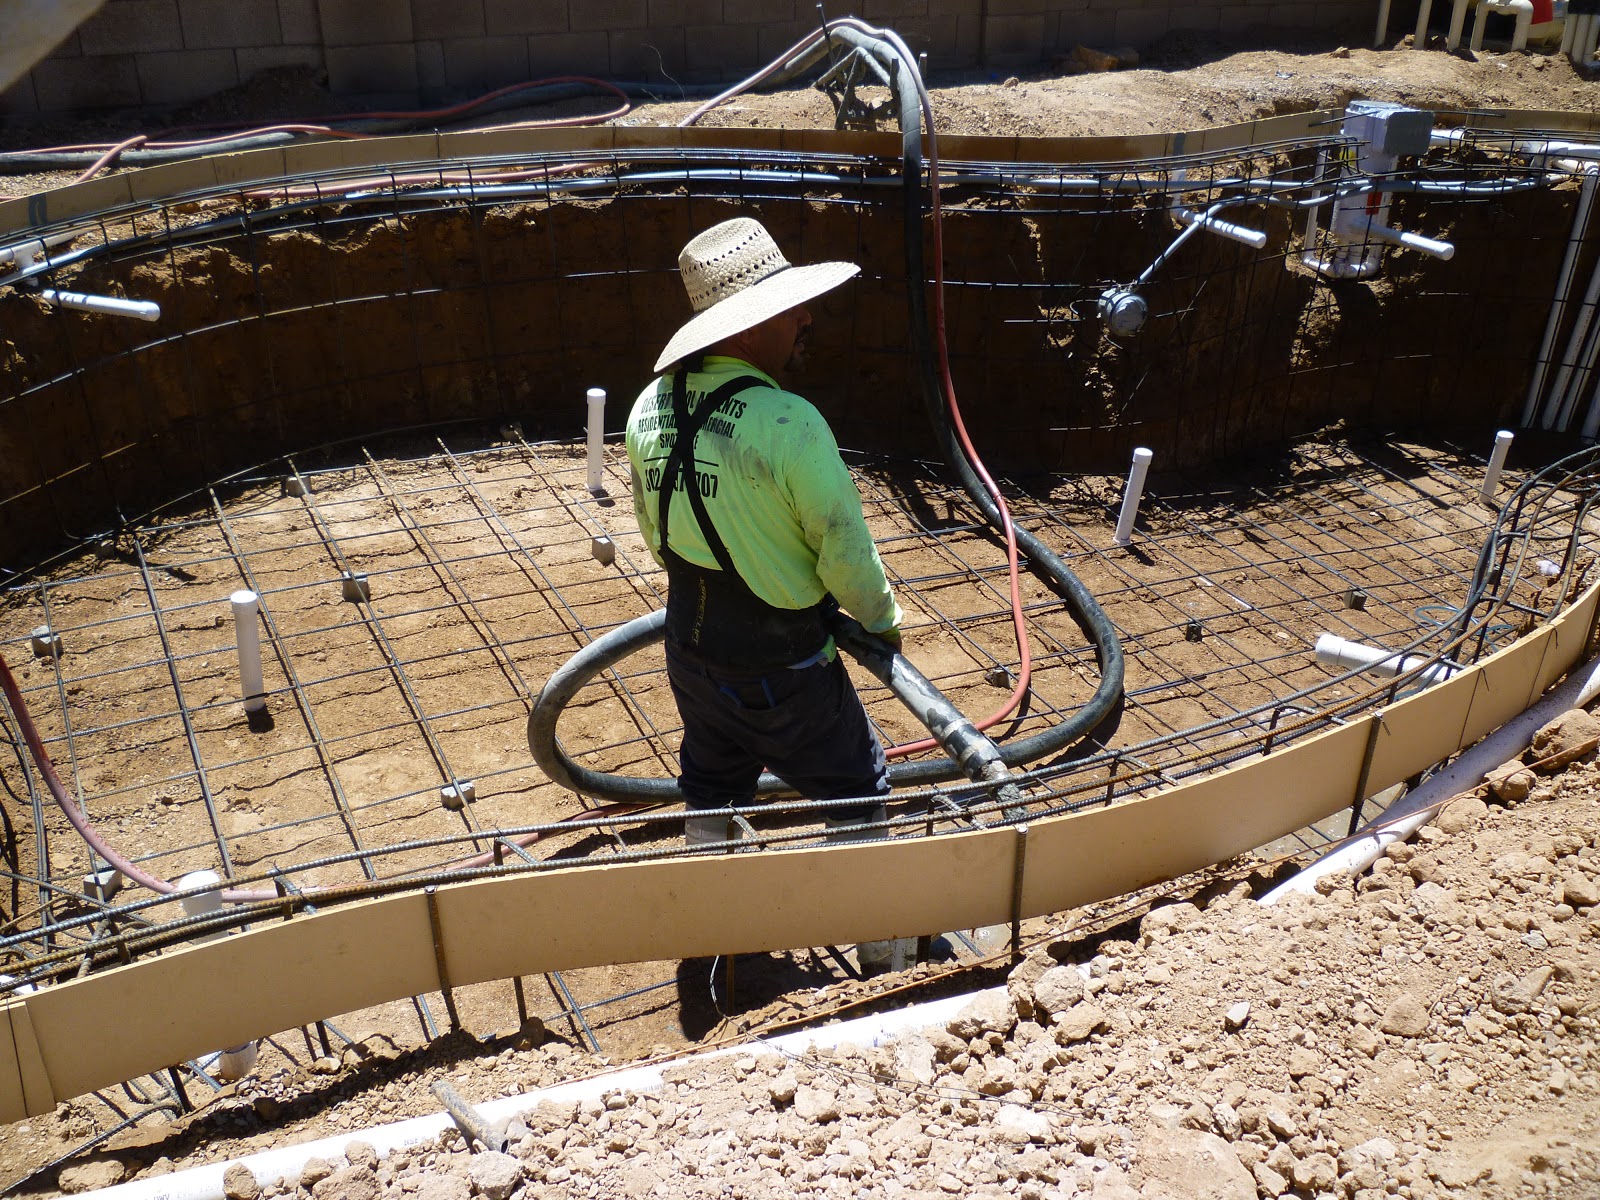
You can see part of the tarp up here, they installed it around the fence too. Then the hose was turned on and the shotcrete base began.

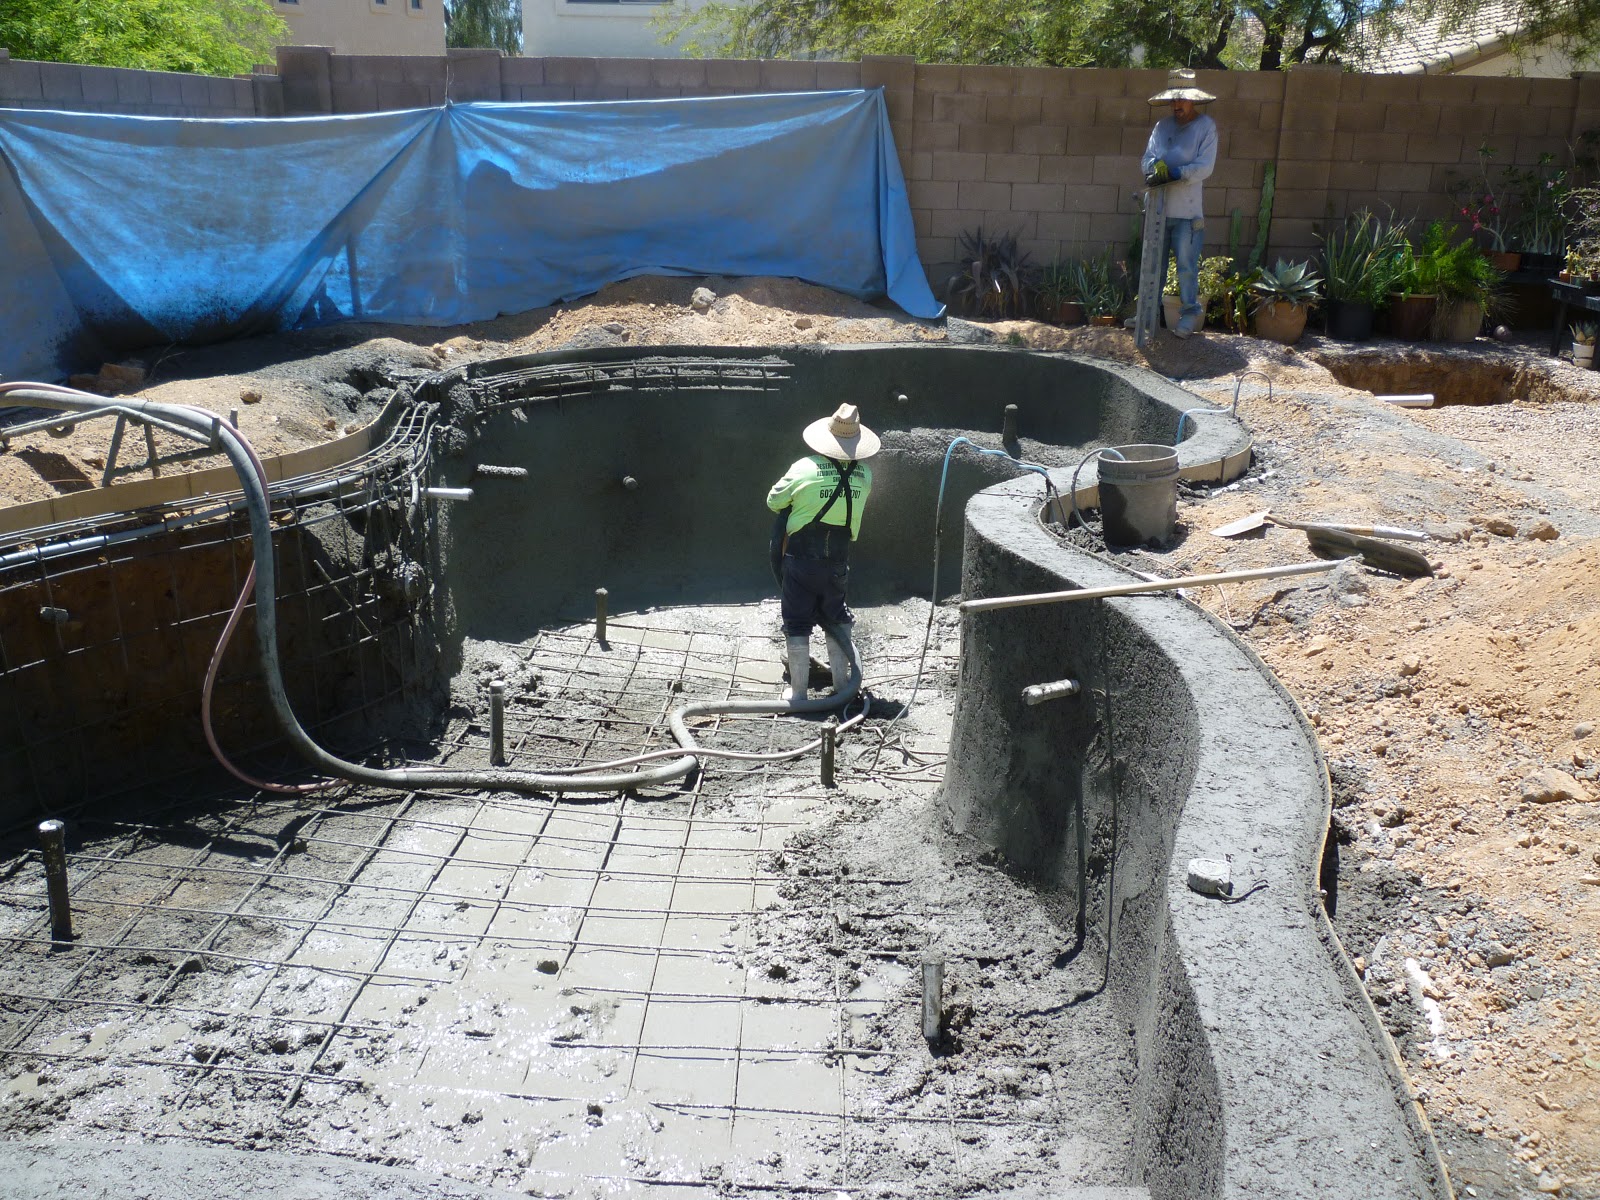
He started filling the space under the rebar, building up layer after layer. This went really fast, he had to keep moving – this stuff needed to stay wet. He first fills the area up to the rebar.
Then he filled the area to form the top.
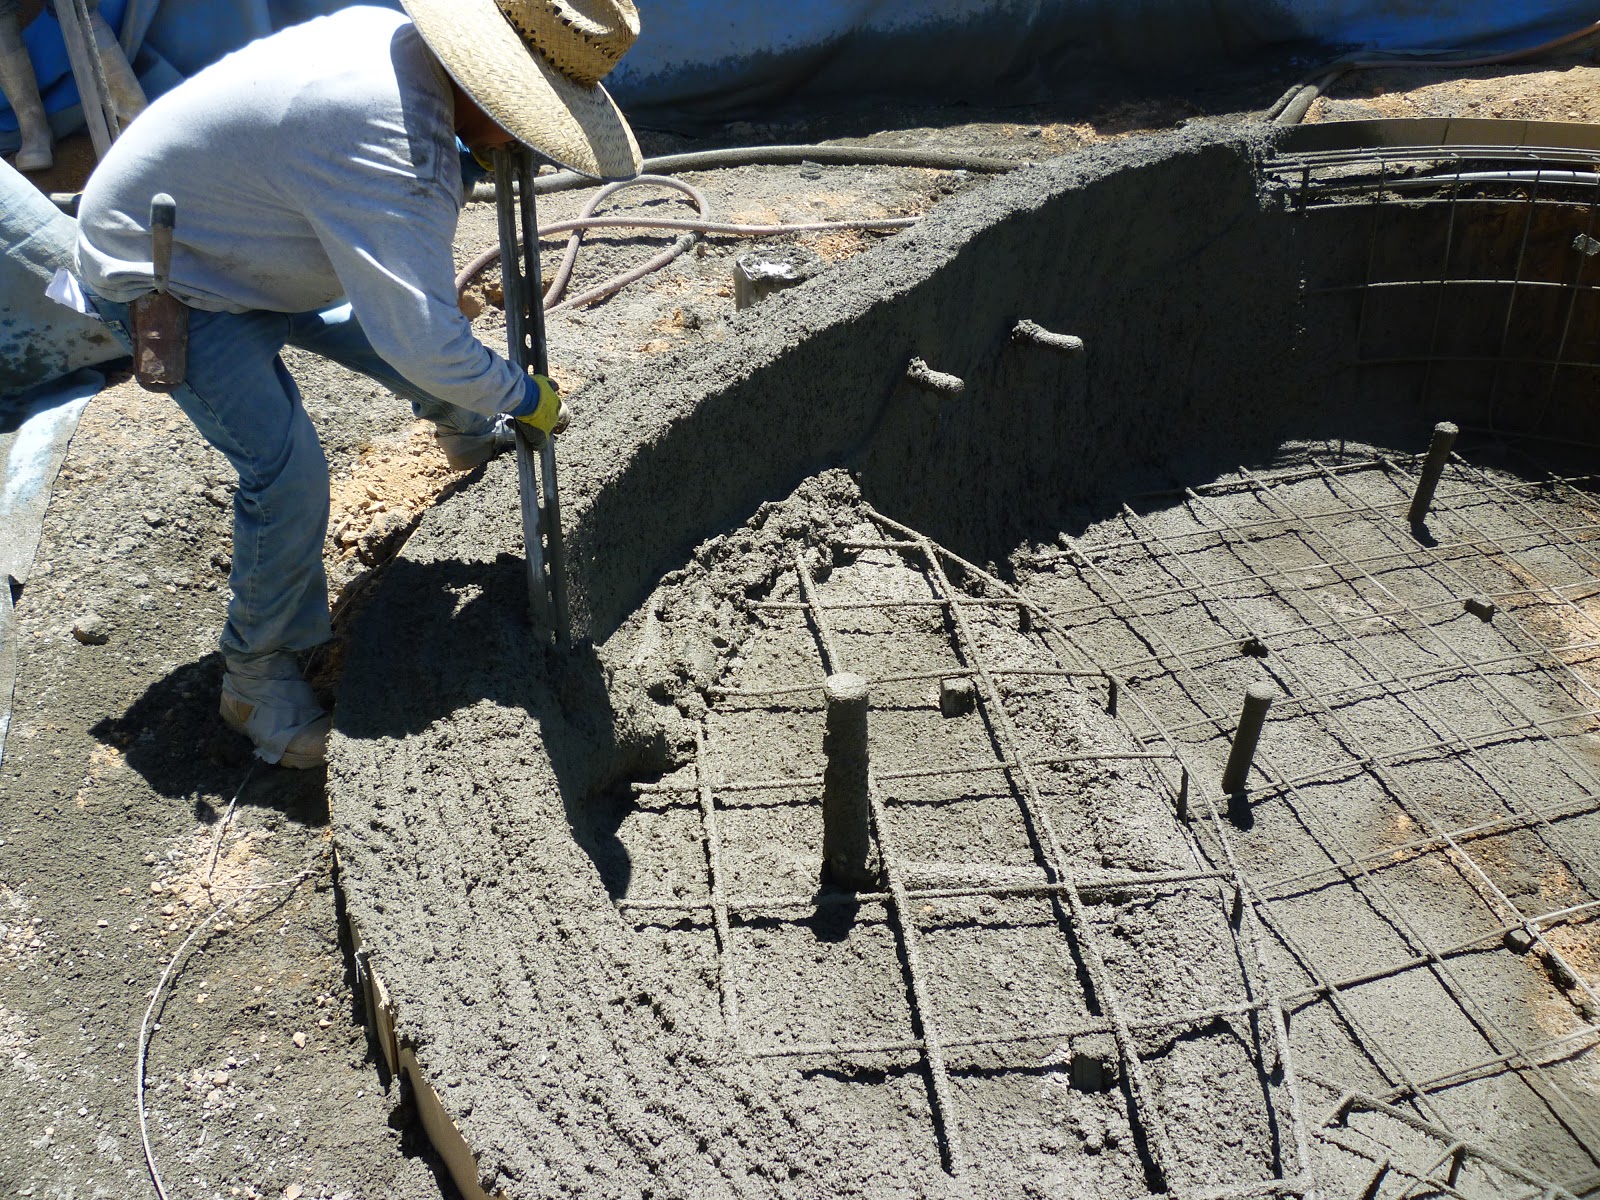
They use this big tool to cut the shape they want.
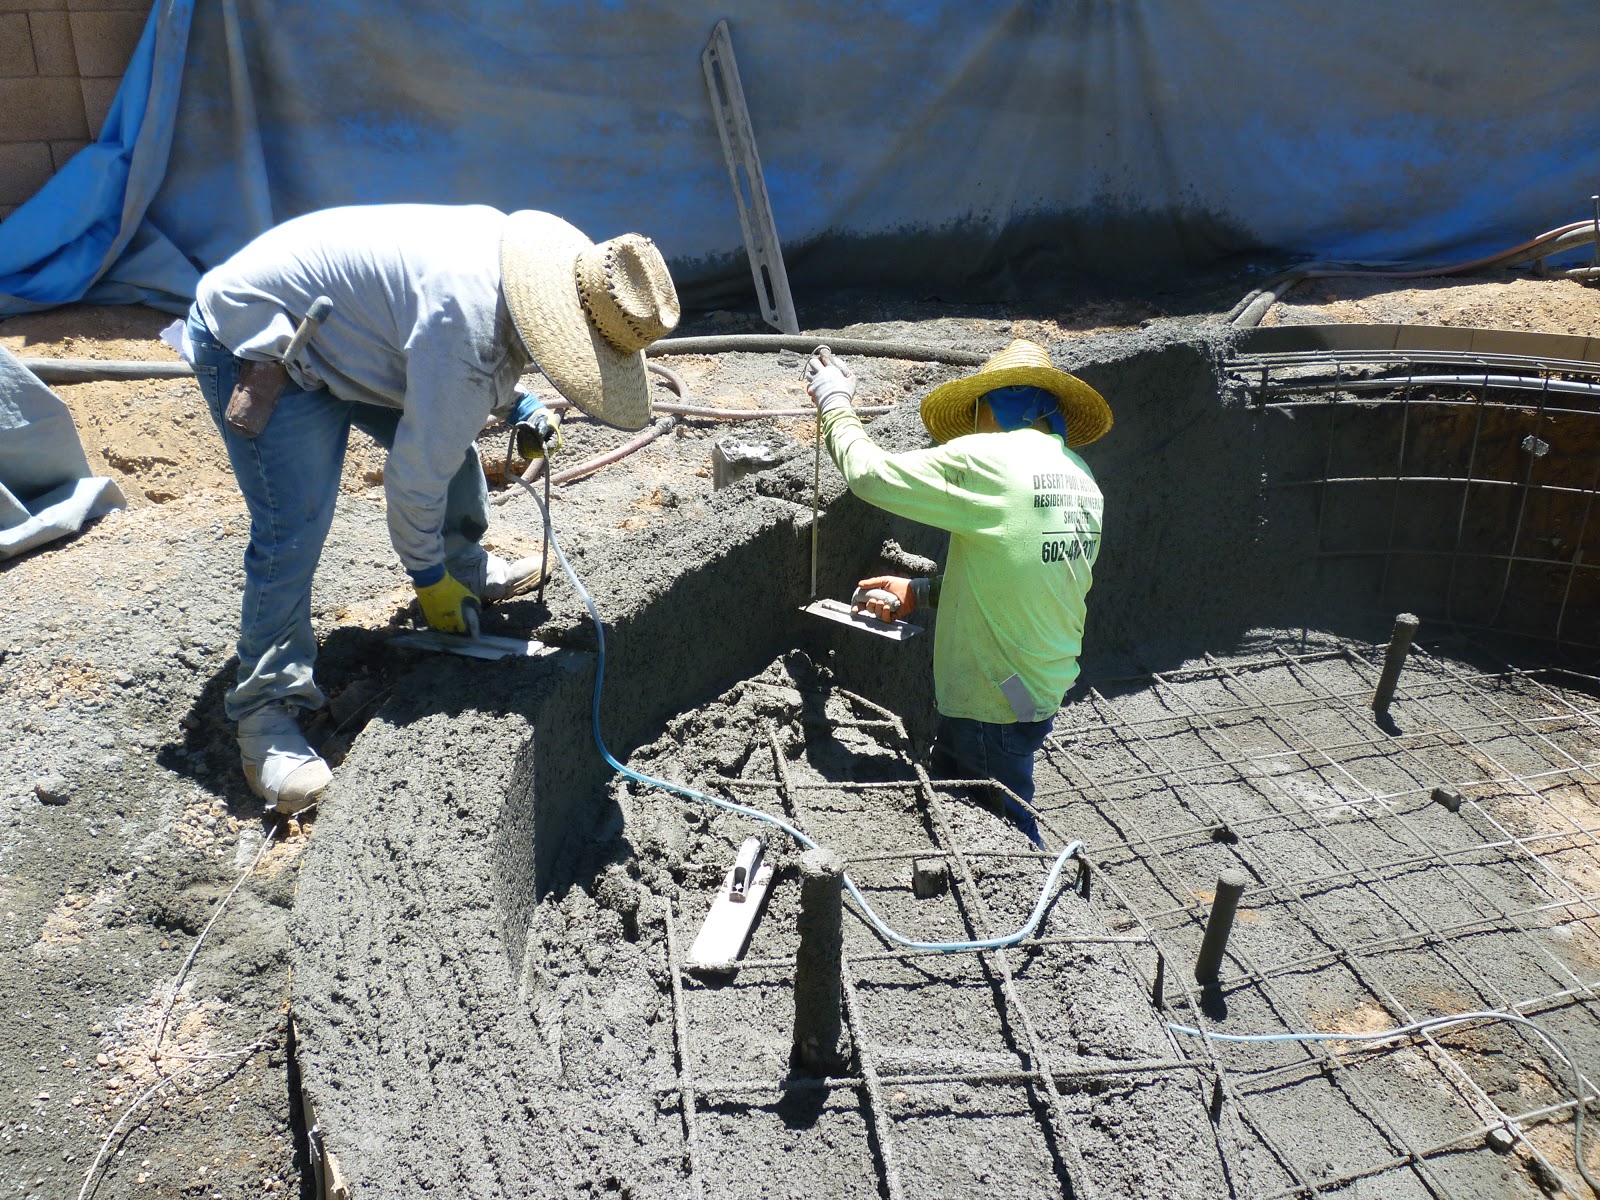
You can see these guys measuring again. They all measured everything constantly. One guy is already starting to trowel the shotcrete into a shape on the top edge of the pool.
Things are starting to take shape. He puts a layer 3″ deep on the top of the rebar as the final layer, then they work like mad to smooth it into shape.
Hand trowels are smoothing everything out.

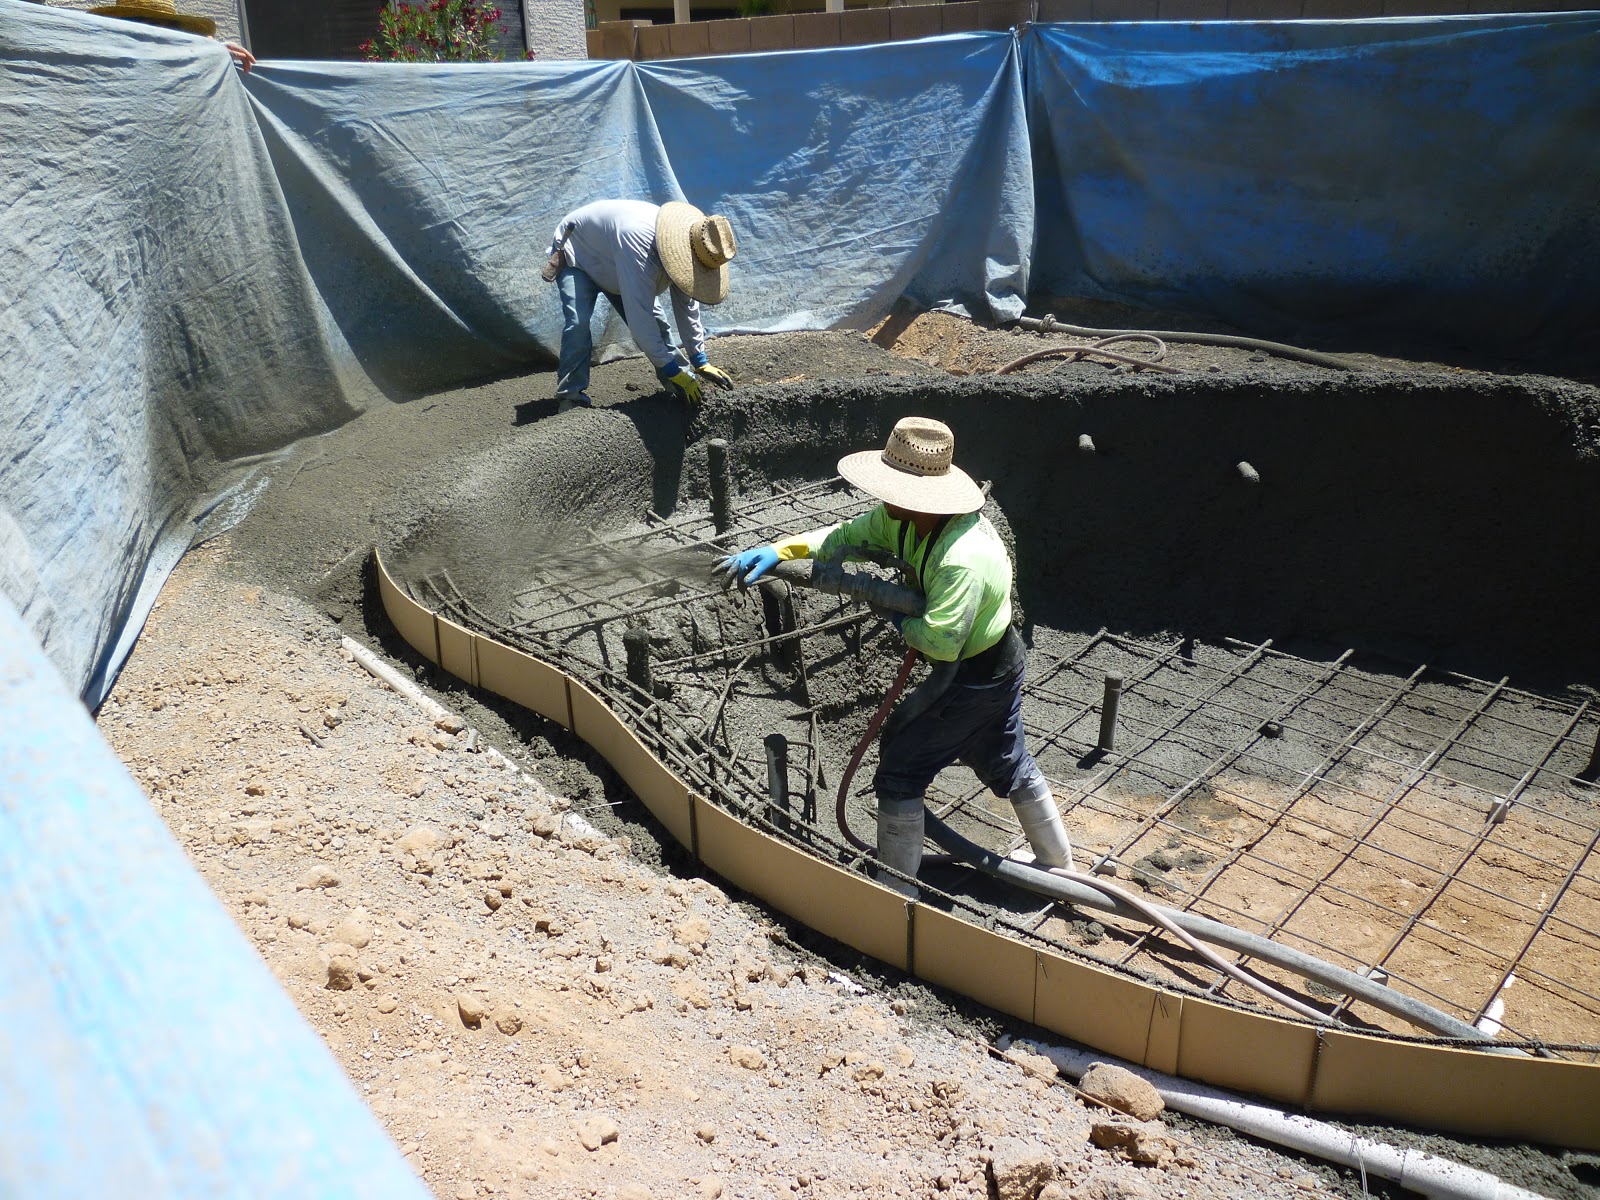
They worked from the top down all the way around the pool. As fast as this guy could spray it in others were forming it into shape.
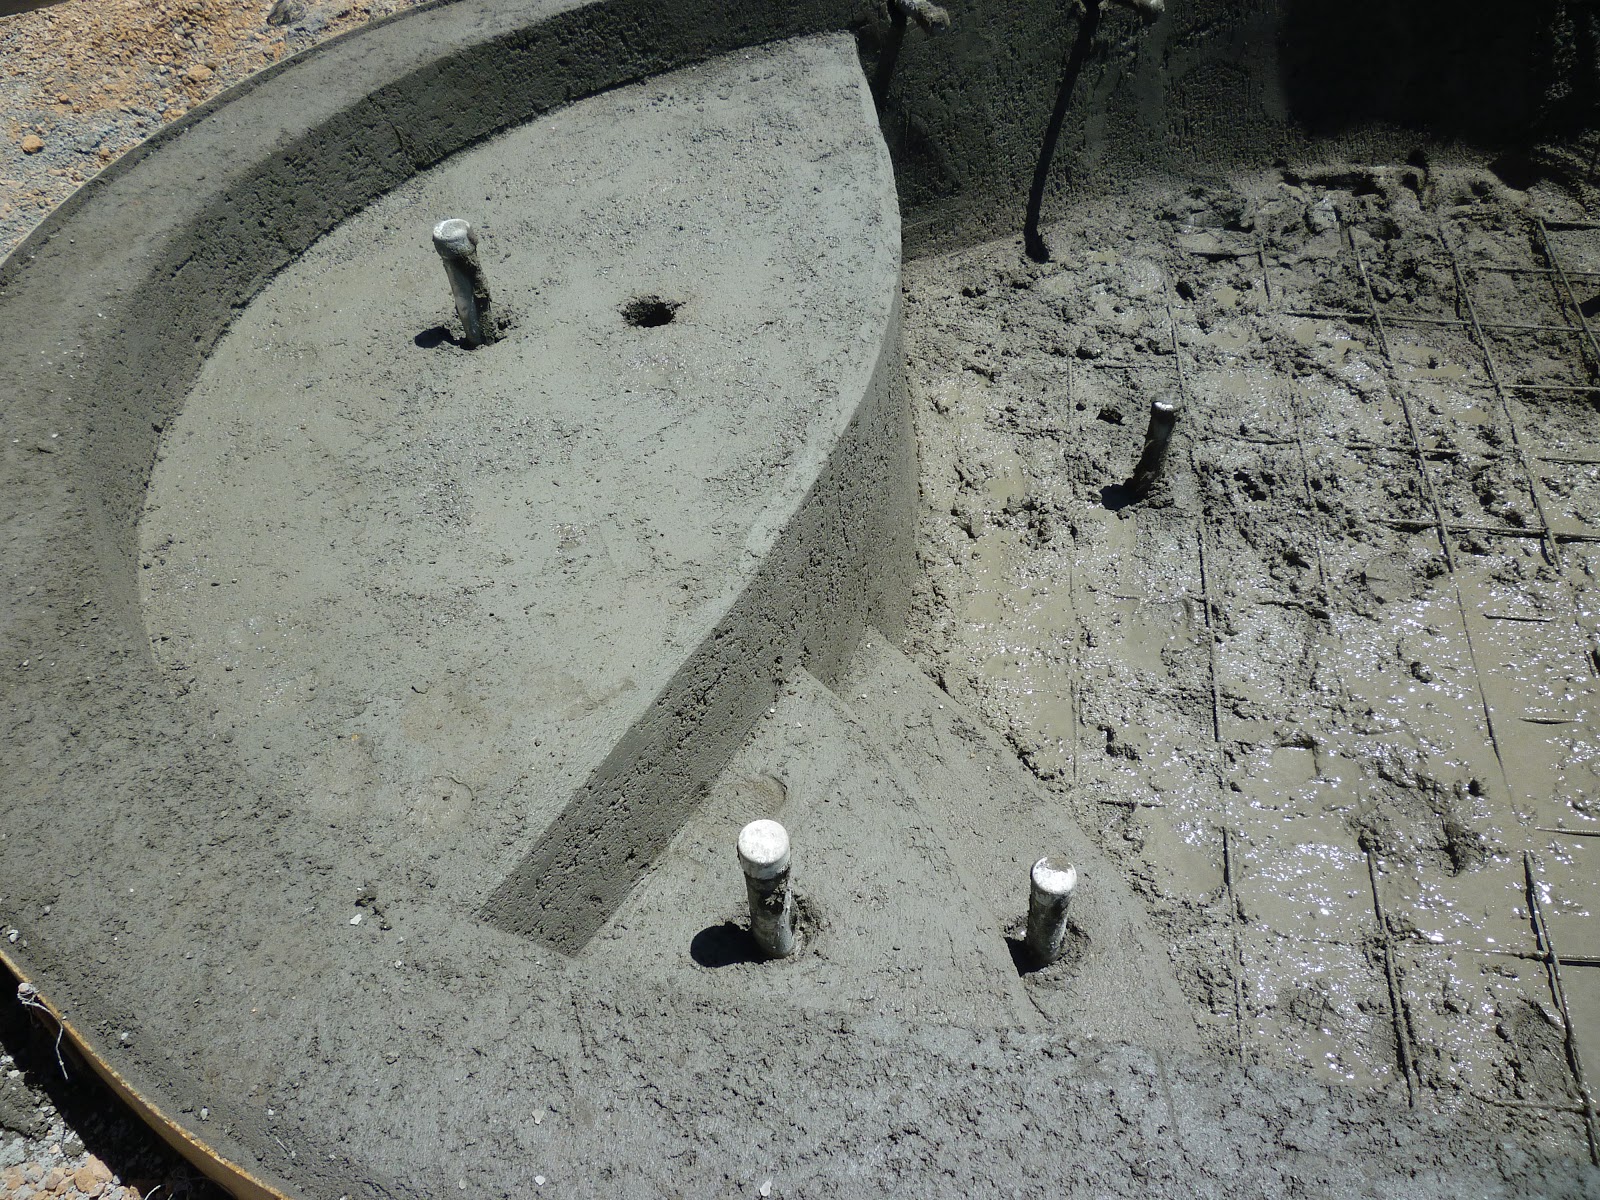
See how they formed the shape of the steps to exact specs.
Now time to do the bottom of the pool. They had one guy with a trowel forming the sides and then this guy would use the broom to sweet it down and give it a little texture. Plaster has to be put over this, so they needed a little texture for the layer of plaster to grab on to.

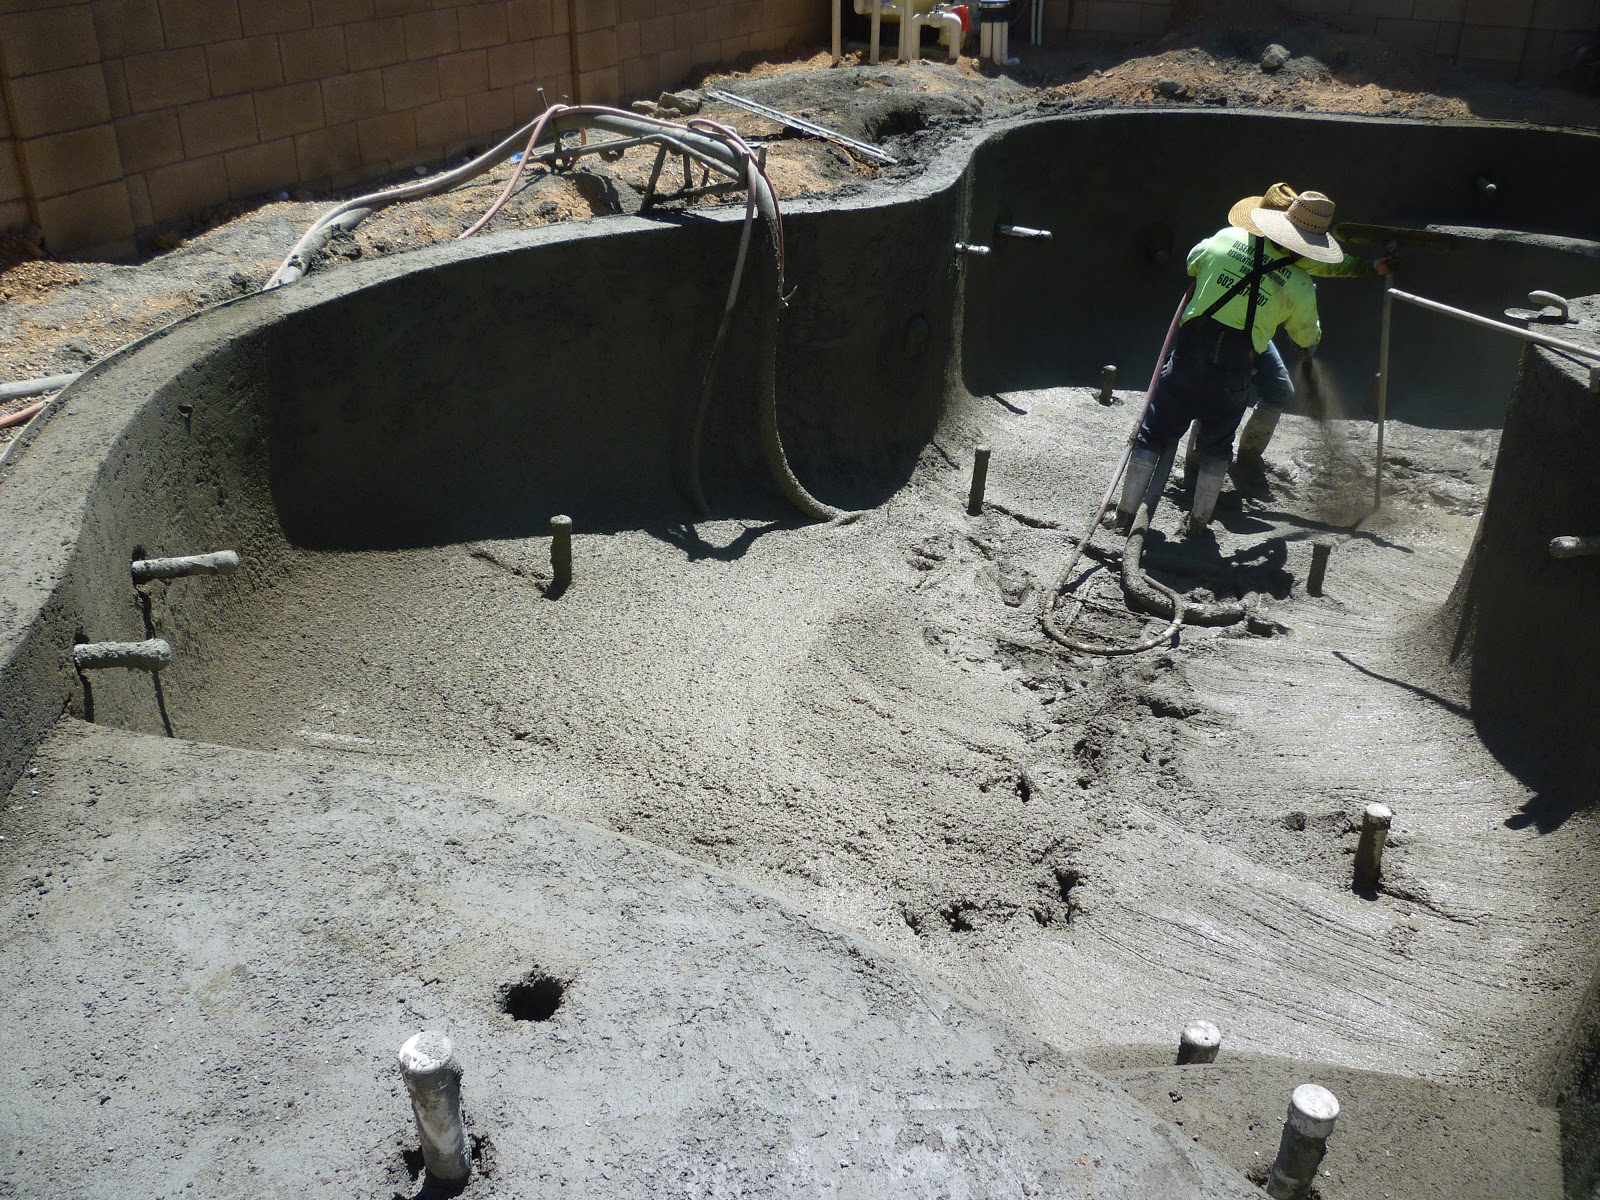
Still measuring and now this was the main guy that finished off the bottom of the pool.
All done and this only took them about 4 hours. That was pouring and forming 16 yards -(two truck loads) of shotcrete. Working with wet cement type products means these guys have to be fast.
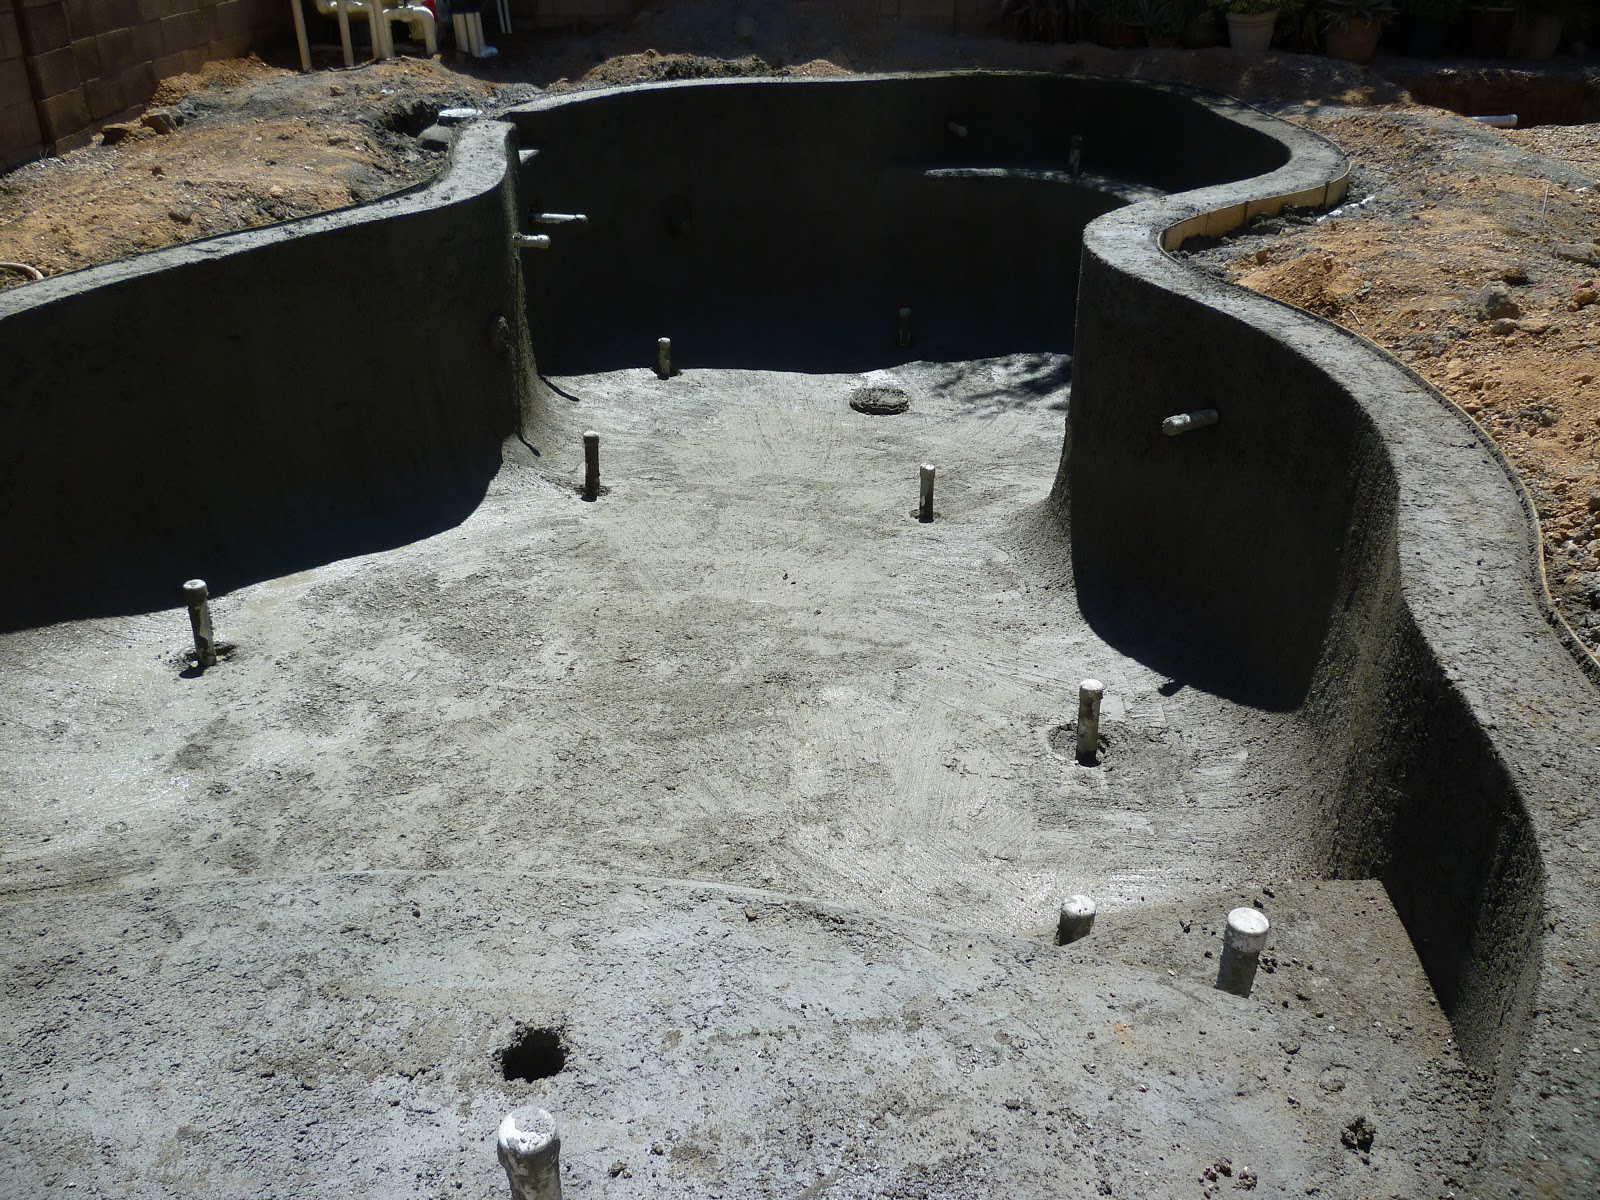
Every inch measured to exact and all their equipment picked up and they are done. Amazing to watch. This has to cure for several days. We will have to spray it down with water several times a day to keep it wet and let it all dry out and cure slowly.
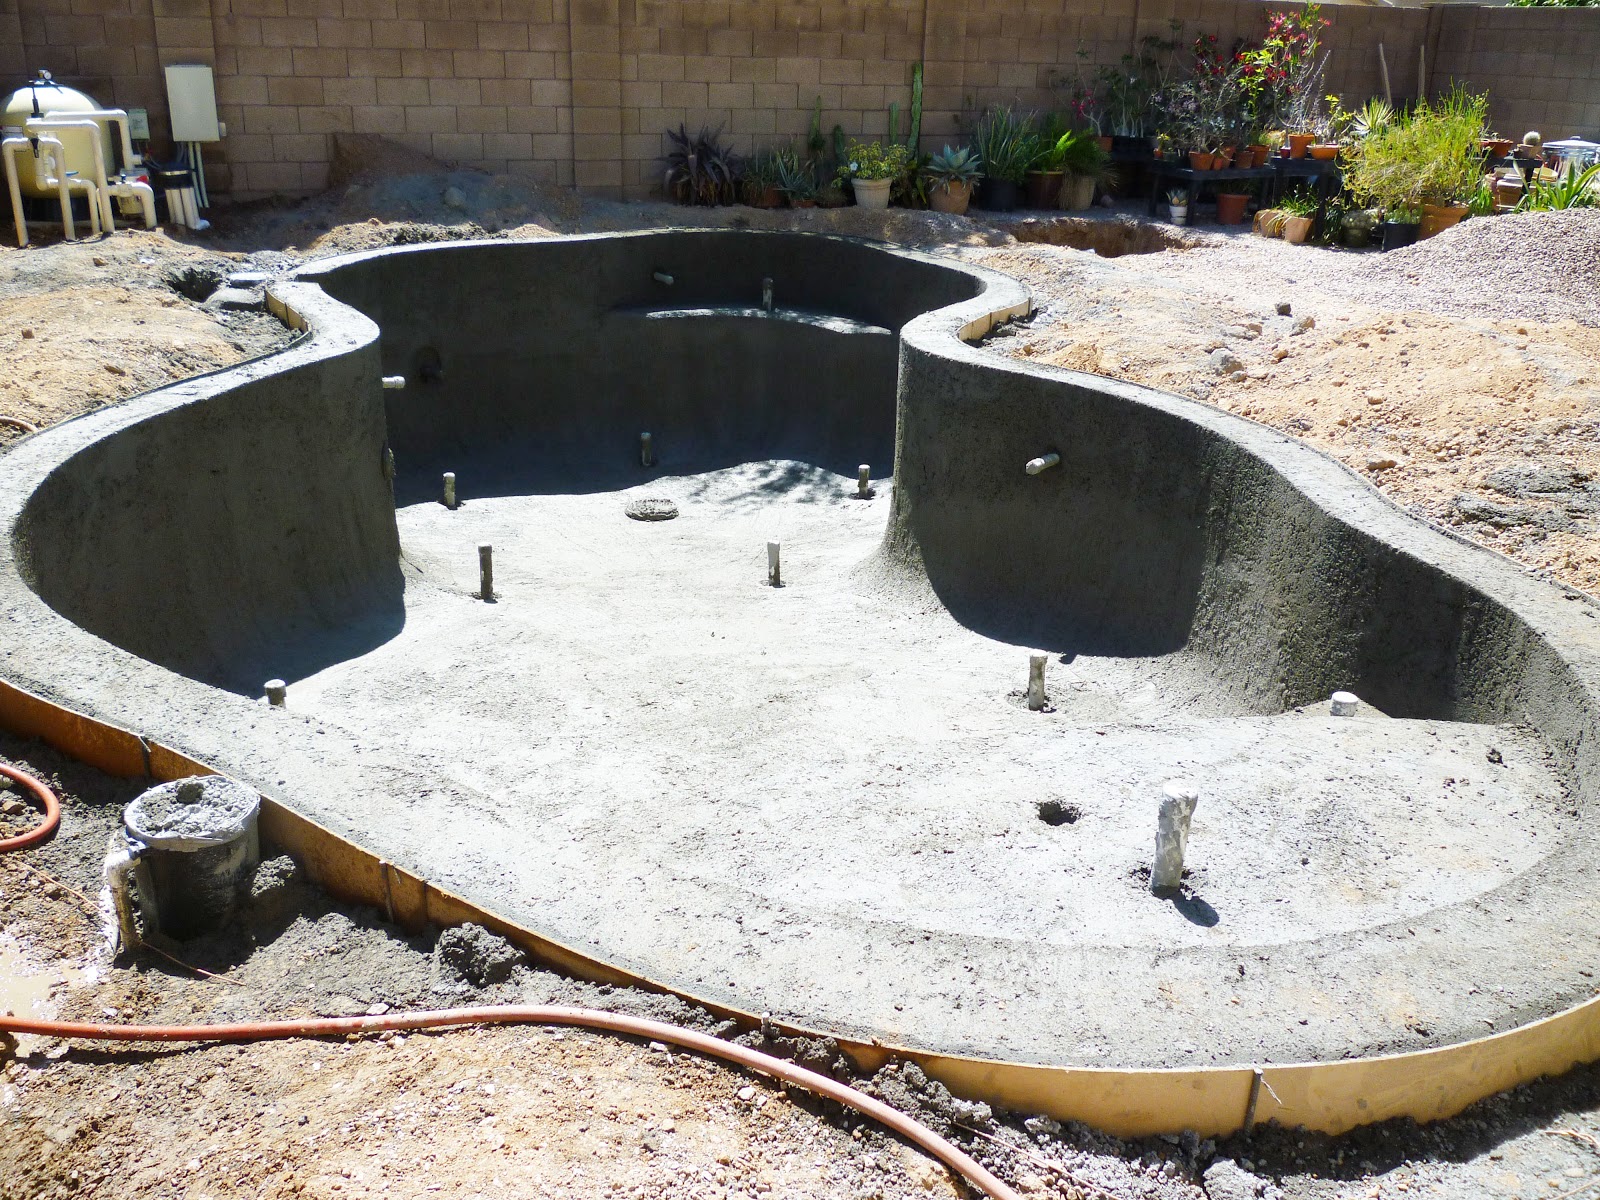
Next step is a crew will be coming to form the decking around the pool and pour the base for the deck. We are going with something called “Acrylic Lace”. It is a kind of Kool-deck type product. Much cooler than concrete or tile to walk on and not slippery. After that the tile around the edge of the pool goes on and the inside “plaster” which is actually a product called “Pebble Sheen” is applied. Can’t wait to see more.
If you like Thrifty & Chic on a Budget, I would love to have you follow me.
Have every post delivered to your inbox with Bloglovin
Check out Pinterest & See behind the scenes on Instagram


